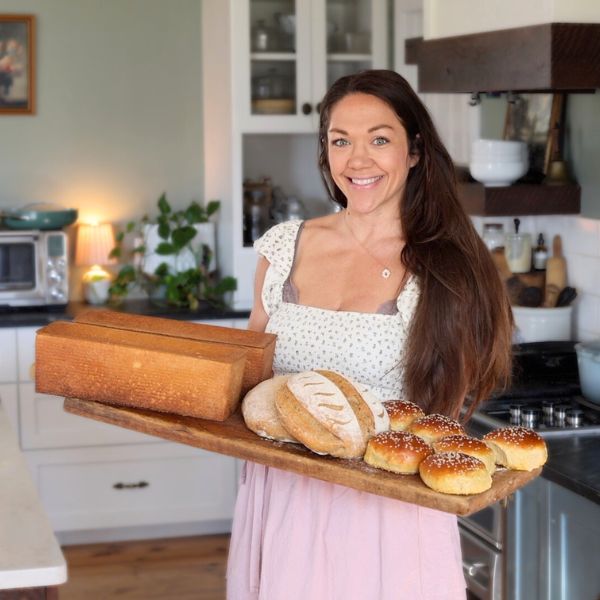
in this post I’ll be showing you how I make cultured butter from raw milk – start to finish from milking my Jersey cow Sally, separating and culturing the cream, and then making butter.

I’ve been making butter from raw milk for about a year now. There’s nothing like the taste of fresh butter! I use a ton of butter for baking and cooking and always have some out on the counter in a butter dish as well.
Butter, like all animal fats, has gotten a bad rap over the years. Animal fats (saturated fats) are full of essential fat-soluble vitamins and trace minerals such as copper, iodine, and selenium. They are stable in the body and not a cause of damage, unlike PUFAS from plant sources which can cause oxidative stress and damage the pancreas – which can decrease insulin production and make it harder to lose body fat.
Raw butter is made from unpasteurized milk – straight from the cow, meaning it contains an abundance of good bacteria that promotes gut health.
One way to make raw butter even better is to culture it!
What is cultured butter?
Cultured butter is made by letting raw milk ferment at room temperature with a mesophilic culture for a day or two before “churning” the cream to separate the liquid from the fat – which gives you butter.

Why is cultured butter better?
Fermenting cream before making butter increases the butterfat content and results in butter with a tangy, more pronounced buttery flavor and a higher smoke point. This means it packs an extra punch in the health department and its perfect for cooking and baking – cultured butter is especially great for searing steak on cast iron with fresh herbs!
Tools

How to make cultured butter from raw milk
- If using fresh, raw milk – allow the milk to creamline in the fridge or at room temp.
- After the cream has risen to the top (creamlined), use a ladle to skim the cream off the top and add it into a quart jar.
- Once you have a quart of cream, add 3T cultured buttermilk into the jar. Then, seal it with a lid and set it on the counter to culture for at least 24 hours.
- Once the cream is cultured, it will be very thick. Cream should be slightly chilled before making butter to ensure it separates quickly. If it’s too cold, it will take forever. If the cream has been in the fridge, allow it to set out for an hour before making butter. If it’s been on the counter, chill it in the fridge for an hour before making butter.
- Pour it into the food processor with the s-shaped blade or whisk and turn on high. The cream will turn into whipped cream first, and then eventually the butter will separate from the milk.
- Once the butter has separated, pour the contents of the food processor bowl through a fine-mesh strainer to remove as much buttermilk as possible. The buttermilk can be saved to culture the next batch of cream.
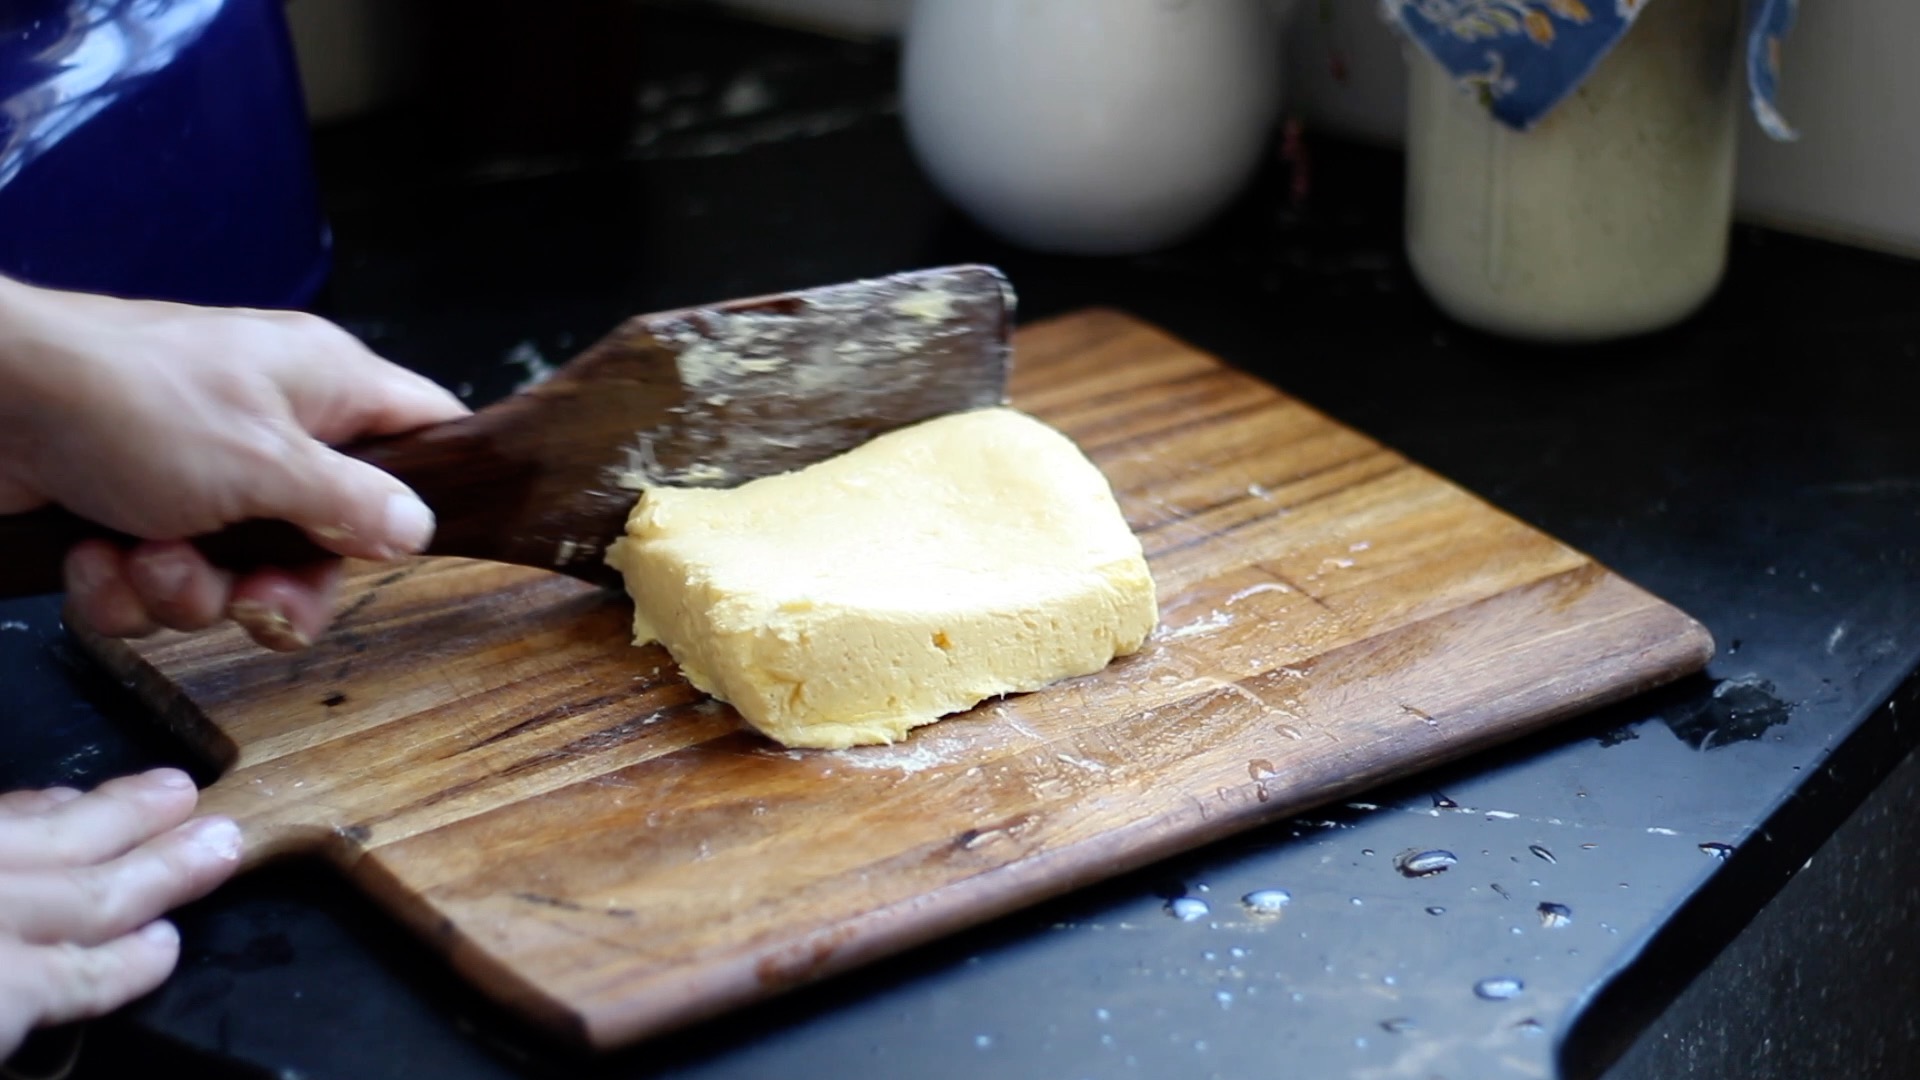
- Place the butter into a large bowl and run cold water over it, kneading gently until the water runs clear. Squeeze as much liquid out of the butter as possible.
- (optional) Add salt to the butter and mix to distribute.
Storage
Serve right away or turn the butter out onto a wet cutting board to shape it with a butter paddle, or use a butter mold.
Once shaped, butter can be cut into sticks to wrap and refrigerate or freeze. When wrapped and stored in an airtight freezer bag, the butter will stay good for at least 4 months – probably much longer!


Cultured Butter
Ingredients
Equipment
Method
- If using fresh, raw milk – allow the milk to creamline in the fridge or at room temp.
- After the cream has risen to the top (creamlined), use a ladle to skim the cream off the top and add it into a quart jar.
- Once you have a quart of cream, add 3T cultured buttermilk into the jar. Then, seal it with a lid and set it on the counter to culture for at least 24 hours.
- Once the cream is cultured, it will be very thick. Cream should be slightly chilled before making butter to ensure it separates quickly. If it's too cold, it will take forever. If the cream has been in the fridge, allow it to set out for an hour before making butter. If it's been on the counter, chill it in the fridge for an hour before making butter.
- Pour it into the food processor with the s-shaped blade or whisk and turn on high. The cream will turn into whipped cream first, and then eventually the butter will separate from the milk.
- Once the butter has separated, pour the contents of the food processor bowl through a fine-mesh strainer to remove as much buttermilk as possible. The buttermilk can be saved to culture the next batch of cream.
- Place the butter into a large bowl and run cold water over it, kneading gently until the water runs clear. Squeeze as much liquid out of the butter as possible.
- (optional) Add salt to the butter and mix to distribute.
- Serve right away or turn the butter out onto a wet cutting board to shape it with a butter paddle, or use a butter mold.
- Once shaped, butter can be cut into sticks to wrap and refrigerate or freeze. When wrapped and stored in an airtight freezer bag, butter will stay good for at least 4 months – probably much longer!