Water bath vs. pressure canning is NOT a matter of preference, it’s a matter of safety. Learn when to use which method in this post!

I’ve been canning for about 5 years now, and it has become one of my favorite domestic arts. The sound of lids popping on a freshly canned batch of jars is so satisfying. And watching the larder slowly fill up with colorful jars full of this year’s harvest never gets old.
When it comes to canning, there are two methods: water bath canning and pressure canning. I often hear people compare the two as a matter of preference. Which do you prefer? Water bath or pressure.
But friends, choosing your canning method is NOT a matter of preference. It’s a matter of necessity.
Certain foods MUST be pressure-canned, and certain foods are safe to be canned in a boiling water bath.
It all boils down to acidity.
- High-acid foods and canning recipes are safe to water bath canned.
- Low-acid foods must be pressure canned.
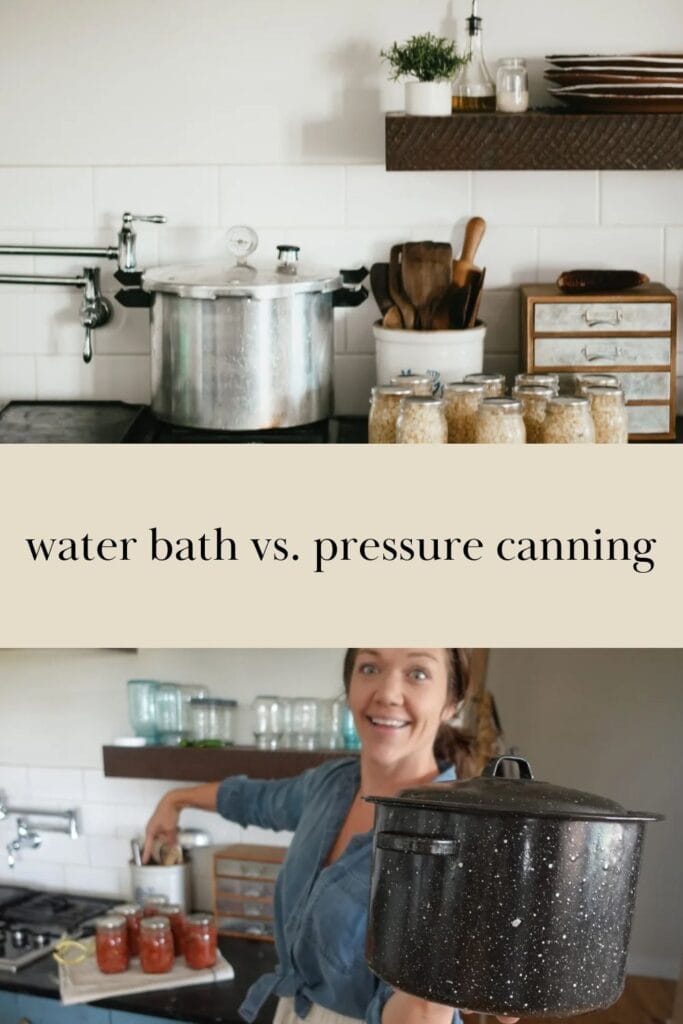
water bath vs. pressure canning
Let’s discuss why that is.
PH – Water Bath vs. Pressure Canning
PH is the acidity or alkalinity of any given solution. Foods with a PH of 4.6 or below are considered acidic and are safe for water bath canning. Foods with a PH above 4.6 are alkaline and must be pressure canned.
Microorganisms like Clostridium Botulinum (which causes botulism) can grow in certain foods under the right conditions. Clostridium Botulinum spores can survive and grow when sealed in a jar of low-acid food that has been processed in a boiling water bath canner at 212F (the temperature of boiling water).
This is why acid it all boils down to acidity, pun intended.
High-acid foods with a PH of 4.6 or lower are perfectly safe to process in a boiling water bath canner at 212F because botulinum clostridium can NOT survive or grow under these conditions.
Low-acid foods must be processed in a pressure canner to reach the temperature of 240-250F in order to kill clostridium botulinum spores.
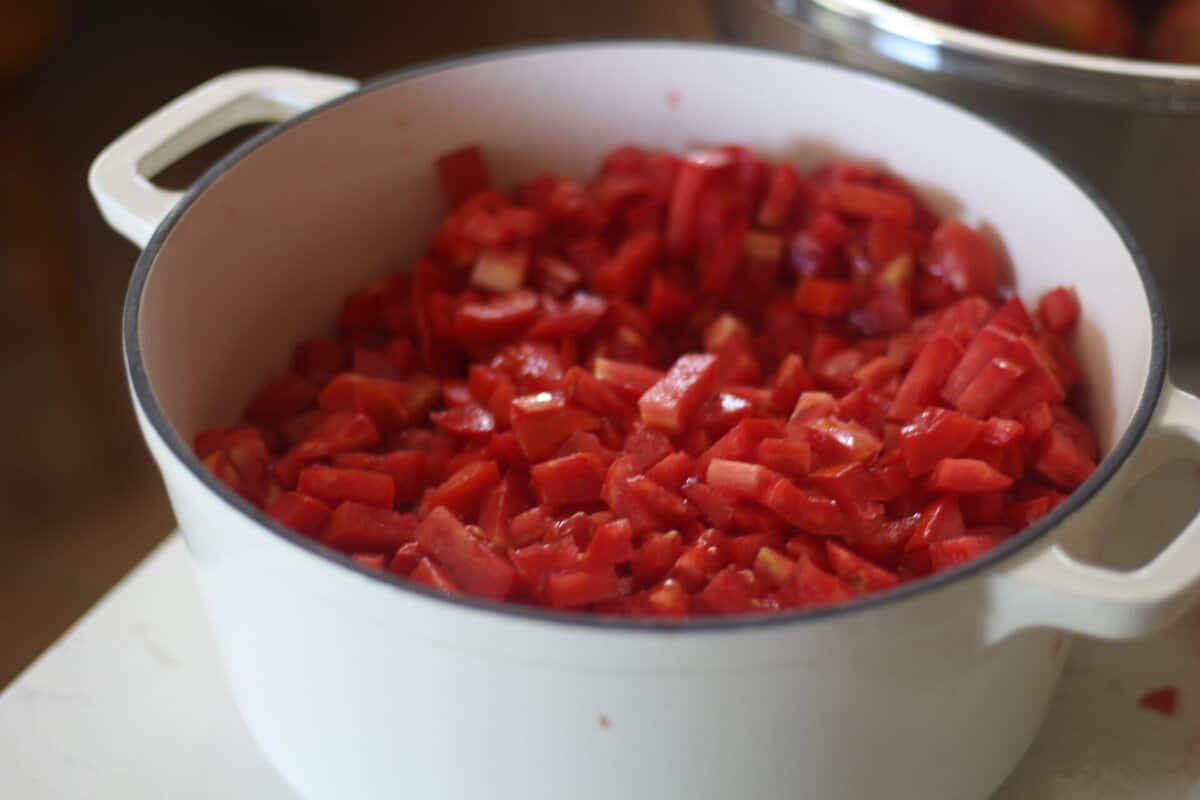
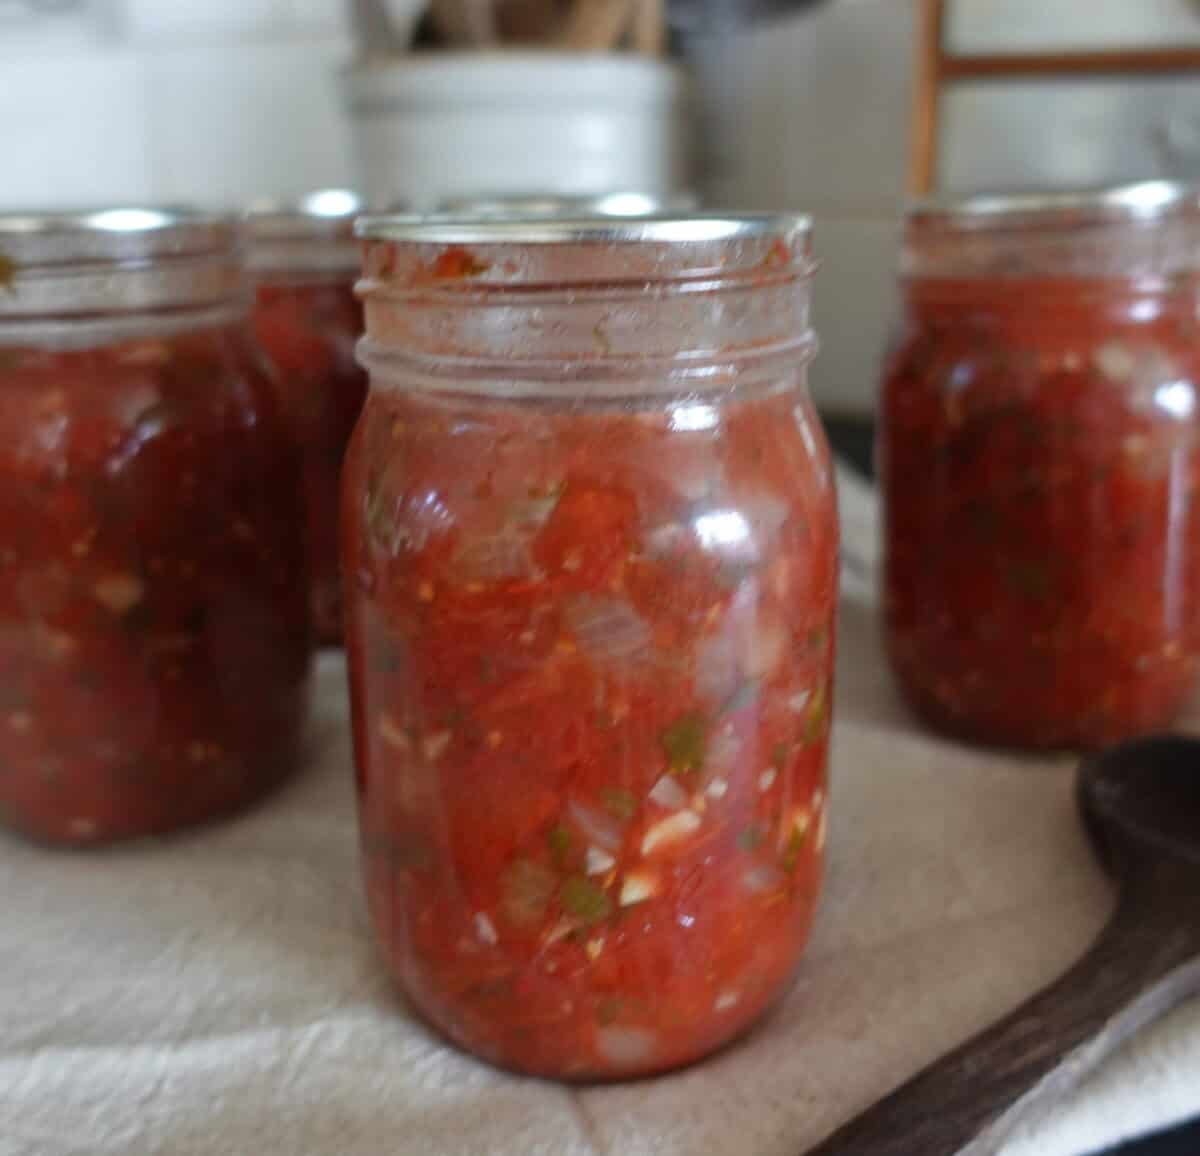
Some foods that would need to be pressure canned by themselves can be water bath canned when acid like lemon or lime juice or vinegar is added. Tomatoes and green beans are an example of foods that can be water bath canned once acid has been added.
water bath vs. pressure canning
Hopefully, this makes sense!
Now…
How do you know the PH of the food you are wanting to can?
The best way to be absolutely sure you are using the proper canning method is to use a certified canning recipe from a trusted source like the Ball Blue Book or Ball Book of Canning and Preserving. I have both of these books and use them often.
PH isn’t the only factor to consider for safe canning. Other factors like food particle size, food viscosity, jar sizer, and heat transfer all impact the canning process. For example, pumpkin is safe to be canned when cubed, but pureed pumpkin is not safe for home canning.
For an idea of the PH of foods for canning, check out the charts in this link.
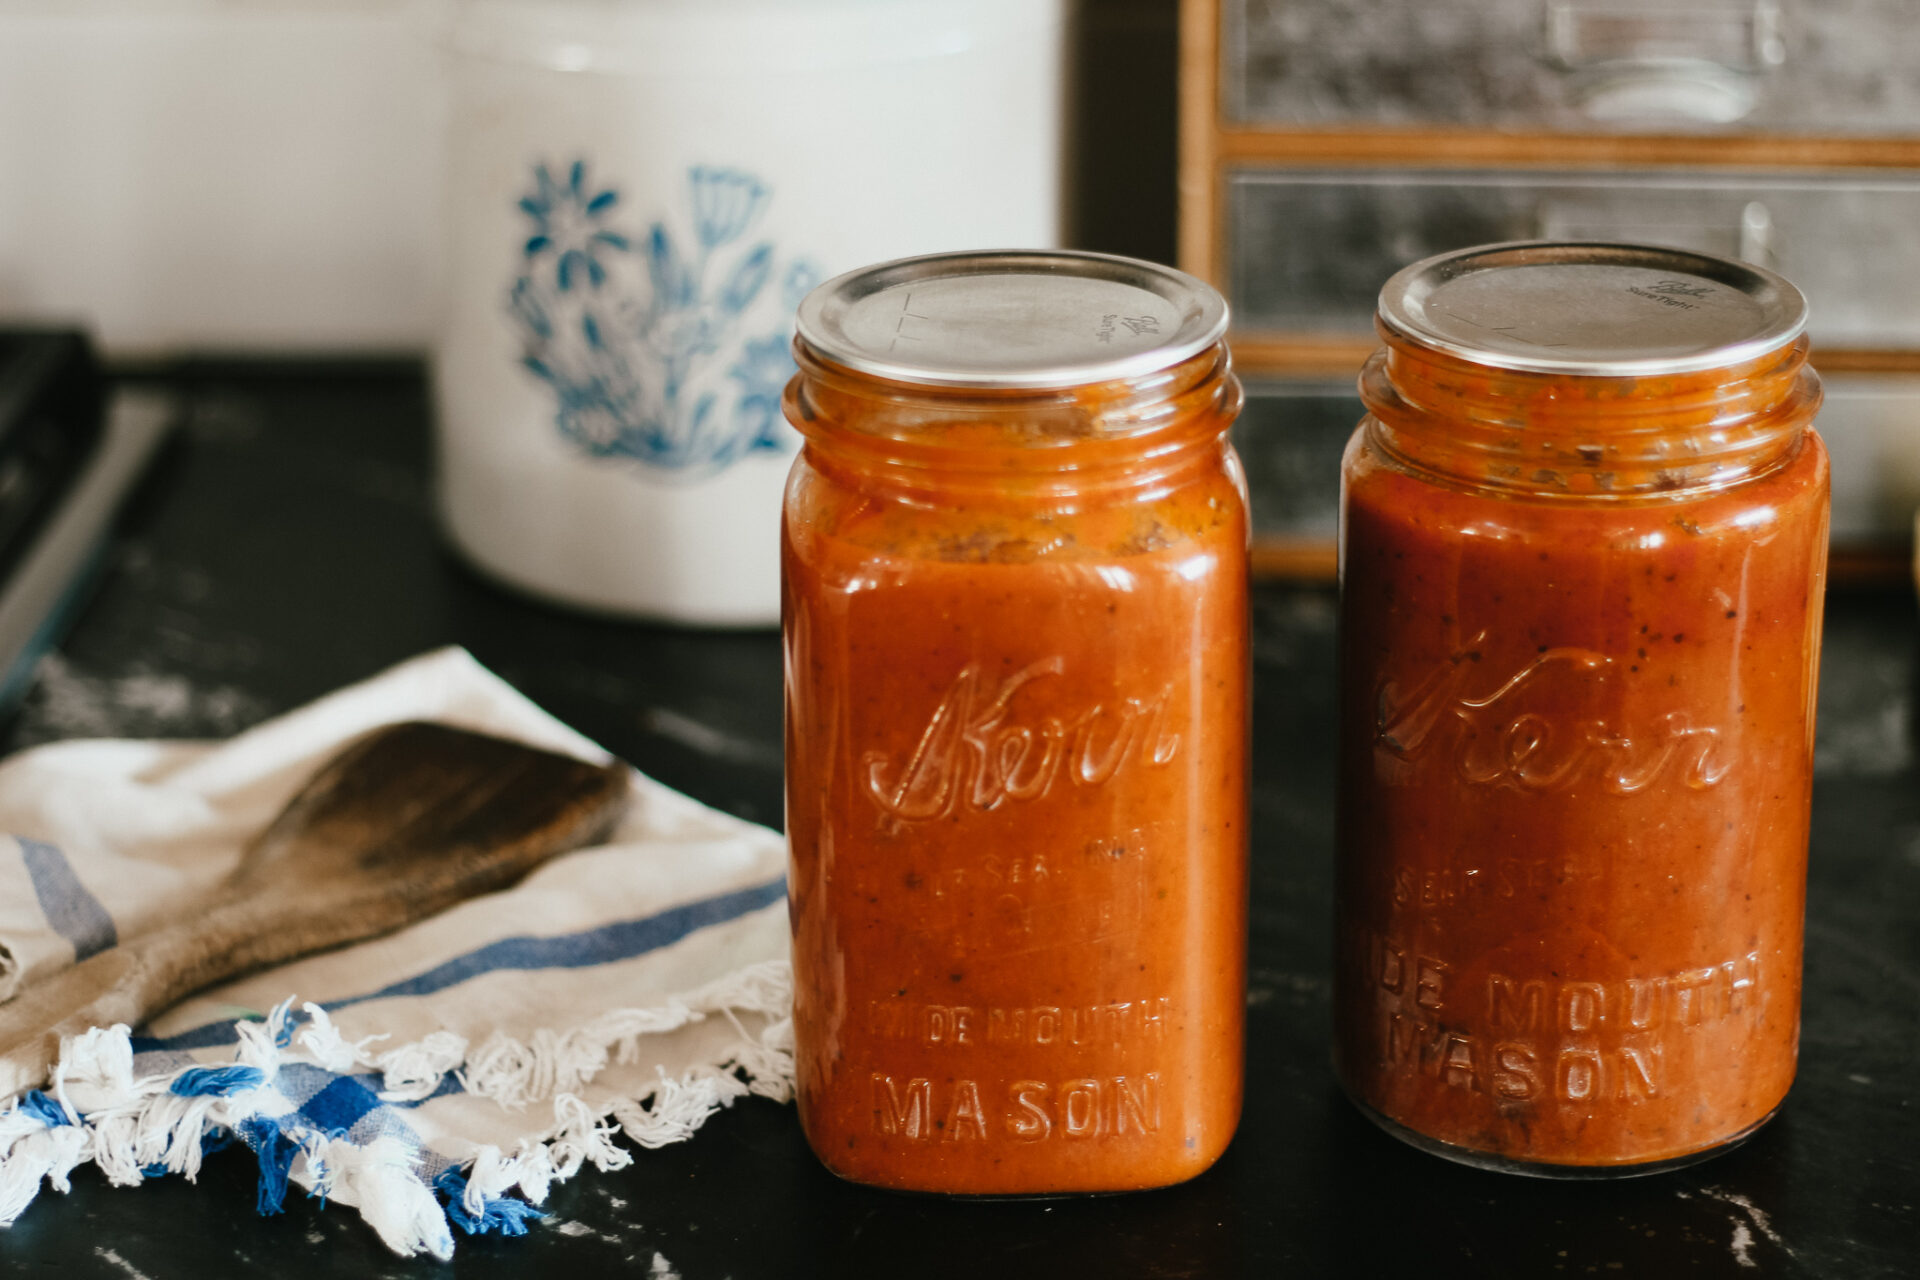
Common high-acid foods for water bath canning are jams, jellies, chutneys, preserves, fruits, sauces, salsa, and anything pickled in a vinegar brine.
Common low-acid foods that need to be pressure canned are potatoes, carrots, green beans, corn, bone broth, dairy, and meat.
 I recommend shopping locally and trying to find canning supplies at a local hardware shop. But I do have all of my favorite canning supplies linked here in my Amazon storefront as well.
Water Bath Canning Materials
- deep stock pot or water bath canner
- pot rack to keep the jars off the bottom of the canner
- jar lifter
- wide mouth funnel
- silicone spatula for debubbling
- canning jars
- lids & rings
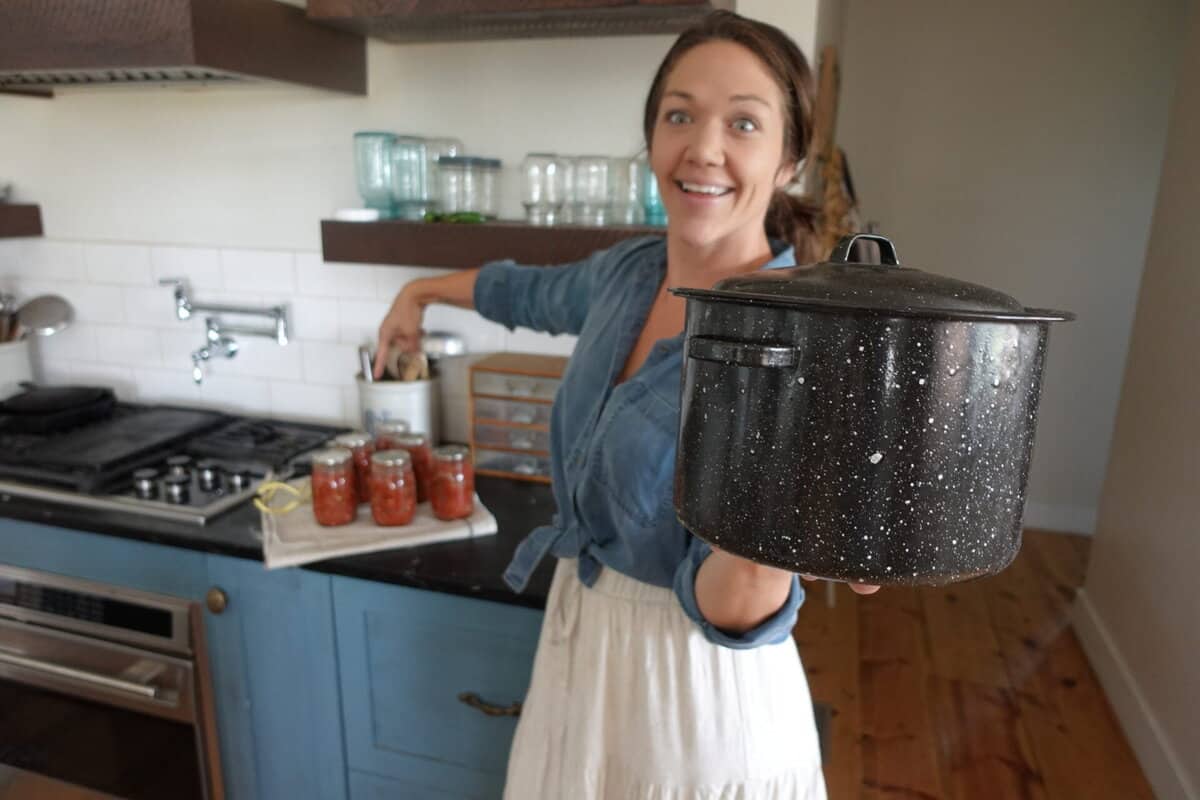
Water bath canning is simpler in that it doesn’t require much special equipment that you don’t already own. Any deep stock pot or enamel “canner” that jars can fit into with enough room to be fully submerged with 1″ of water covering them is sufficient.
I have a couple enamel canners, one large and one small, that I use regularly. But I also use my stainless stock pots for water bath canning and they work great.
You can purchase canning kits, but everything is plastic. I prefer purchasing items individually.
Water Bath Canning Process
Prep
- Fill a water bath canner with enough water to submerge jars with an extra inch of water covering them and turn on the heat
- Preheat clean, empty jars by placing them on the rack in the canner and allowing them to heat up with the water. Preheat jars for 10 minutes.
- Remove hot jars from the canner with a jar lifter and set them on a towel on your work surface. Do NOT set hot jars directly on your work surface, the temperature change can cause the glass to shock and break. Always use a towel when transferring hot jars. Keep the water in the canner right below a boil while you fill your jars.
Canning
- Begin packing or filling your jars with the food you’ll be canning. Use a wide-mouth funnel to keep the rims of the jars as clean as possible.
- Maintain the proper headspace (space between the top of the food and the rim of the jar) when filling jars.
- Once the jars are full, wipe each rim with a damp cloth so the rims are clean and dry, which will ensure a proper seal.
- Use a silicone spatula or non-metallic tool to remove any air bubbles from jars. If you don’t have a suitable tool, just tap the jars gently on the towel on your work surface.
- Center a new, clean lid on each jar and screw a ring on fingertip tight. Do not use as much force as possible – just as tight as you can get using your fingertips.
- Use the jar lifter to lower each jar into the canner onto the rack and then place the lid on your canner – make sure the jars are covered by at least an inch of water. Bring to a rolling boil.
- Once you reach a rolling boil, start the processing time.
- When the processing time is up, turn off the heat. Using the jar lifter, remove each jar and set it on a towel to cool for at least 8 hours. Do NOT disturb the jars while they cool. Don’t tap the lids or remove the rings, just let them rest. You should hear each lid pop into place as the lid seals.
Storage
- After 8 hours, remove each ring and check for a proper seal by gently pulling up on the lid. If the jar didn’t seal properly, the lid will come off easily. You can also tap on the top of each jar. If the lid stays in place the seal is good. If it moves, the seal is compromised.
- Wipe the jars down if there’s any residue, then label with contents and date. Store. jars out of direct sunlight in a cool, dark, dry place to maximize shelf life.
See the canning section in My Amazon Storefront
Pressure Canning Materials
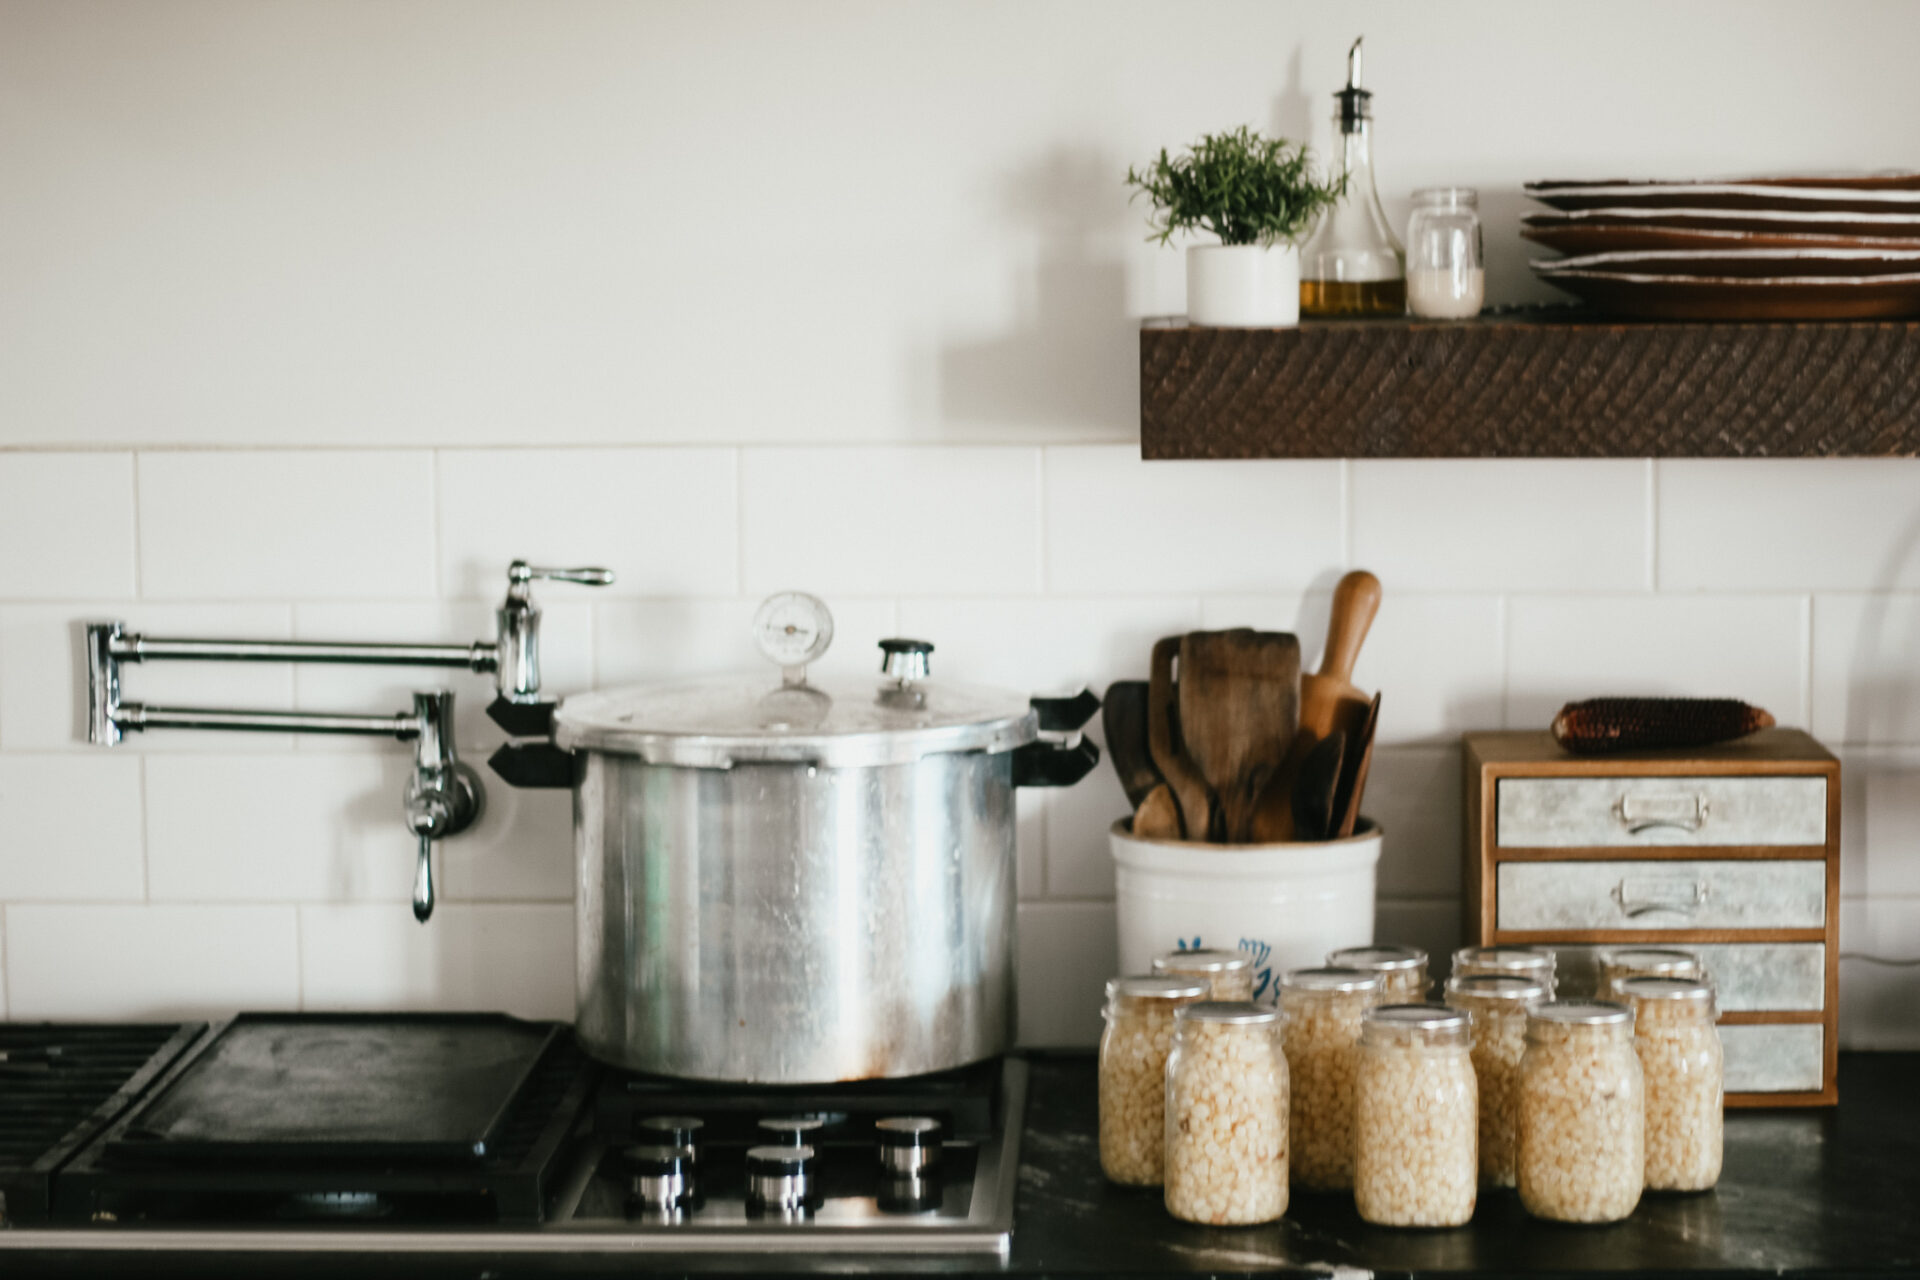
- pressure canner (I use a Presto – click here)
- pot rack to keep the jars off the bottom of the canner
- jar lifter
- wide mouth funnel
- silicone spatula for debubbling
- canning jars
- lids & rings
Pressure Canning Process
Prep
- Fill a water pressure canner with 3 quarts or 3″ of water.
- Preheat clean, empty jars by placing them on the rack in the canner and allowing them to heat up with the water. Preheat jars for 10 minutes.
- Remove hot jars from the canner with a jar lifter and set them on a towel on your work surface. Do NOT set hot jars directly on your work surface, the temperature change can cause the glass to shock and break. Always use a towel when transferring hot jars. Keep the water in the canner right below a boil while you fill your jars.
Canning
- Begin packing or filling your jars with the food you’ll be canning. Use a wide-mouth funnel to keep the rims of the jars as clean as possible.
- Maintain the proper headspace (space between the top of the food and the rim of the jar) when filling jars.
- Once the jars are full, wipe each rim with a damp cloth so the rims are clean and dry, which will ensure a proper seal.
- Use a silicone spatula or non-metallic tool to remove any air bubbles from jars. If you don’t have a suitable tool, just tap the jars gently on the towel on your work surface.
- Center a new, clean lid on each jar and screw a ring on fingertip tight. Do not use as much force as possible – just as tight as you can get using your fingertips.
- Use the jar lifter to lower each jar into the canner onto the rack and then lock the pressure canner lid into place. Turn up the heat and watch the vent pipe for steam.
- Once you see steam coming out of the vent pipe, set a timer for 10 minutes.
- After 10 minutes, place the pressure regulator on the vent pipe and watch the gauge closely until it reaches the desired PSI.
- Once you reach the proper PSI, turn the heat down to maintain and tart your processing time. It is ok if the needle is slightly higher than your target PSI, but do NOT let it drop below. If it drops below, you must start your processing time over.
Depressurize
- When the processing time is up, turn off the heat and allow the pressure canner to depressurize. Do NOT remove the pressure regulator or bleed pressure by tilting it. Leave it on. The depressurizing process will take some time.
- Once the needle is at zero, remove the lid. Using the jar lifter, remove each jar and set it on a towel to cool for at least 8 hours. Do NOT disturb the jars while they cool. Don’t tap the lids or remove the rings, just let them rest. You should hear each lid pop into place as the lid seals.
Storage
- After 8 hours, remove each ring and check for a proper seal by gently pulling up on the lid. If the jar didn’t seal properly, the lid will come off easily. You can also tap on the top of each jar. If the lid stays in place the seal is good. If it moves, the seal is compromised.
- Wipe the jars down if there’s any residue, then label with contents and date. Store. jars out of direct sunlight in a cool, dark, dry place to maximize shelf life.