Pressure Canning tomato sauce is well worth it to preserve this simple end of summer sauce made with whole tomatoes, skins, juice, and all!
I may be compensated for some items linked in this post at no extra cost to you.
This is only my second year growing and preserving tomatoes.
I don’t necessarily love to eat them plain, but I do greatly enjoy tomato sauces and condiments. Especially a good all-purpose sauce that can be used in pasta, for dipping, or on pizza. Why make a ton of variations when you can have one signature sauce that does all the things?
However – almost all traditional canned tomato sauces require removing the skins and juice. Which takes FOREVER. It’s really messy. And kind of frustrating. Because you start with 50 lbs of fresh tomatoes and end up with just a few quarts of sauce to show for all your work. Which, in my house would be gone after making one big batch of spaghetti.
I honestly considered just freezing all of my tomatoes this year.
BUT THEN. I came across a sauce-making method that uses the whole tomato and decided to give sauce-making and canning one more shot. Because it is so handy to have jars of ready-to-go tomato sauce on hand. This recipe doesn’t require any peeling or juicing of the tomatoes. Yep. Sounds impossible, I know. But you just dice up the whole tomato and you are ready to go.
It has not disappointed in the flavor arena as well. It’s delicious, I’ve used it to cook for my family and made spaghetti for a big group of moms and at least 16 kids, with 100% approval ratings. I’ll take that! My pantry shelves are now lined with this pretty, versatile garden tomato sauce that didn’t make me lose my mind in the process of making it.
What You’ll Need
- 5 lbs tomatoes
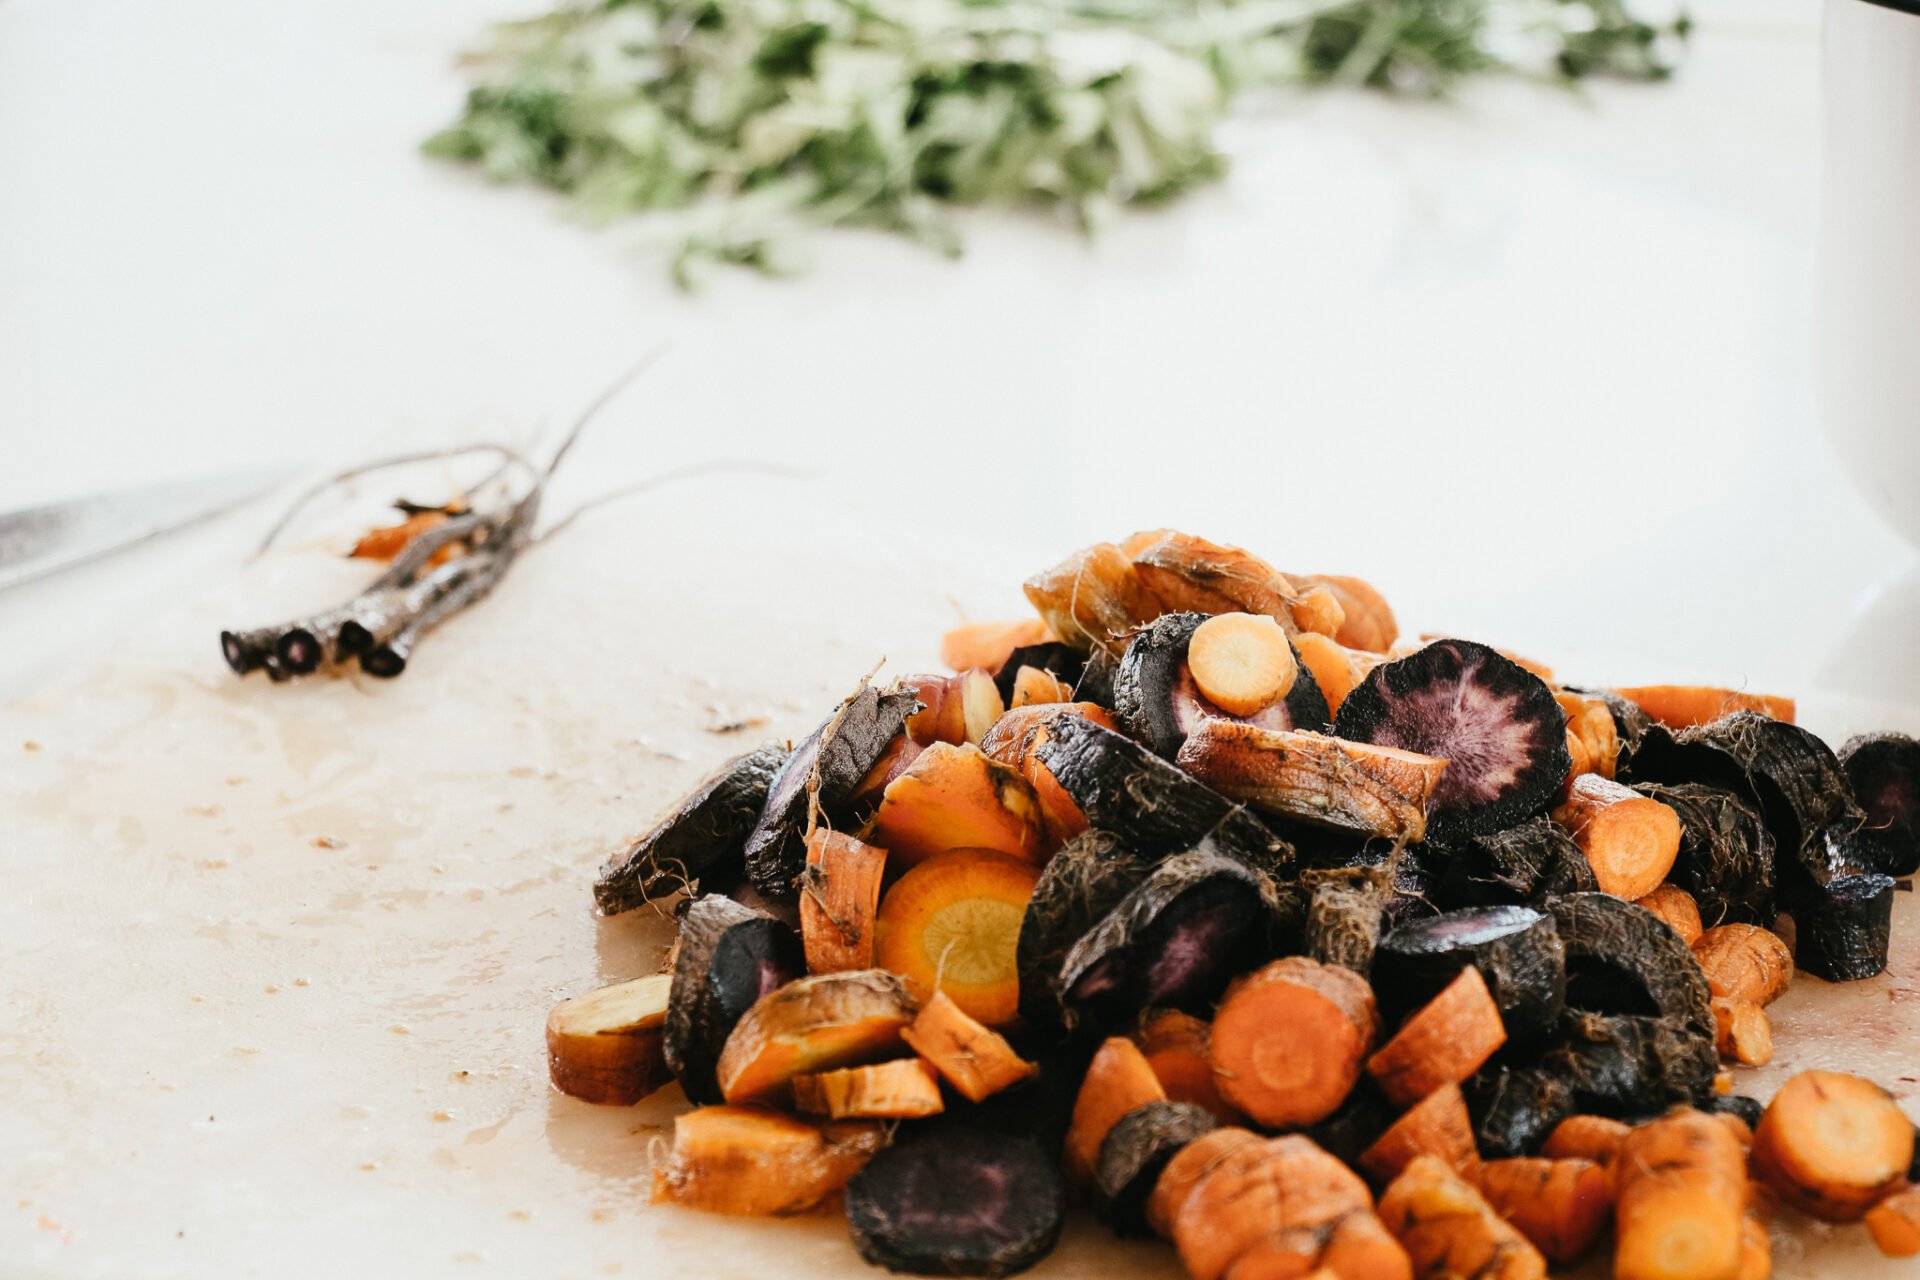
- 1 lb carrots
- 1 onion
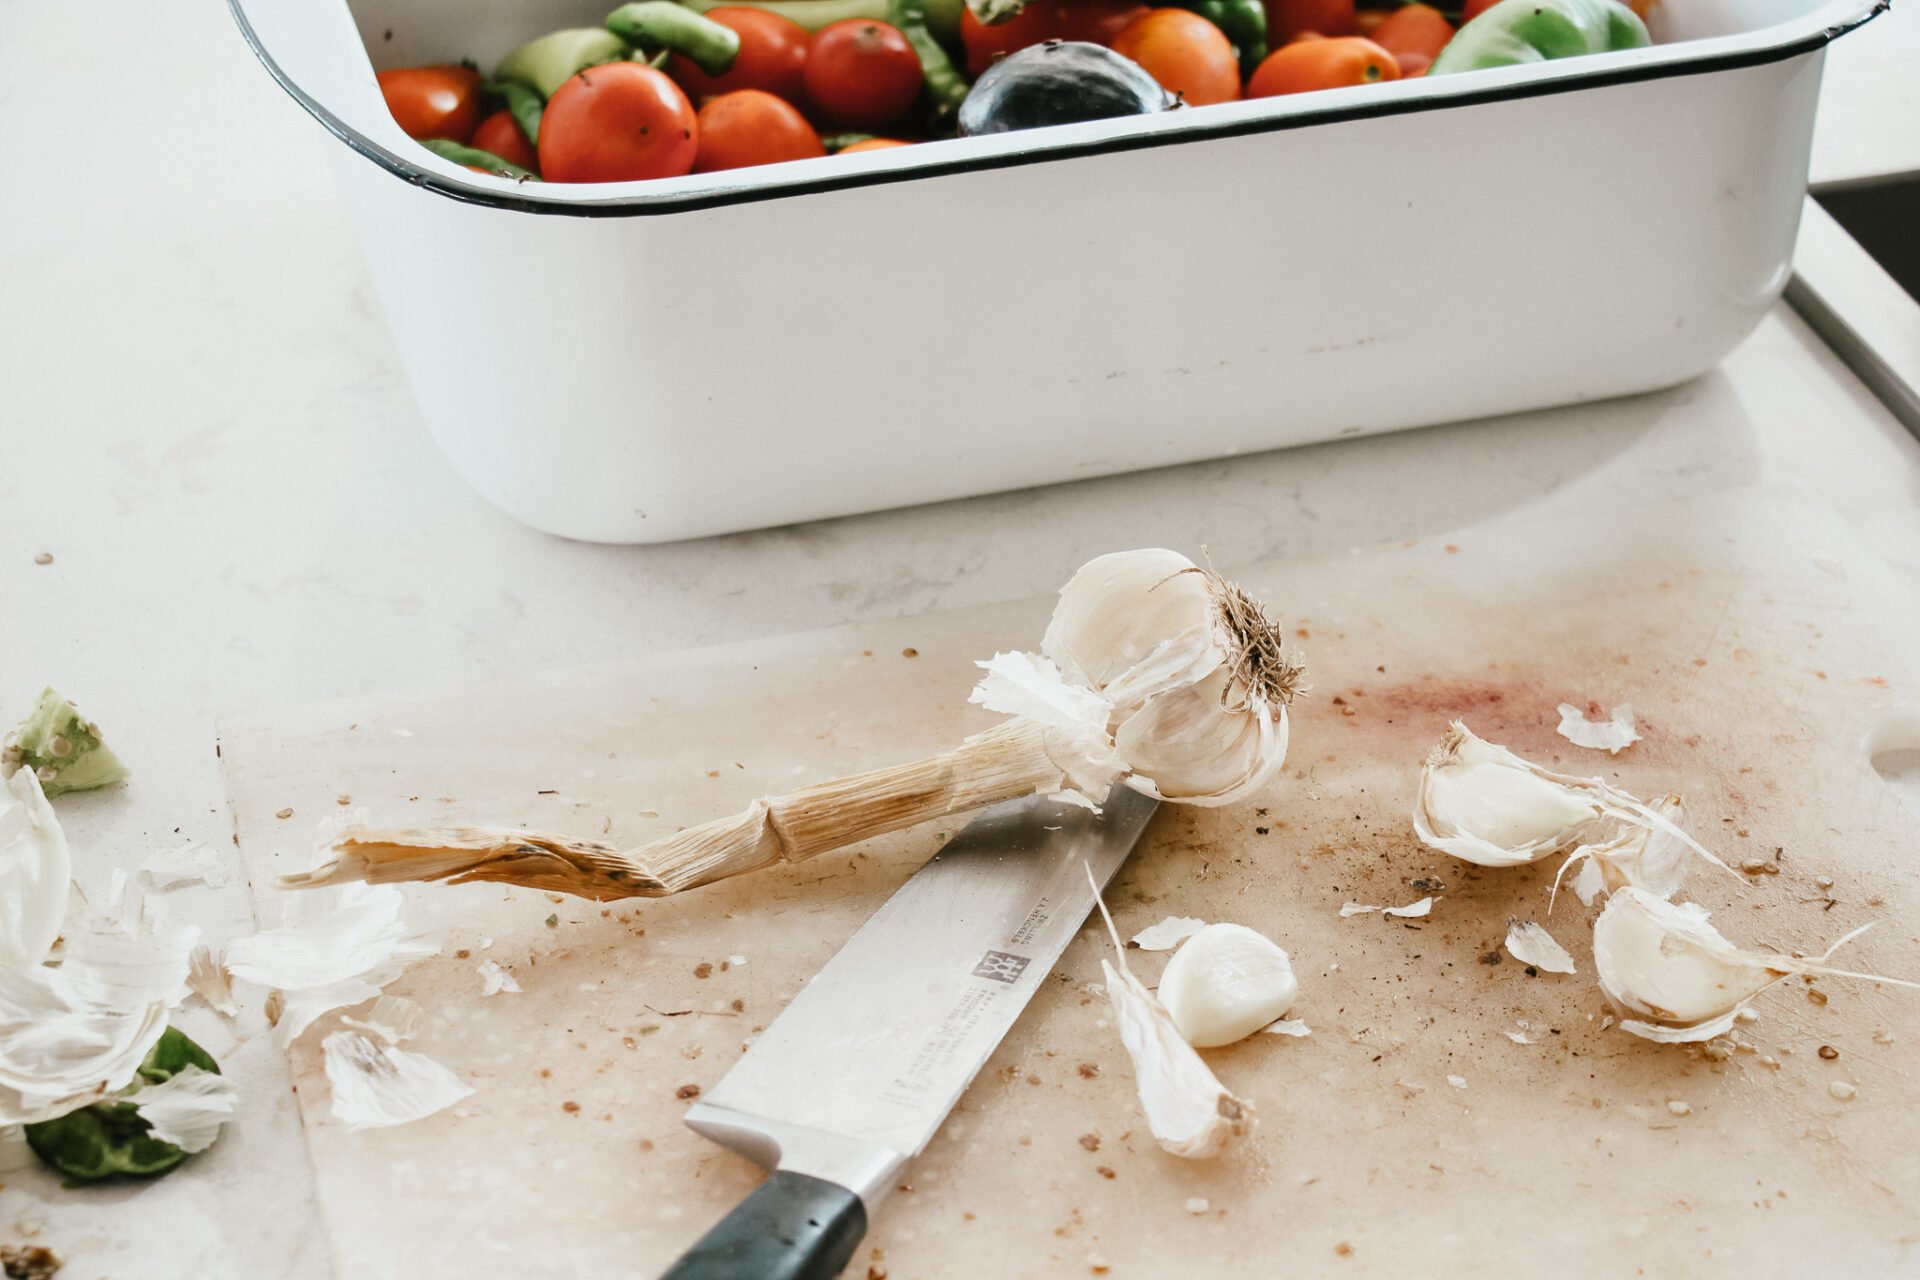
- 8 cloves garlic
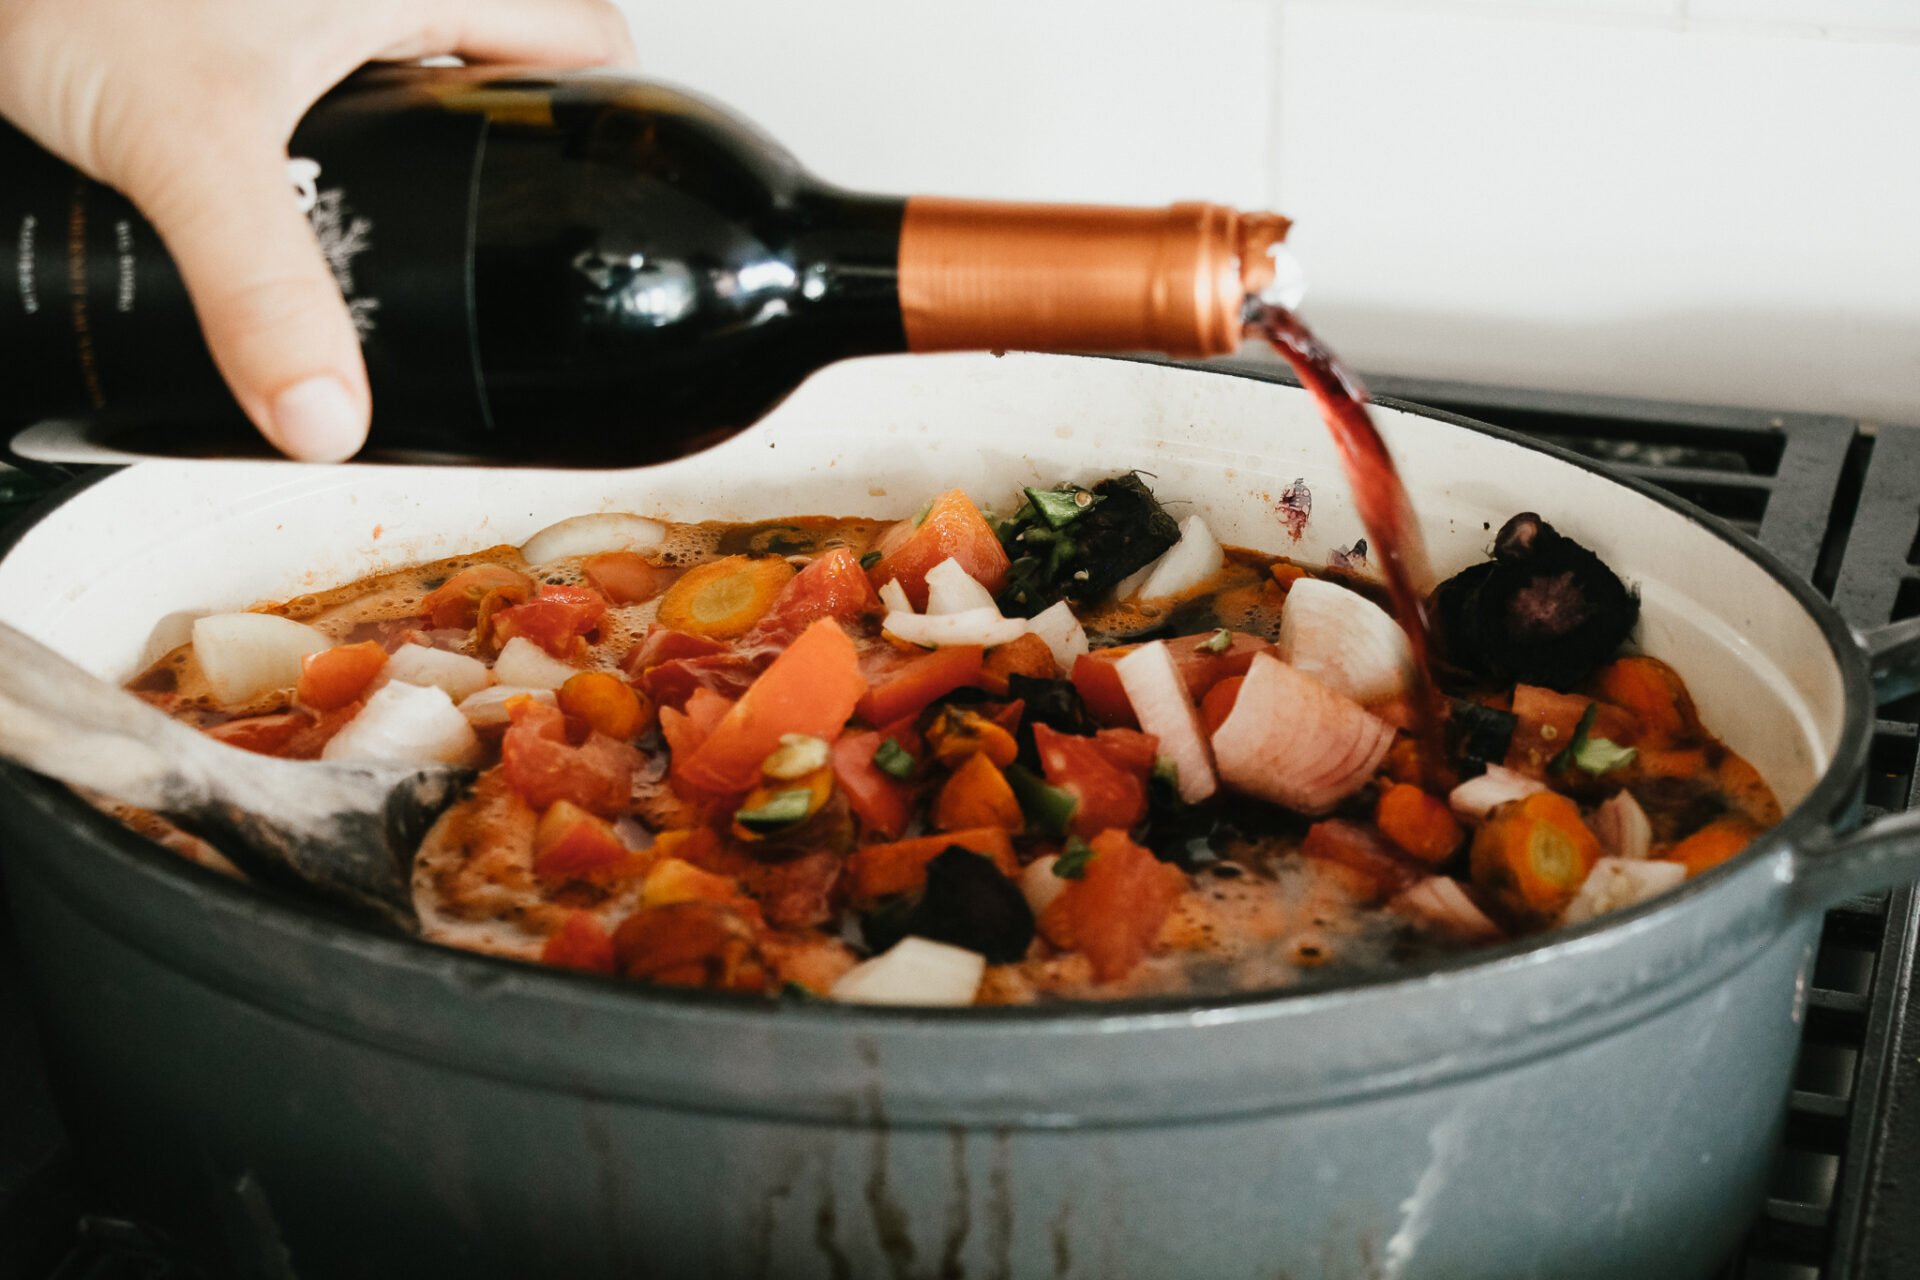
- 1/2 cup dry red wine
- 1 T sea salt
- 1/4 t black pepper
- beef bones (optional)
- 1/2 cup fresh herb mixture like basil, parley, and oregano OR 2 T dried herb mixture
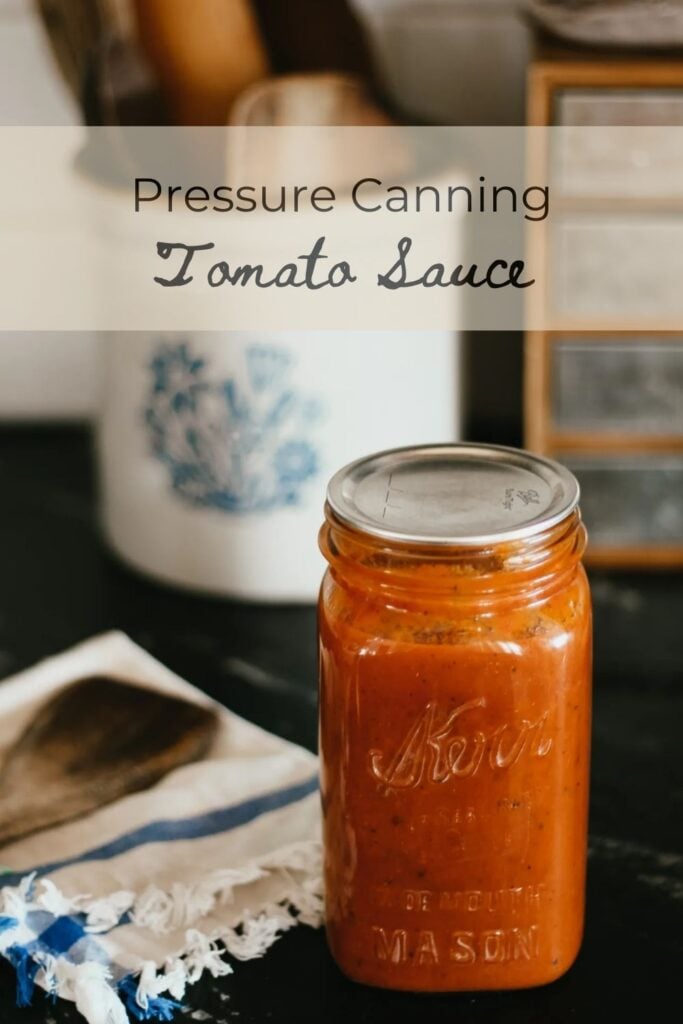
Pressure Canning Tomato Sauce
Sauce Instructions
- wash, rinse, and dry all produce to be used
- rough chop tomatoes, onions, carrots, and garlic and add them all to a stock pot
- add wine, salt & pepper, herbs, and beef bones
- simmer on low for a few hours
- remove from heat and remove beef bones
- puree with a blender, or use an immersion blender to puree right in the pot you cooked in (this is what I do because it is less mess and dishes.
- serve right away, freeze, or can
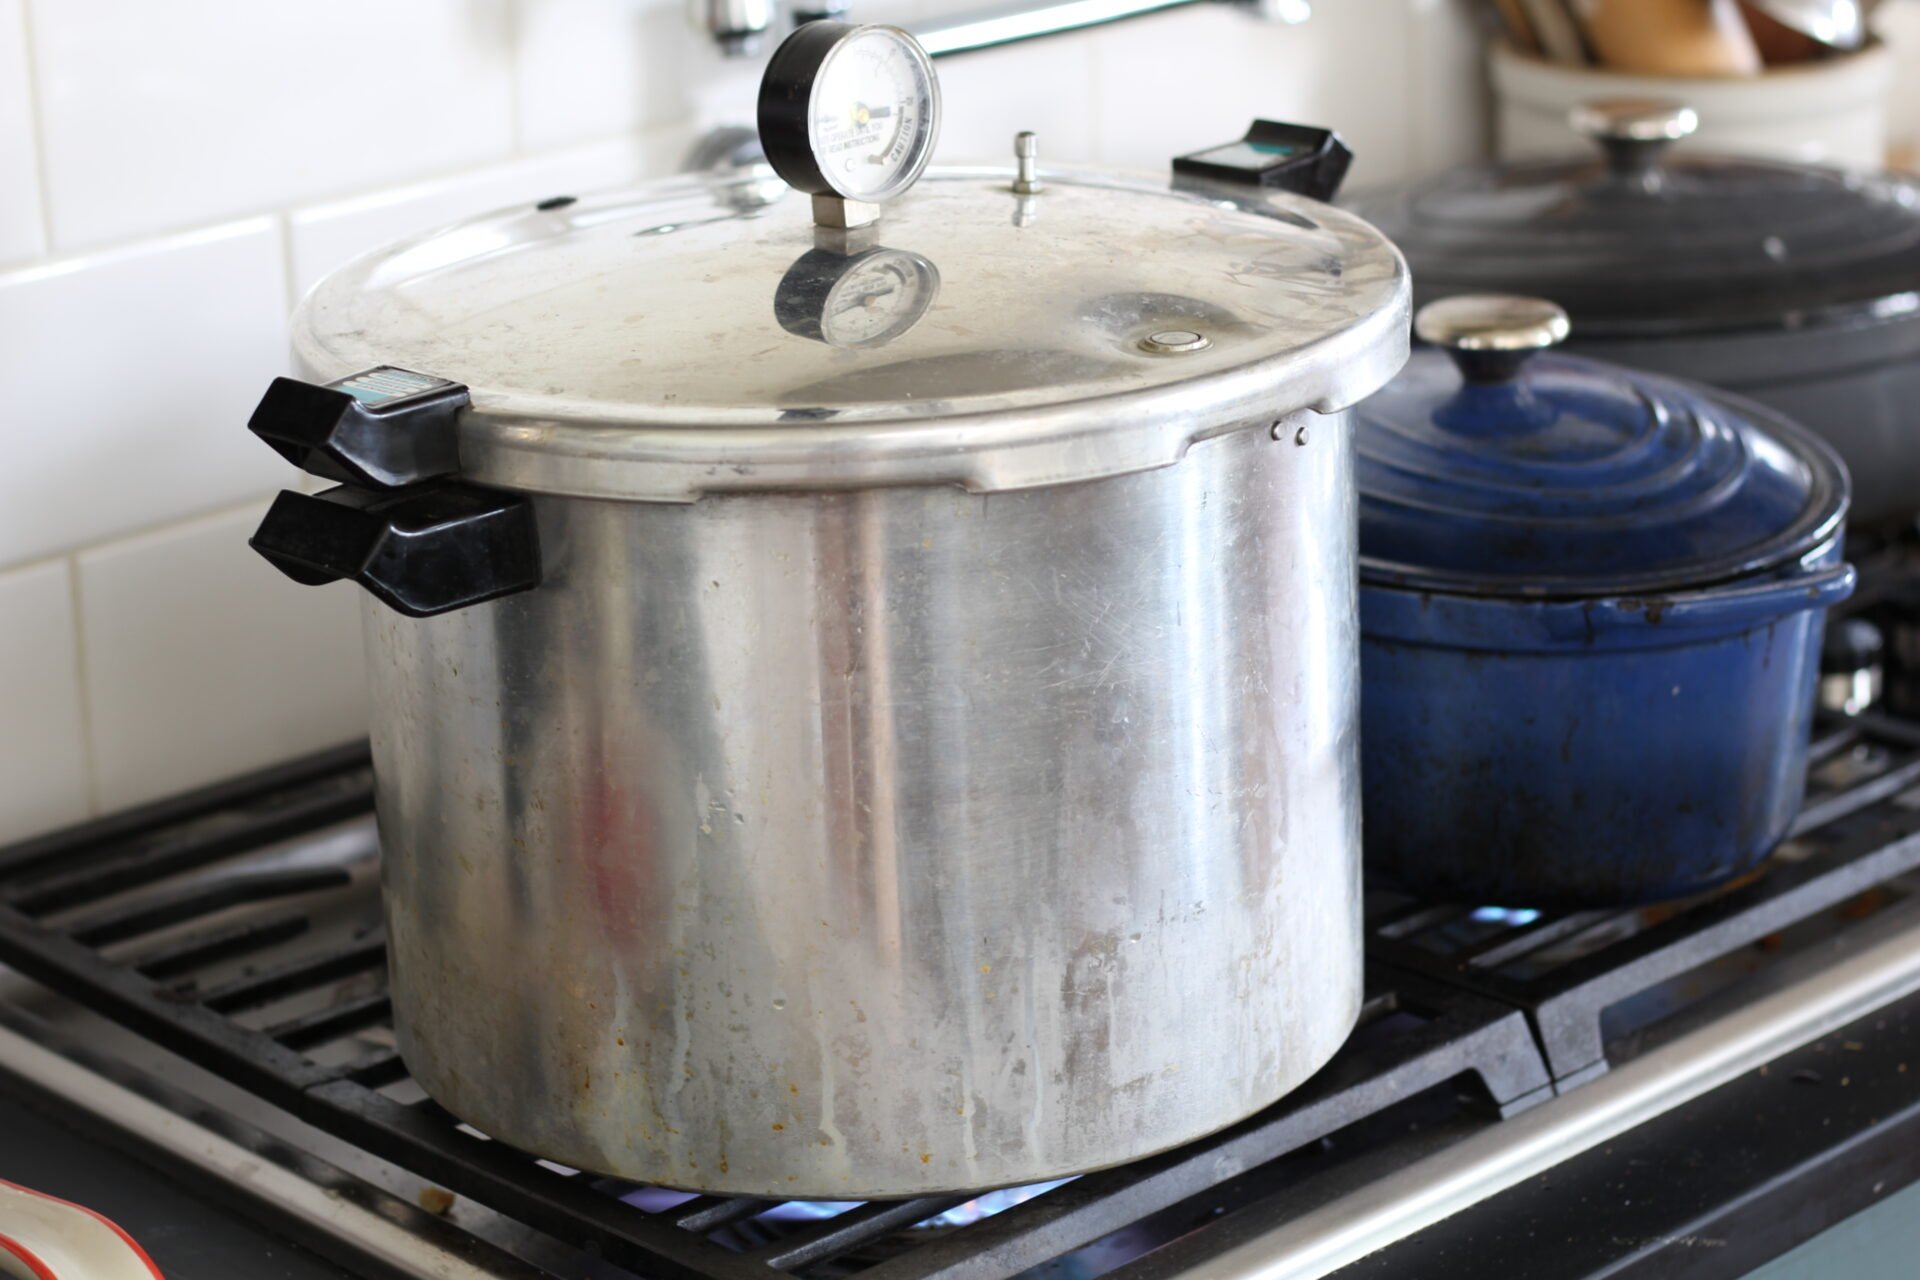
Pressure Canning Instructions
- add 2-3 inches of water to the pressure canner
- Place clean jars in the pressure canner and heat to 140-180F to pre-heat the jars so they don’t bust when the hot sauce is added.
- use a funnel and ladle to transfer the sauce into clean, hot jars
- remove air bubbles with a silicon utensil
- clean and dry the jar rims
- screw lids and rings on fingertip tight
- place the sealed jars into the pressure canner and secure the lid
- turn up the heat and vent the steam for 10 minutes
- place the weight/pressure regulator on the vent pipe
- process for 75 minutes for pints and 90 minutes for quarts at 10 PSI
- remove from heat and allow the canner to depressurize with the pressure regulator in place, this will take a while. Do not “bleed” pressure by removing the regulator/weight.
- Once the gauge is at 0, remove the lid and transfer the jars to cool on a towel. Do not place jars directly onto a cold surface, this may cause them to bust.
- Once cooled, remove the rings, check the seals, and store them in a cool, dark place like a pantry or basement.
How is it not watery and too thin
The carrots. The secret ingredient. They thicken the sauce up without altering the flavor and add nutrition in the process. Do NOT skip the carrots or you will end up with tomato juice.
Ok, let’s get to the sauce
The secret ingredient (if you didn’t read in the question section above) to make it thick and not runny – is carrots. A pound of them. And don’t worry, you can’t even taste them. They just act to thicken the sauce to the proper consistency. And add nutrition in the process. WIN.
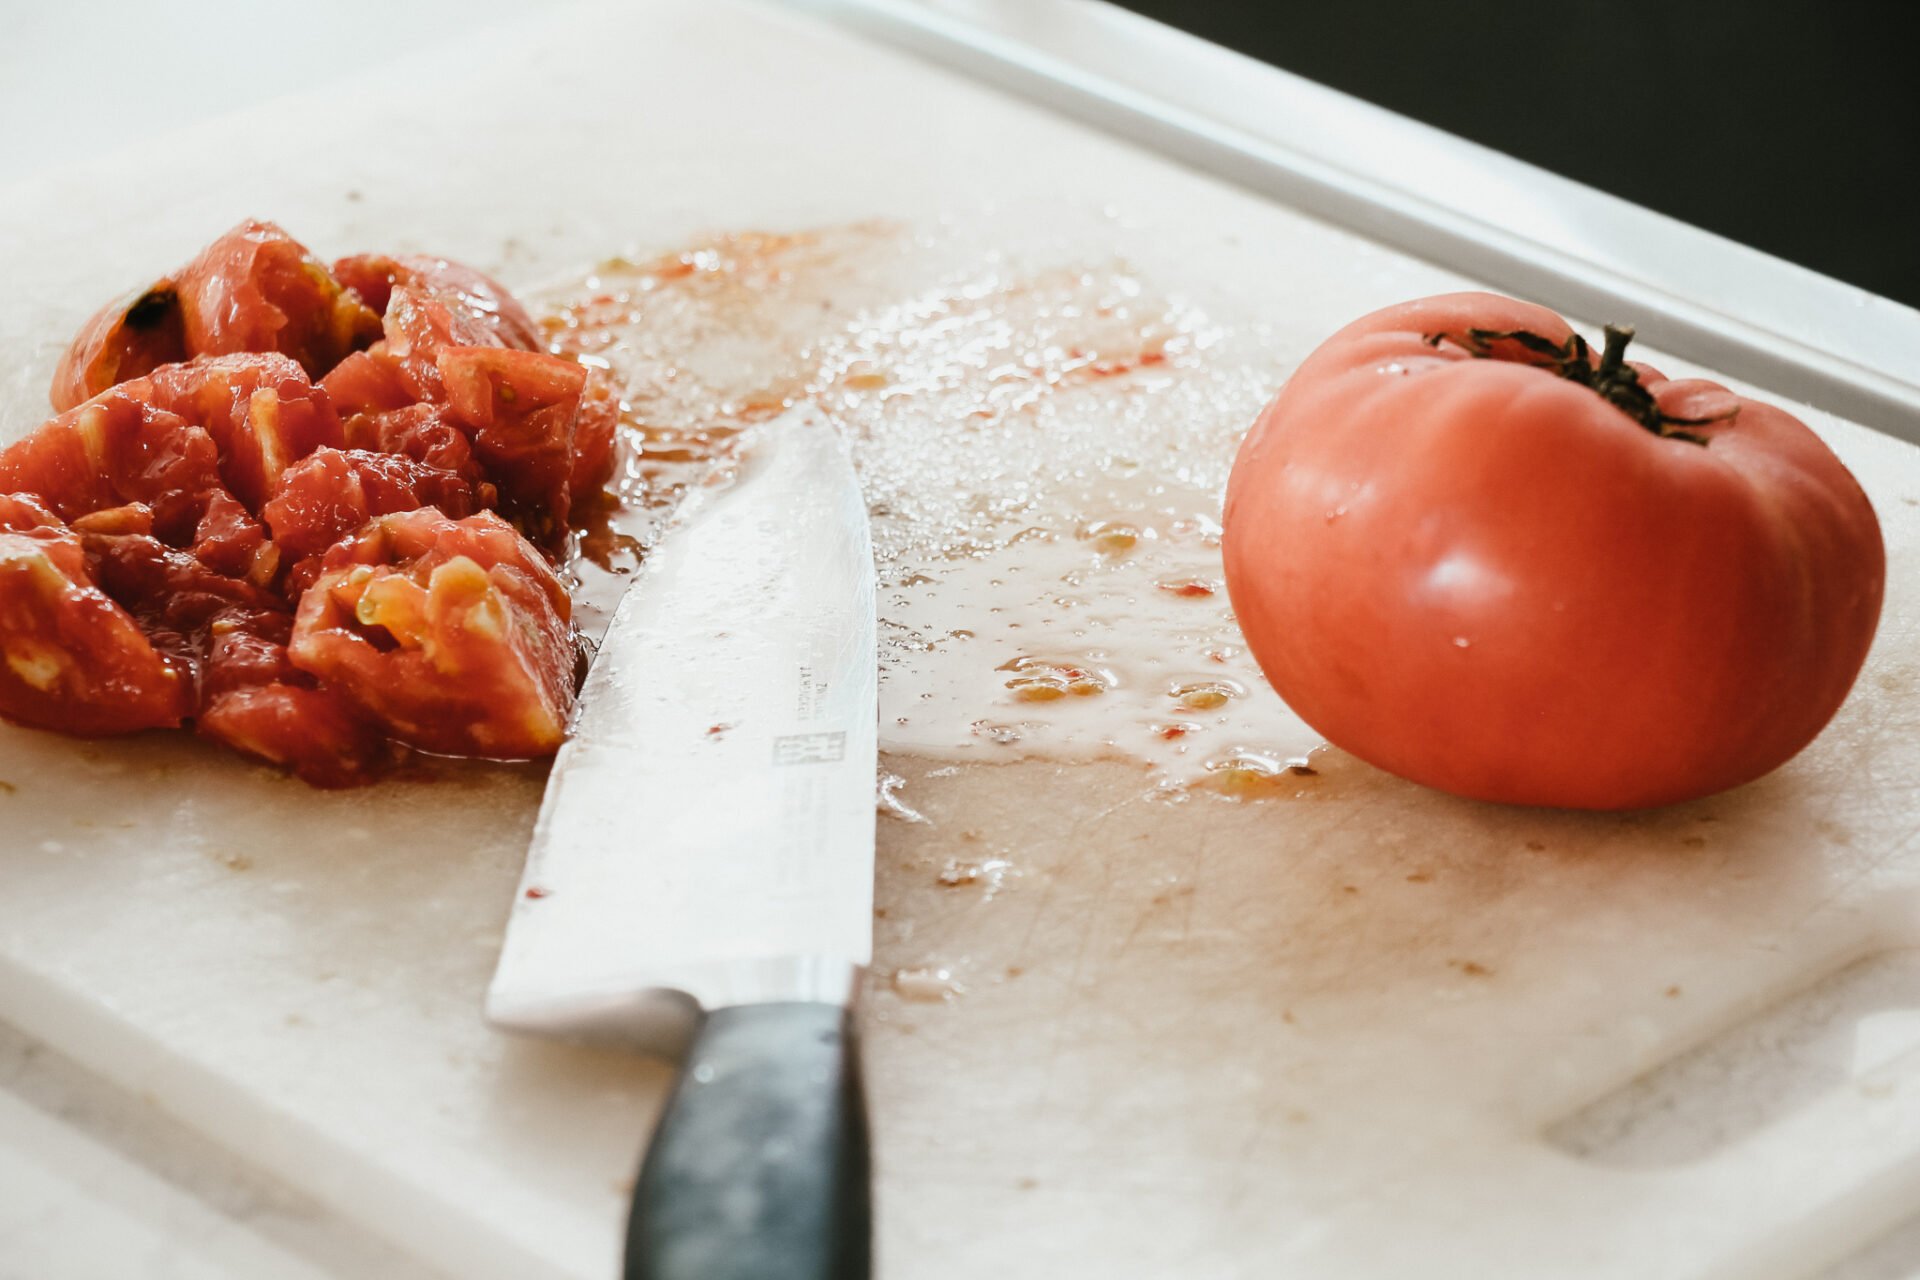
First step – rough chop tomatoes

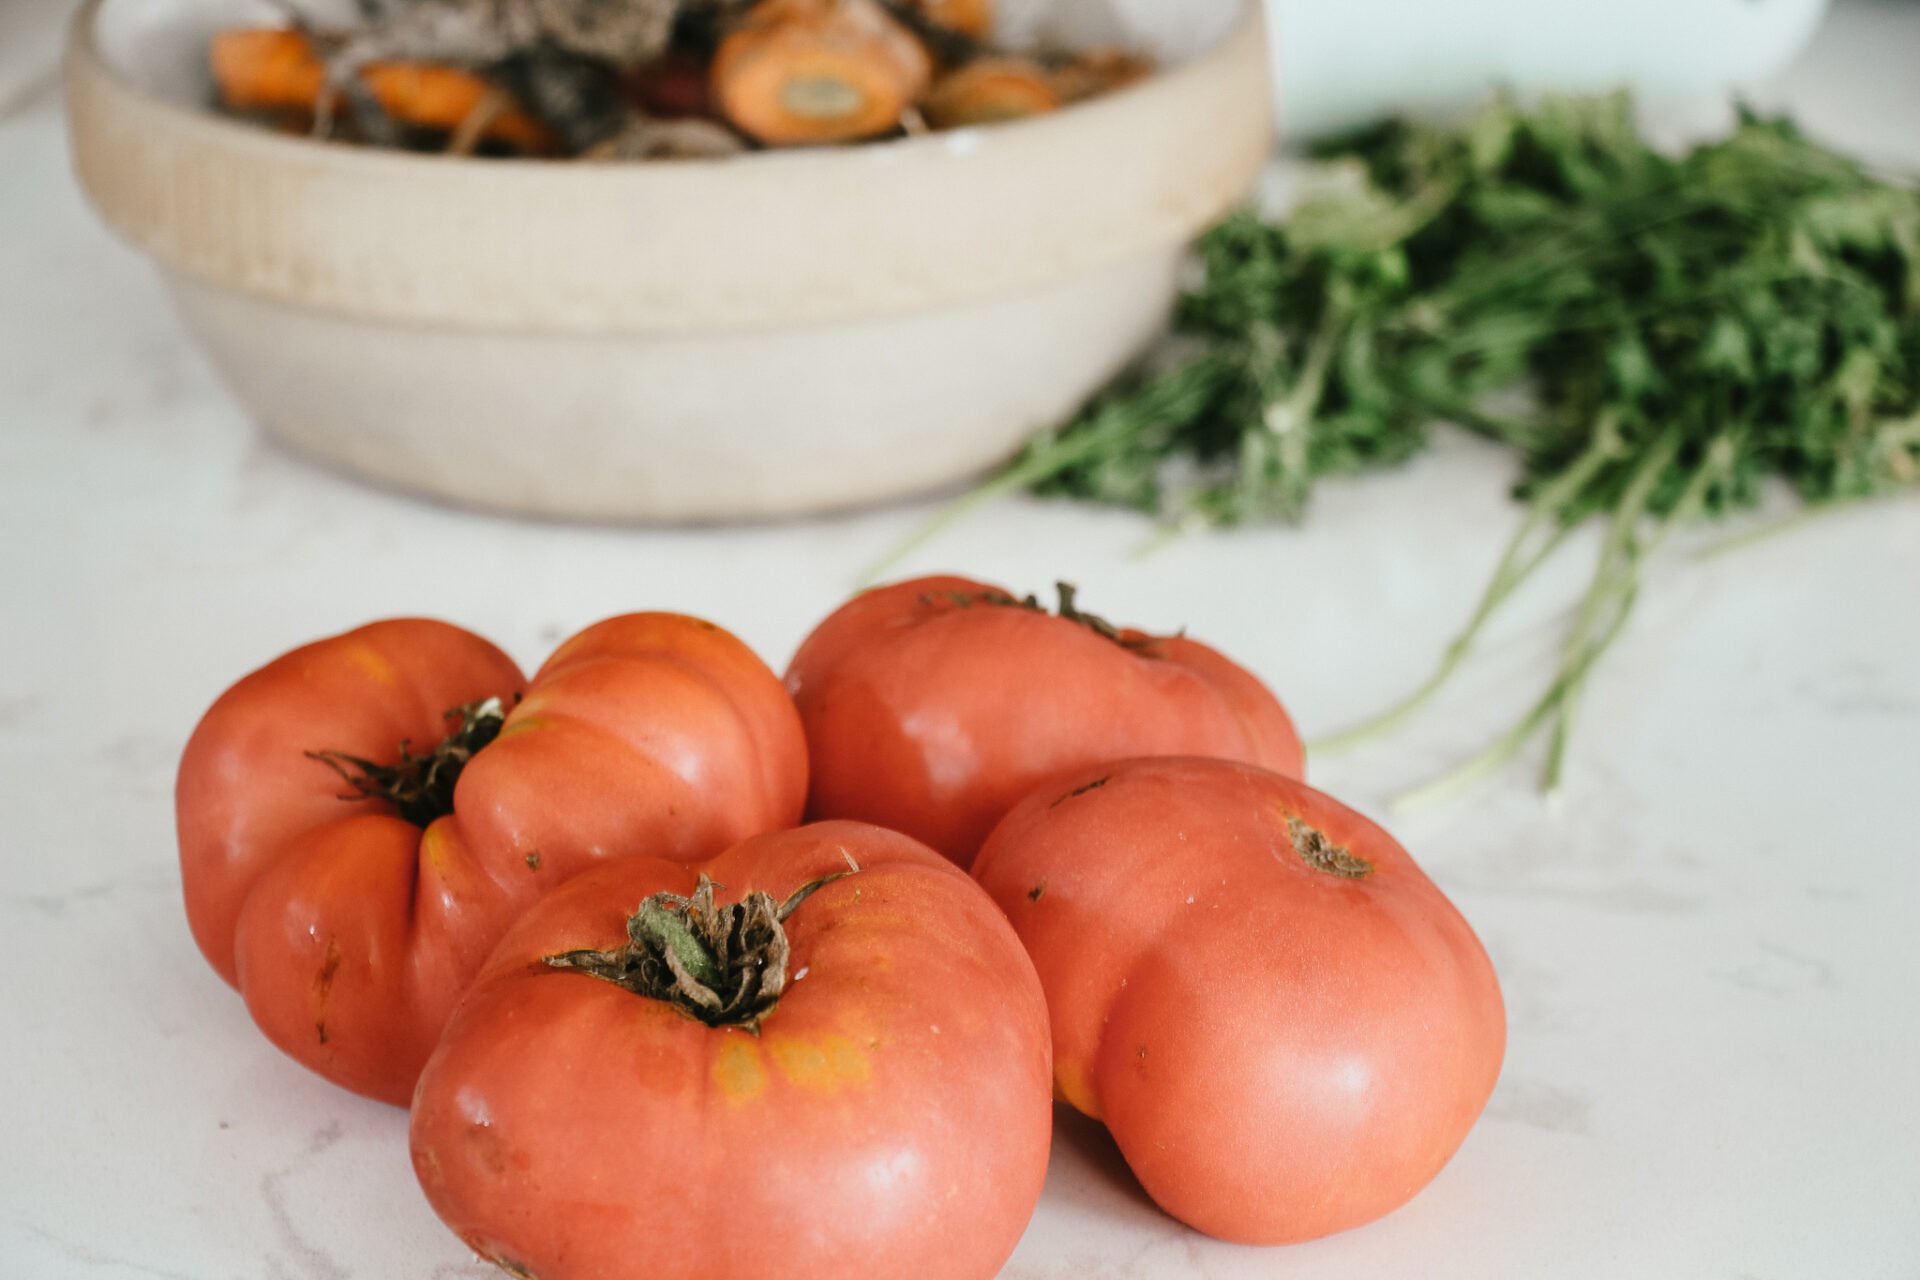
Next up – rough chop carrots, onions, and garlic
I use my reject ugly carrots from the garden for my sauce. I did find that the batches with purple carrots were much, much darker in color which was fun.
Garlic is so easy to grow and it’s a fall crop. Stick some cloves in the ground in September, do nothing over winter, and harvest a huge garlic crop the following summer.
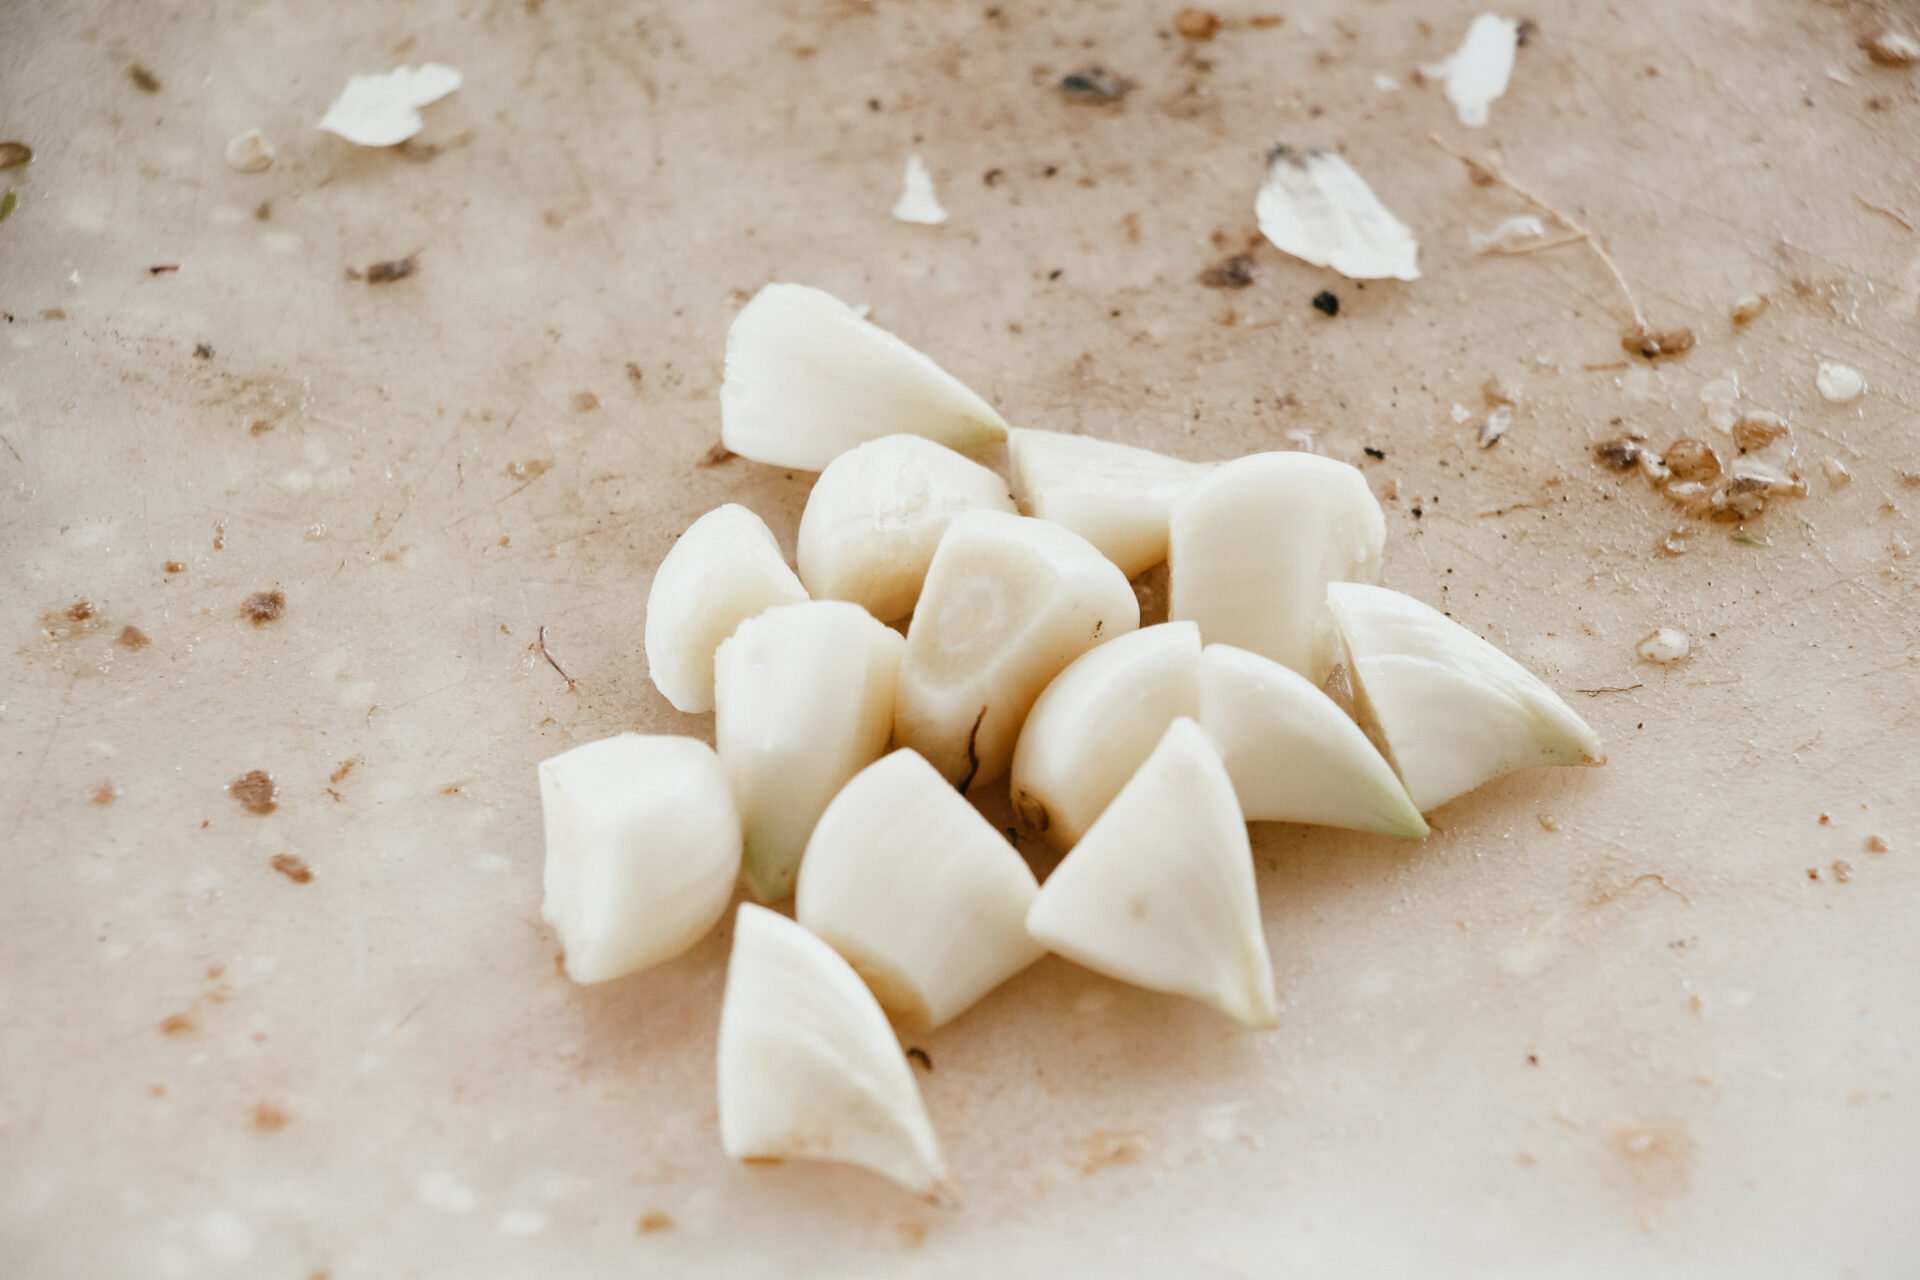
Rough chop this too, it doesn’t need to be super fine because your sauce is getting blended when it’s finished cooking, anyway.
Like this, will do.
And then everything just goes into a big stock pot.
Either way, the point is to simmer it on low for a few hours.
When I’m doing stuff in the kitchen that takes a while, I usually make a big batch of bread. Even if I don’t need it at the time I can freeze it for a time that I do in the future. Bread is a really good thing to have in the freezer. Even on my craziest days if I have some peanut butter and bread in the freezer I manage to feed the kids something decent.

Ok, this ingredient is not one to skip because it really adds to the flavor. You can just use cheap red wine, or whatever you have on hand.
Oh also, if you have some beef bones – add those in now, you won’t regret it! These were leftovers from a big pot roast I cooked a week prior.
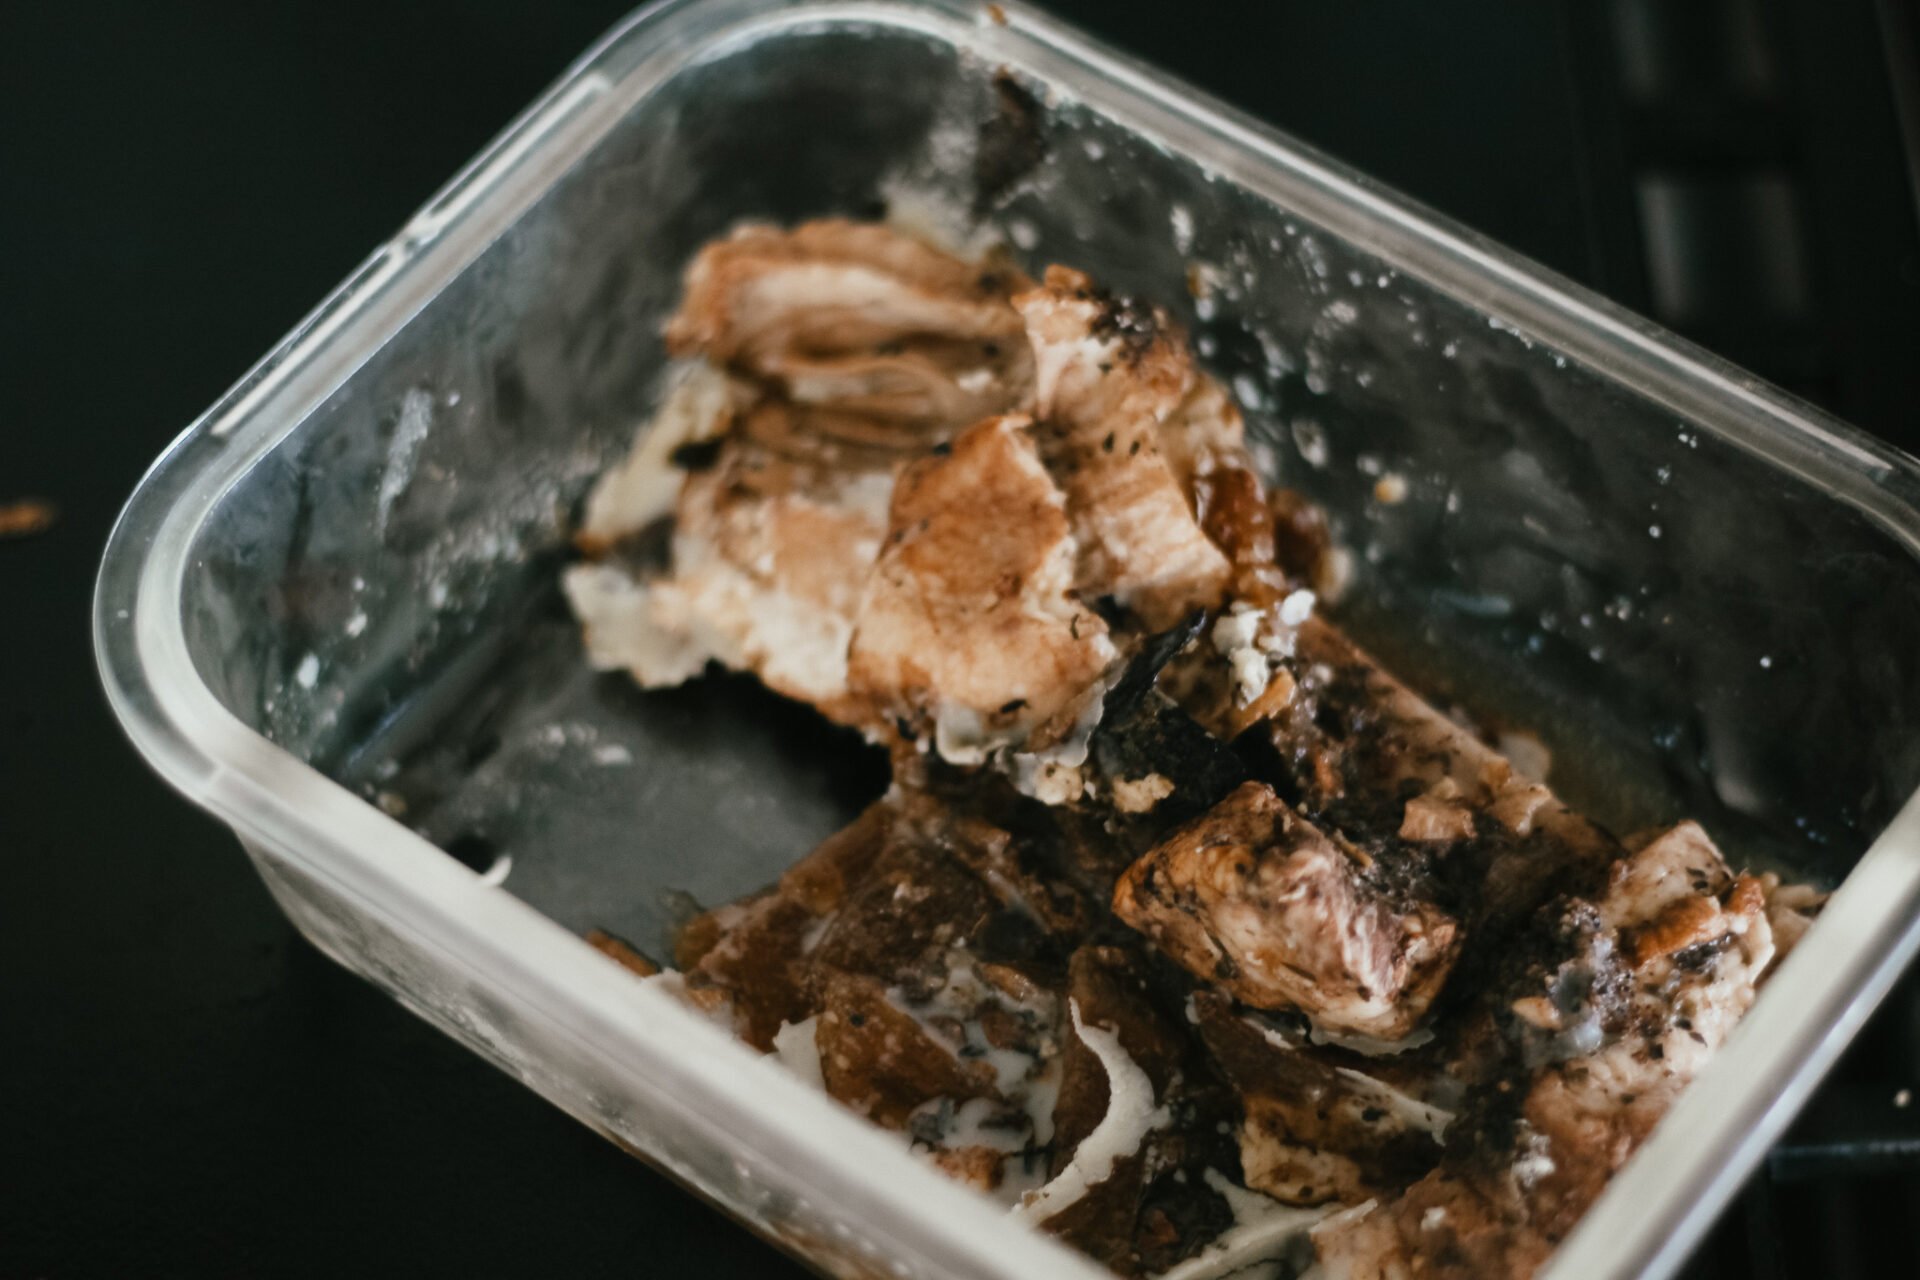
After the sauce has simmered for a few hours, remove from heat. You’ll end up with something like this.
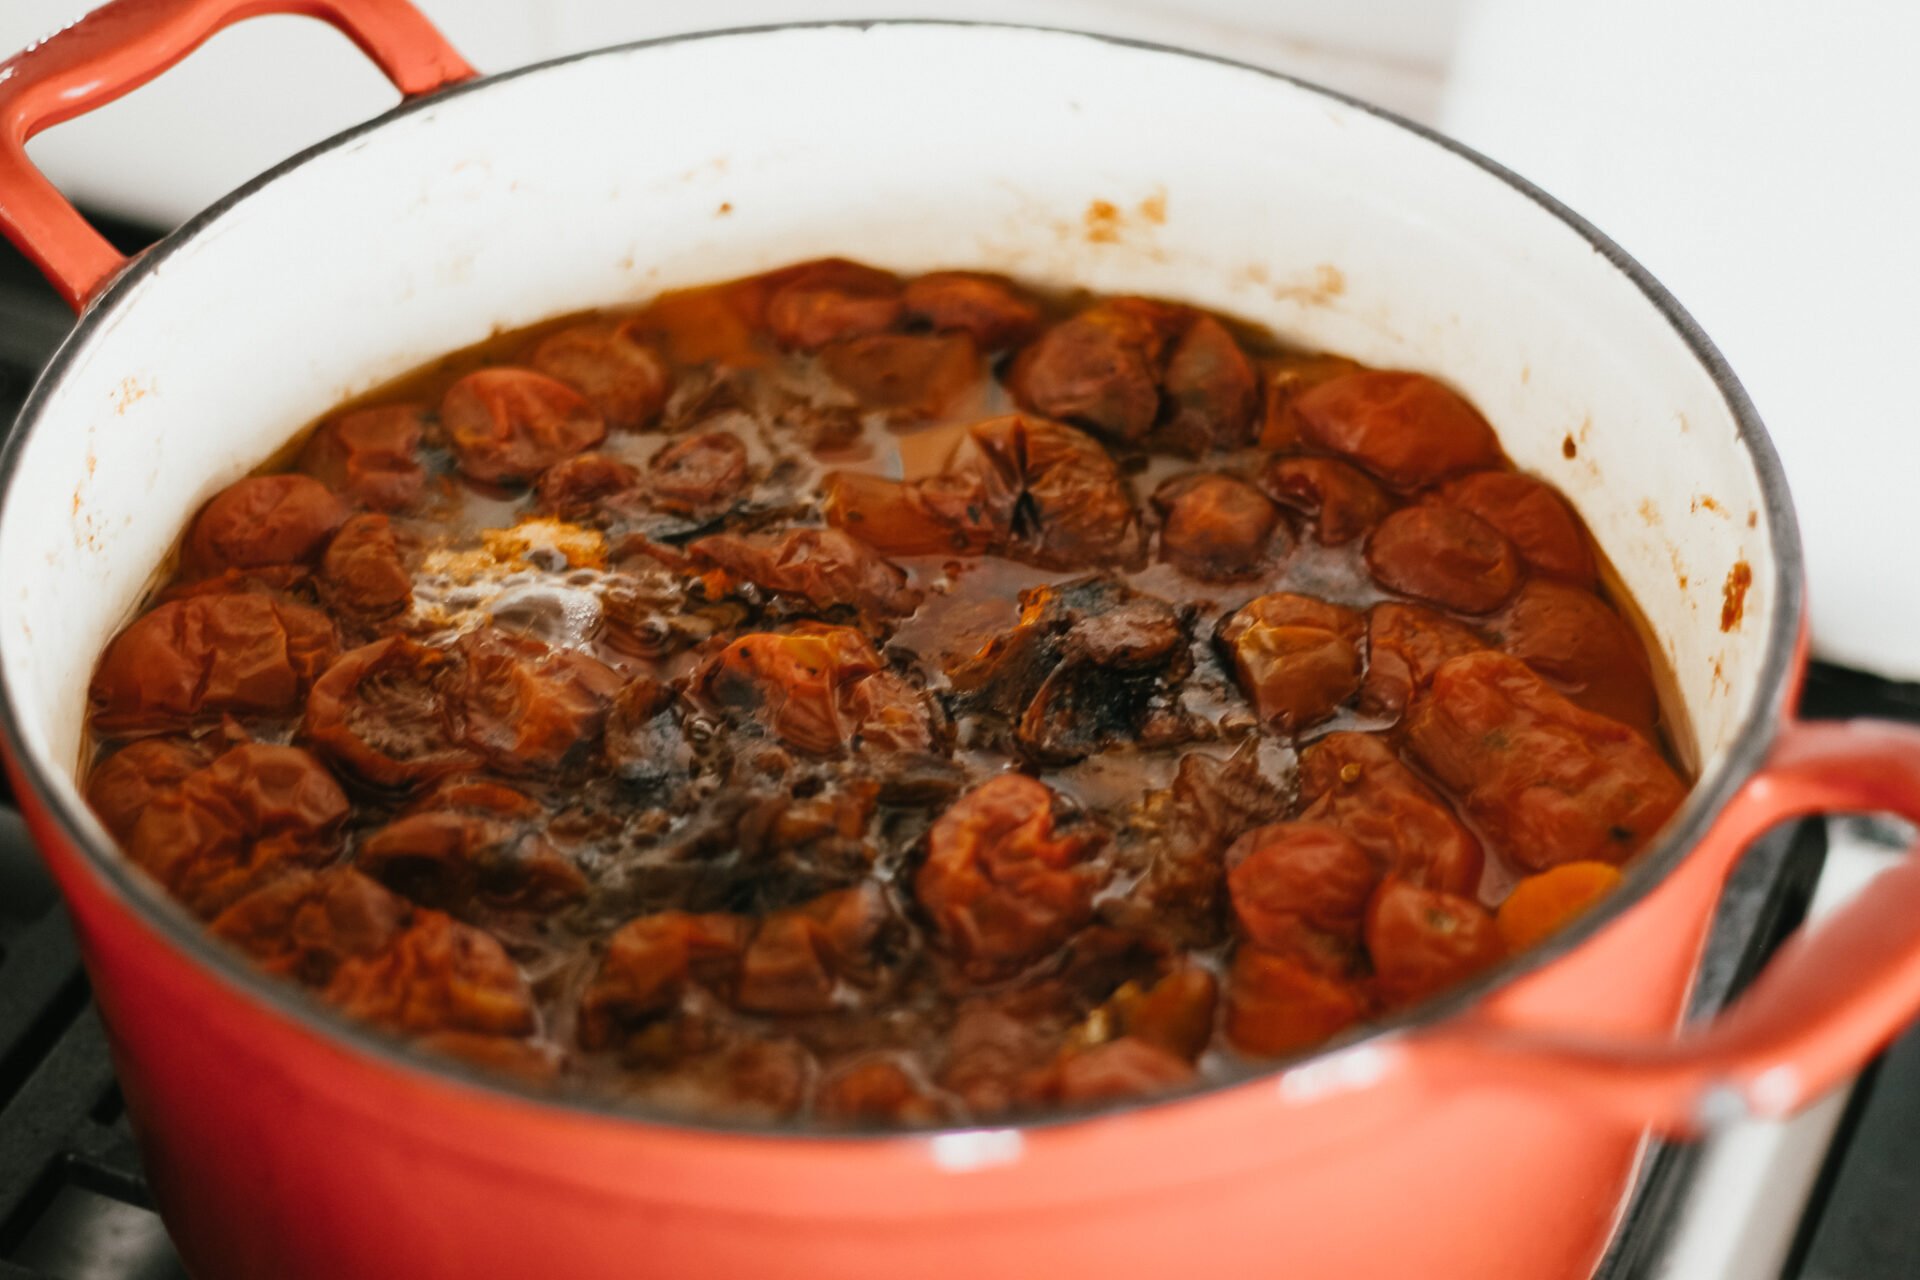
It will still be really textured since we haven’t pureed it yet

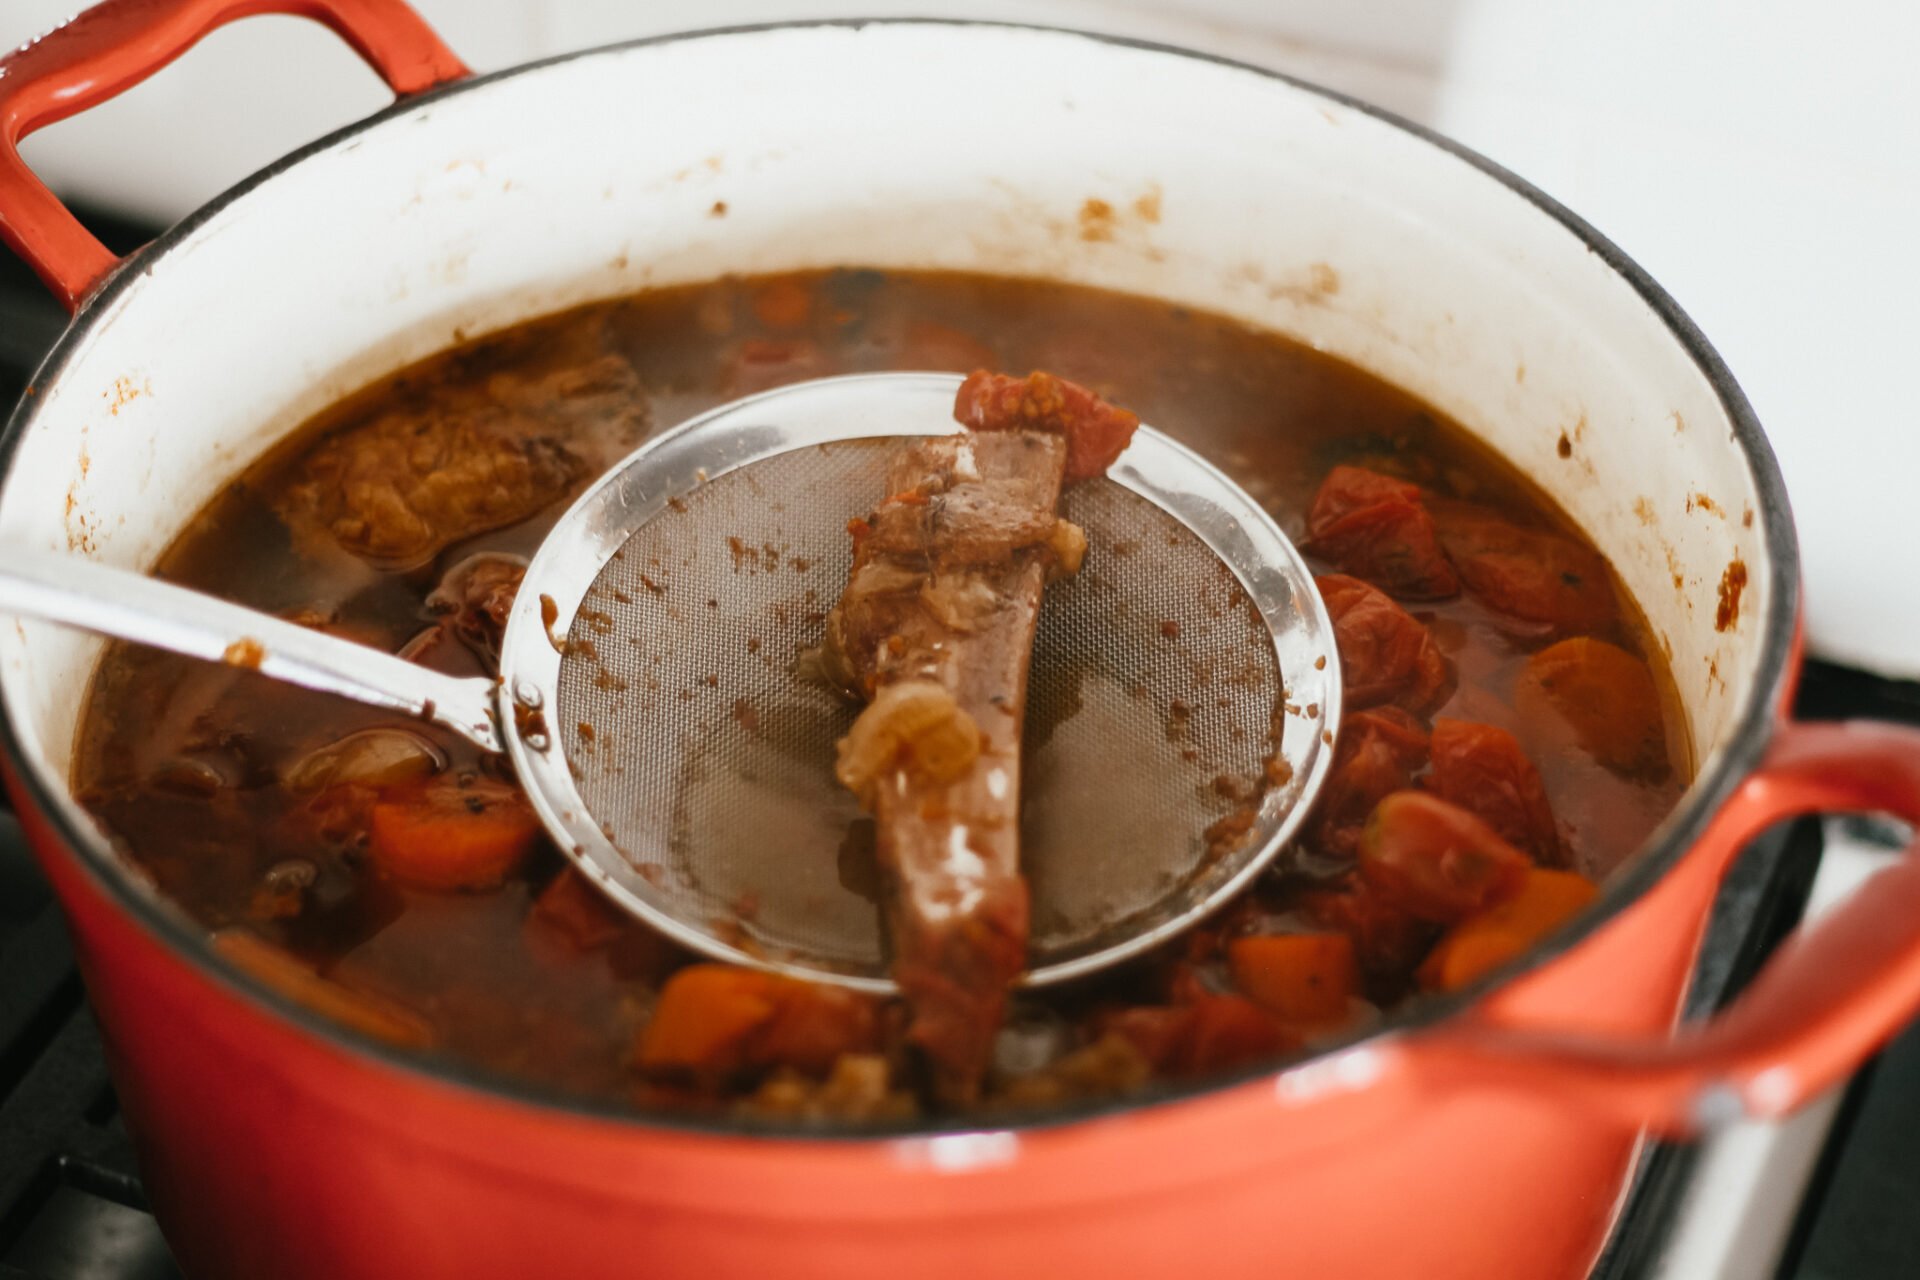
Don’t forget to remove the bones! You do NOT want those in there when you puree.
Then you can add the herbs and transfer the sauce to a blender or just use an immersion blender. It’s so much easier for me to do it this way, less dishes too!
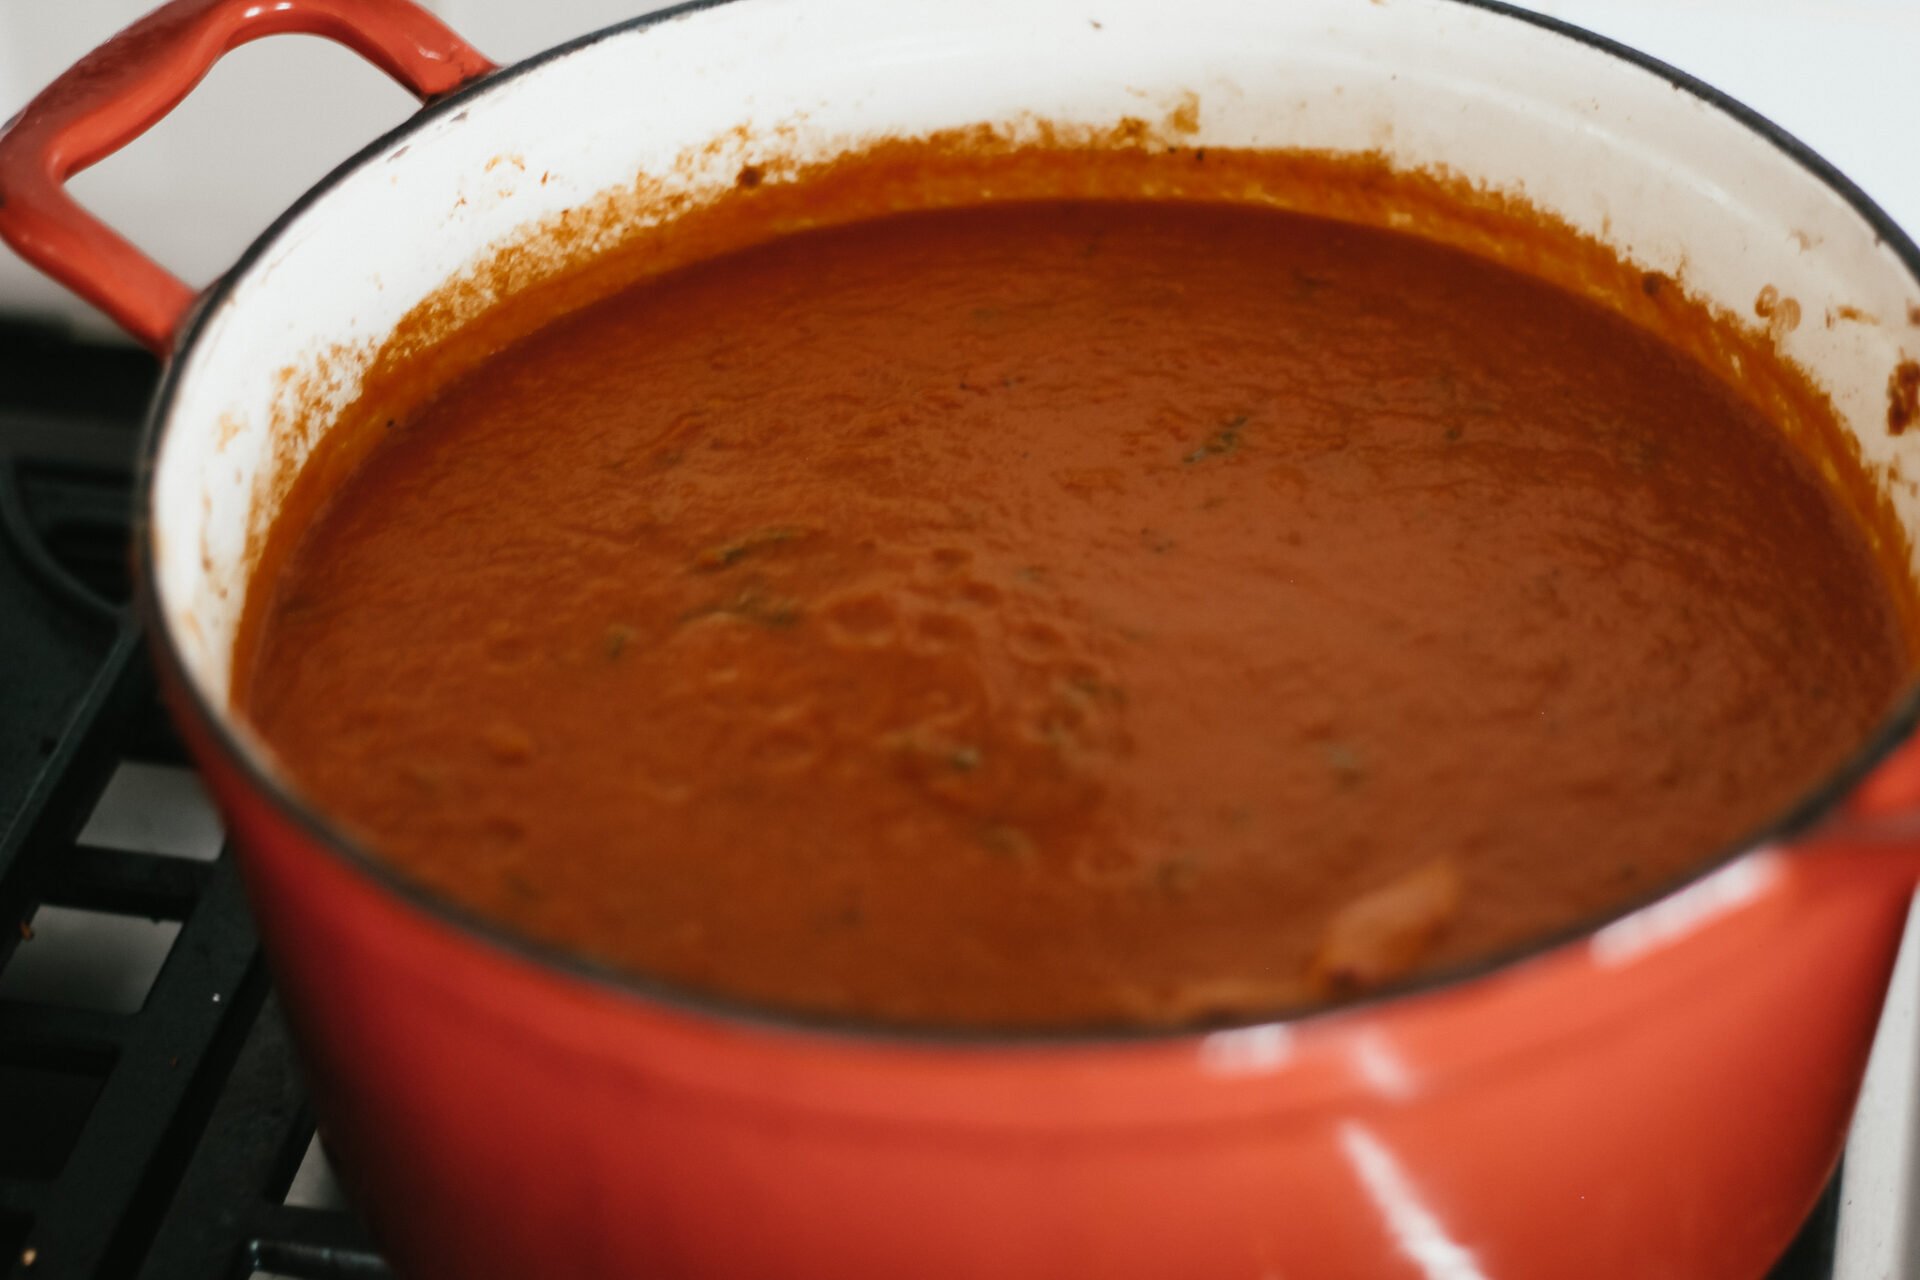
Blend well for a smooth consistency.
See? Not too watery. I like this consistency because you can always cook it down a bit for a thicker sauce. But you don’t have to use water to thin it and sacrifice flavor.
You can go ahead and serve your sauce right away fresh. Or…
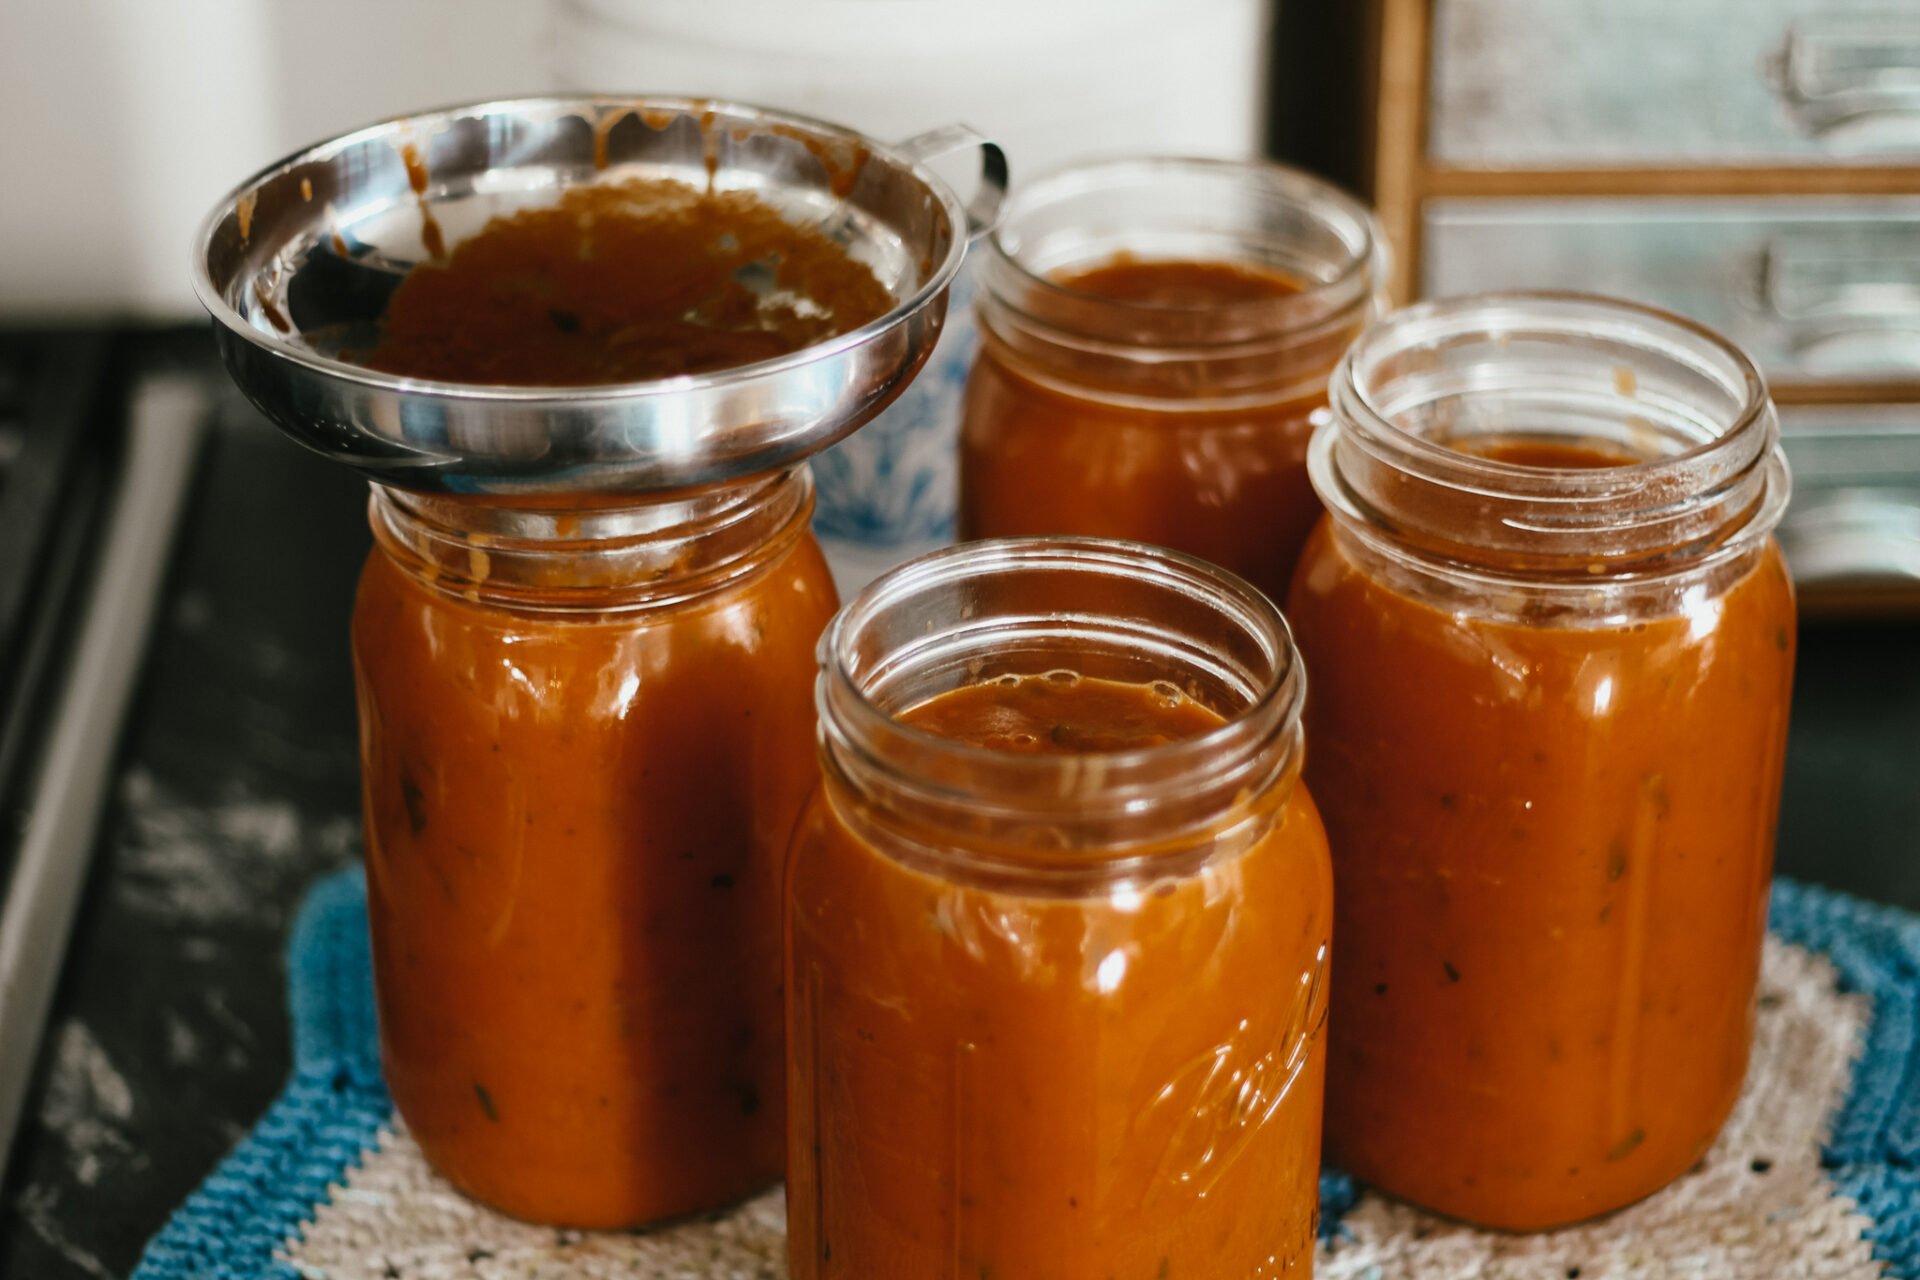
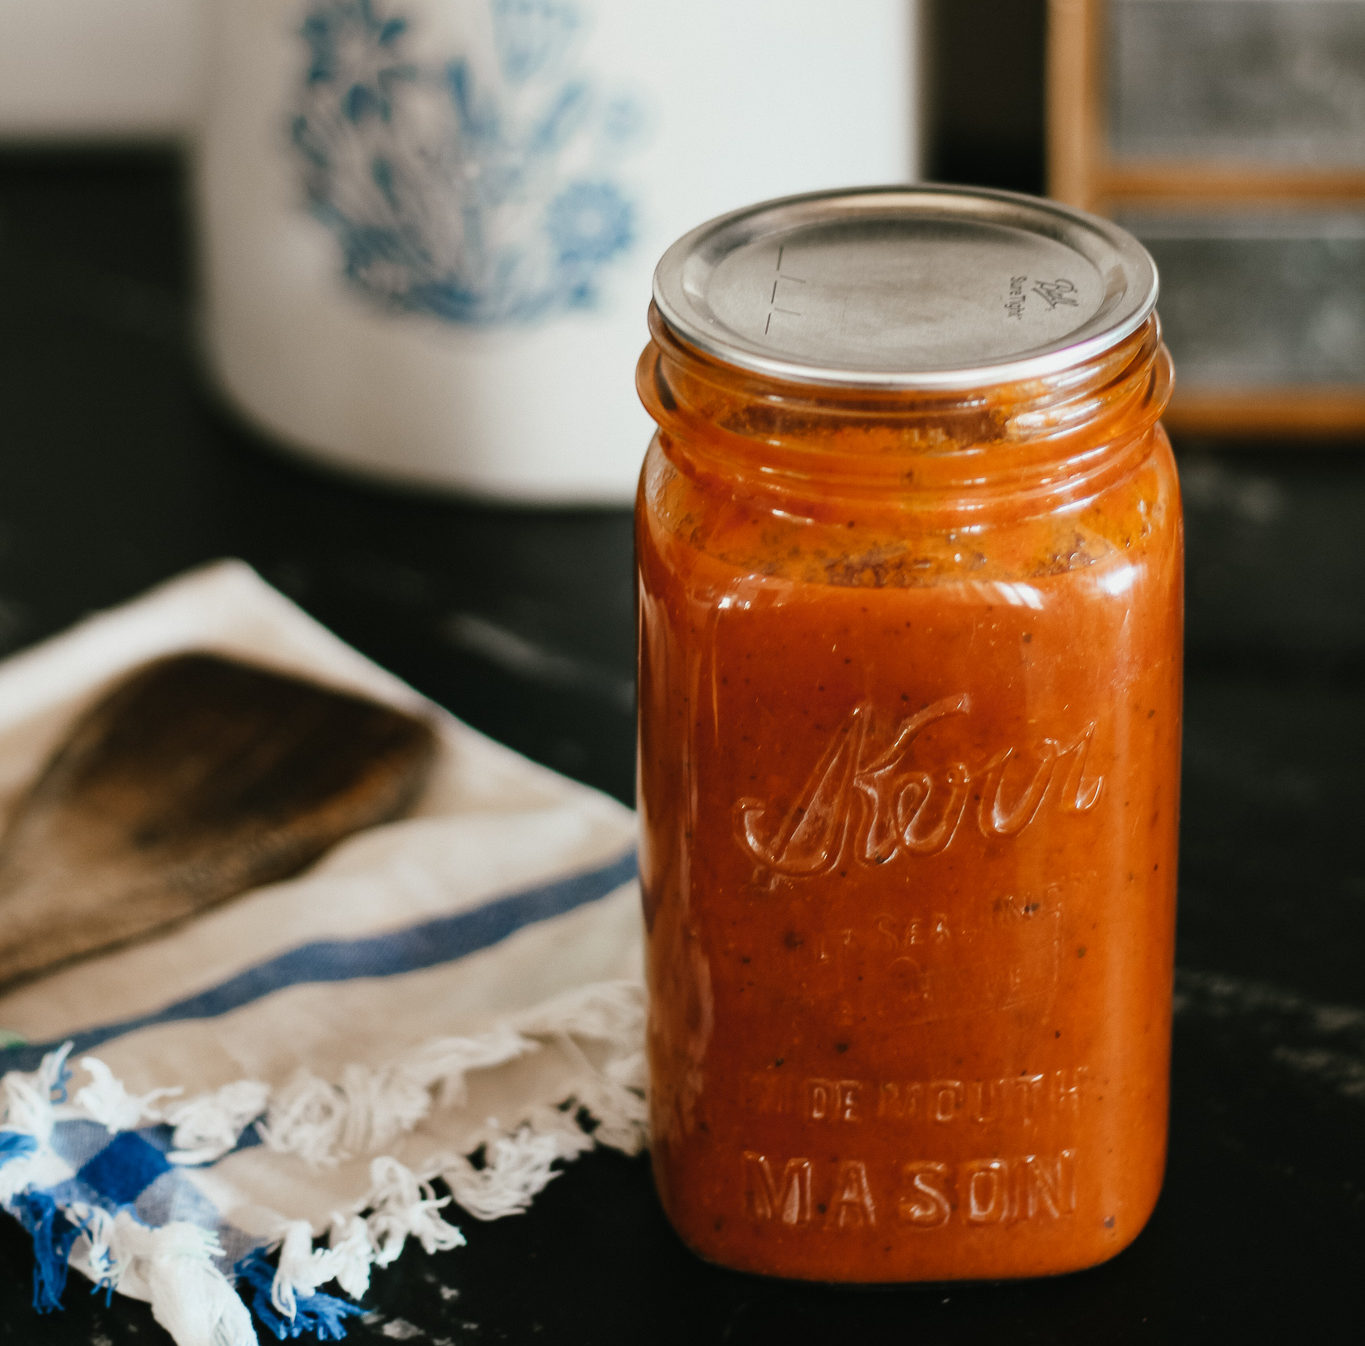
Get your clean, hot jars ready with a big funnel to transfer the sauce to hot jars. When canning, jars should be preheated in the canner to about 140F so they don’t break when adding hot food into them or when placed in the canner. When glass changes temp too quickly, it can break.
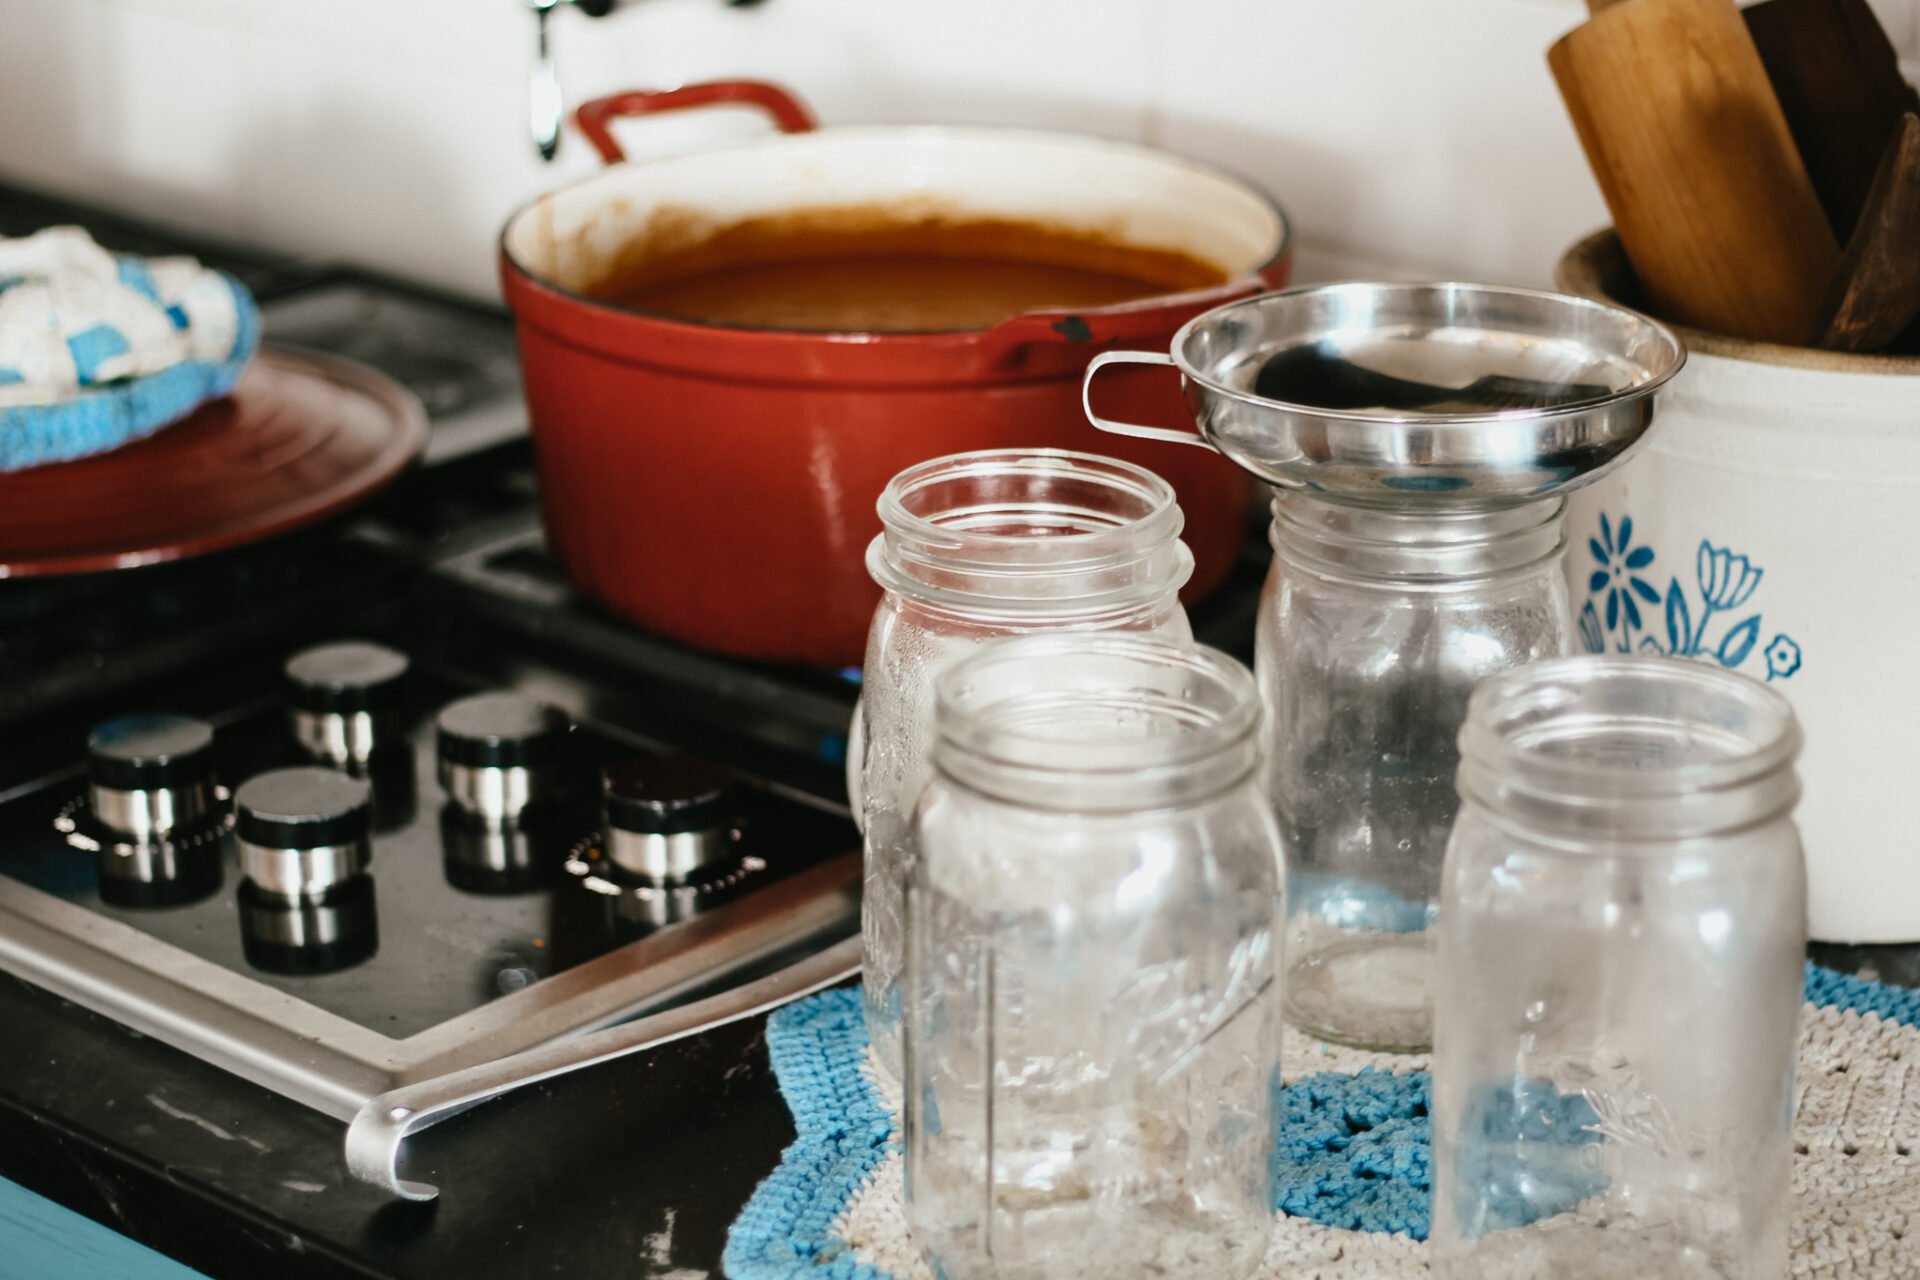
This recipe makes about four quarts. Don’t forget to leave 1″ headspace (the space at the top of the jar after adding food)
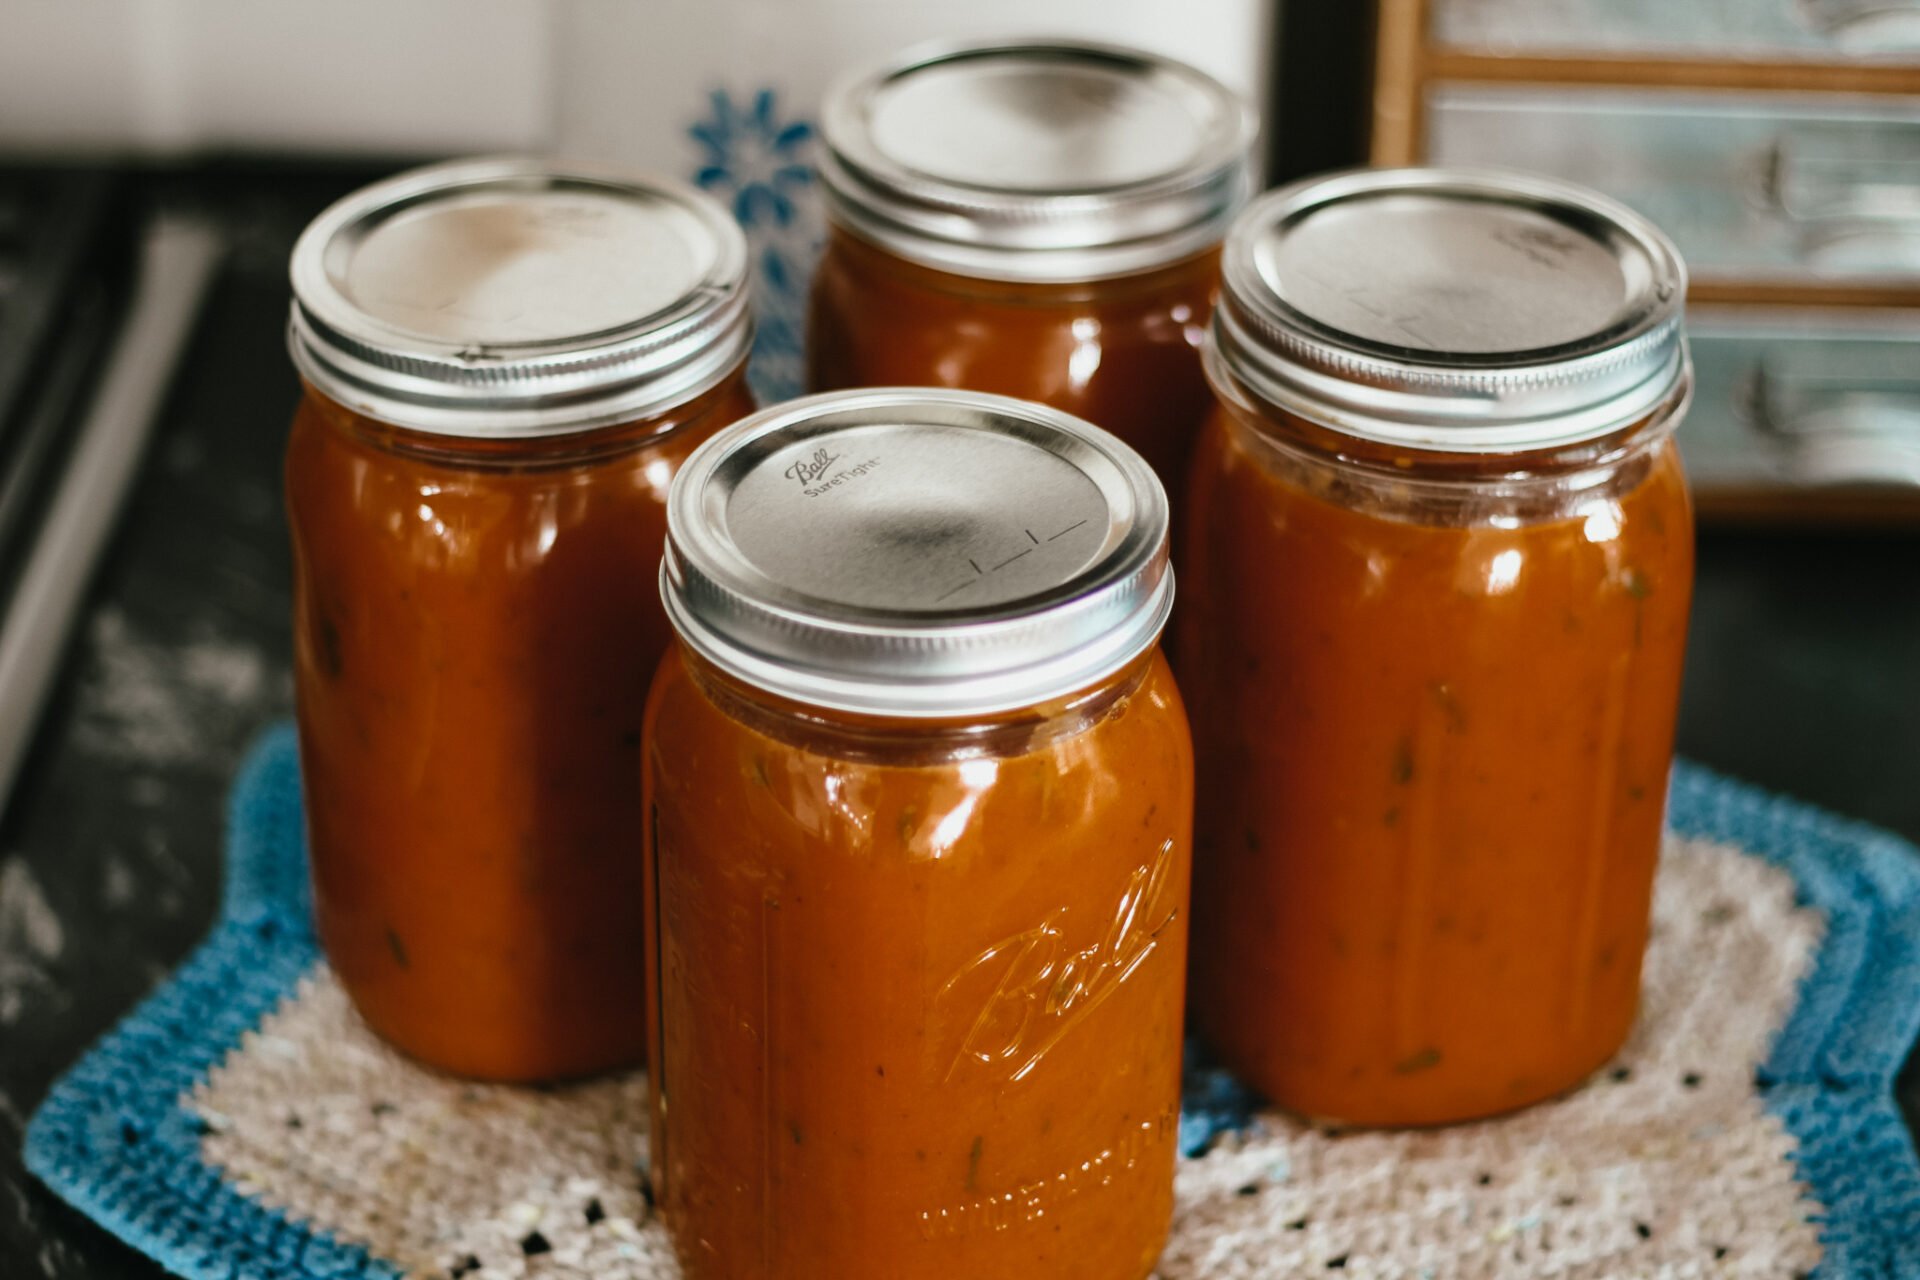
Add lids and rings, tighten lids to fingertip tight.
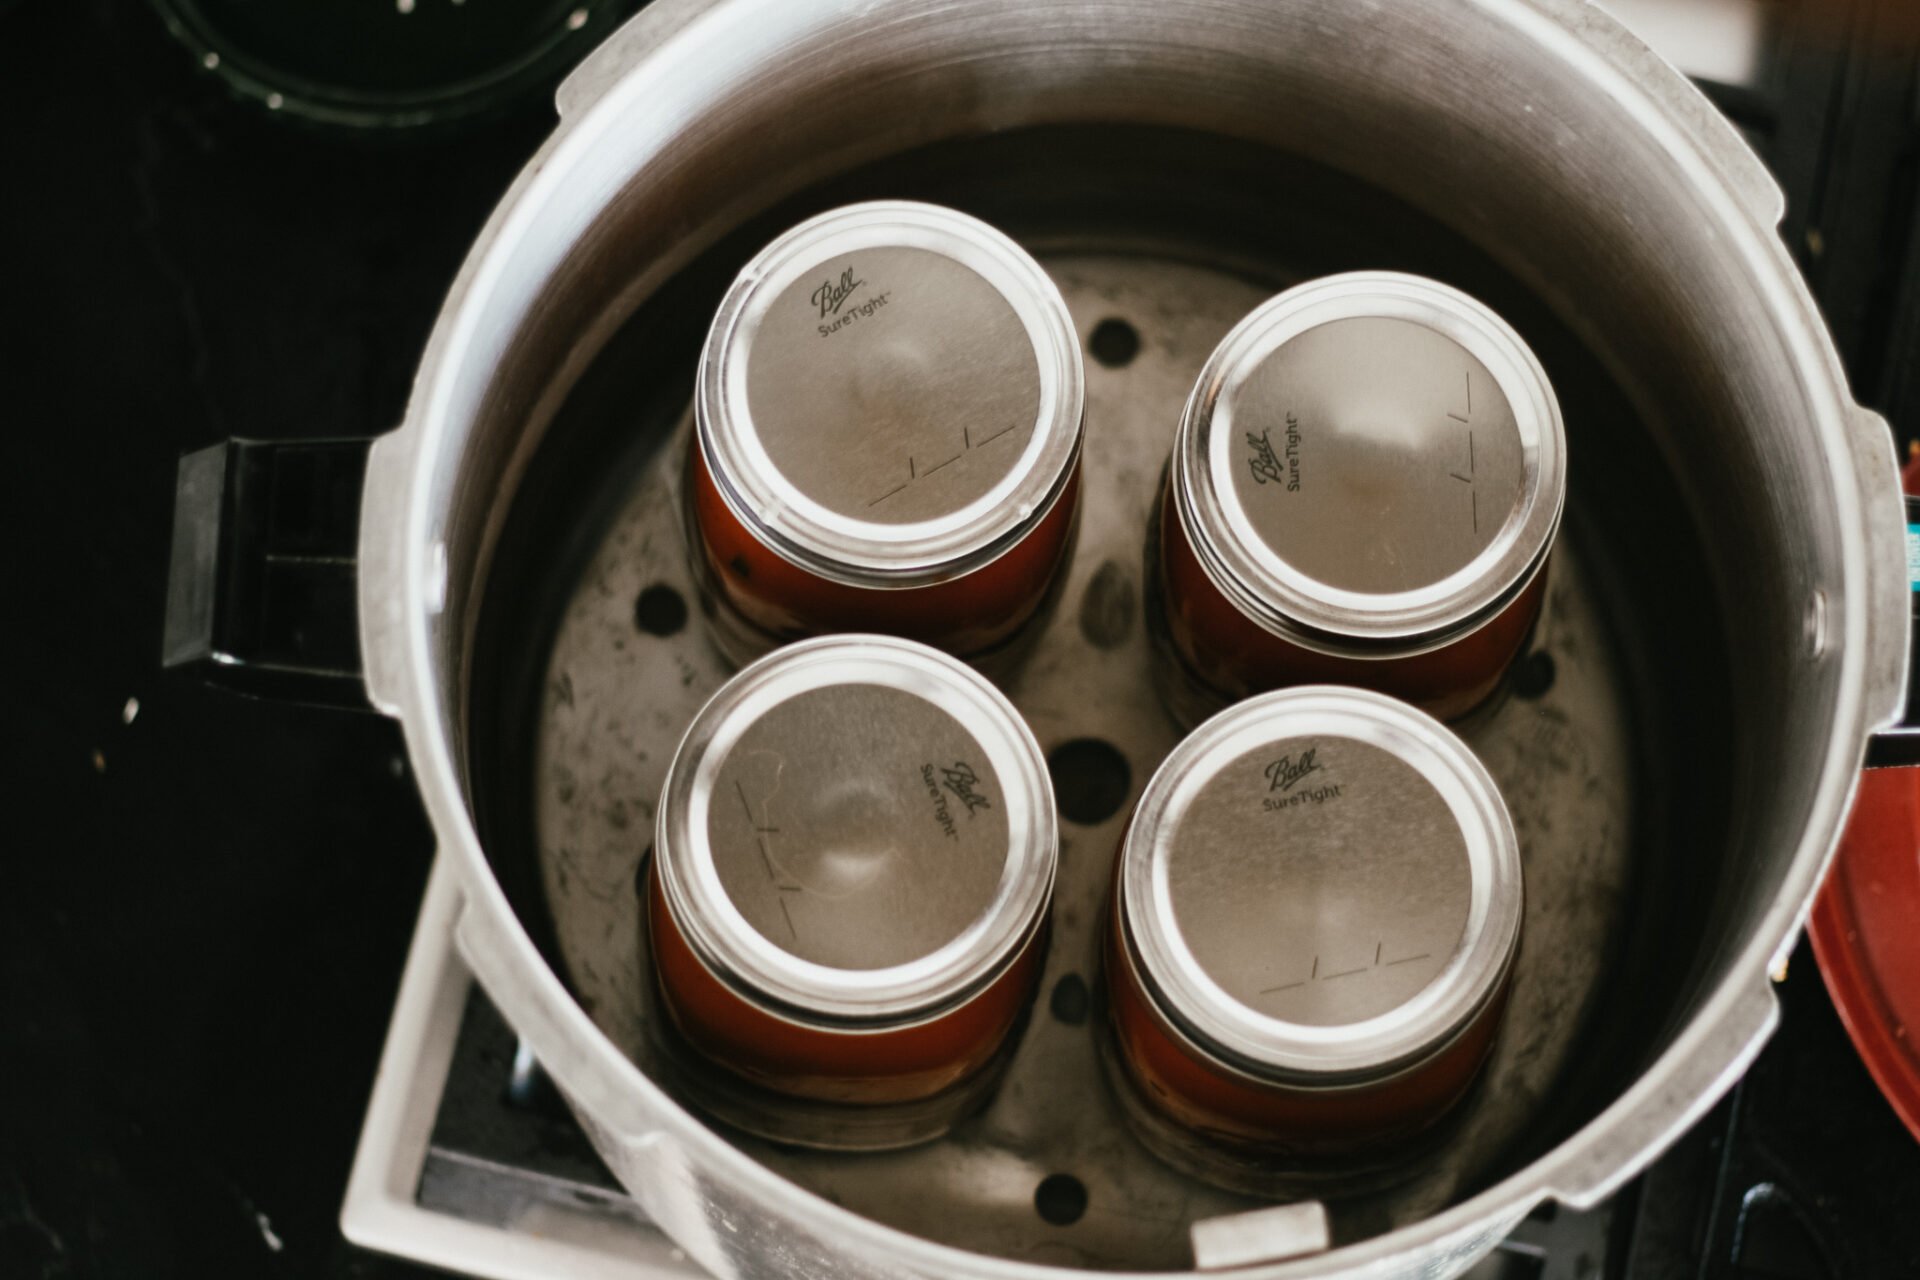
Then place in the pressure canner that has just a few inches of hot water at the bottom. Work quickly to prevent temperature changes in the jars that could cause them to bust.
Jars are in
….now, this recipe processes at 10 PSI, 75 minutes for pints, and 90 minutes for quarts.
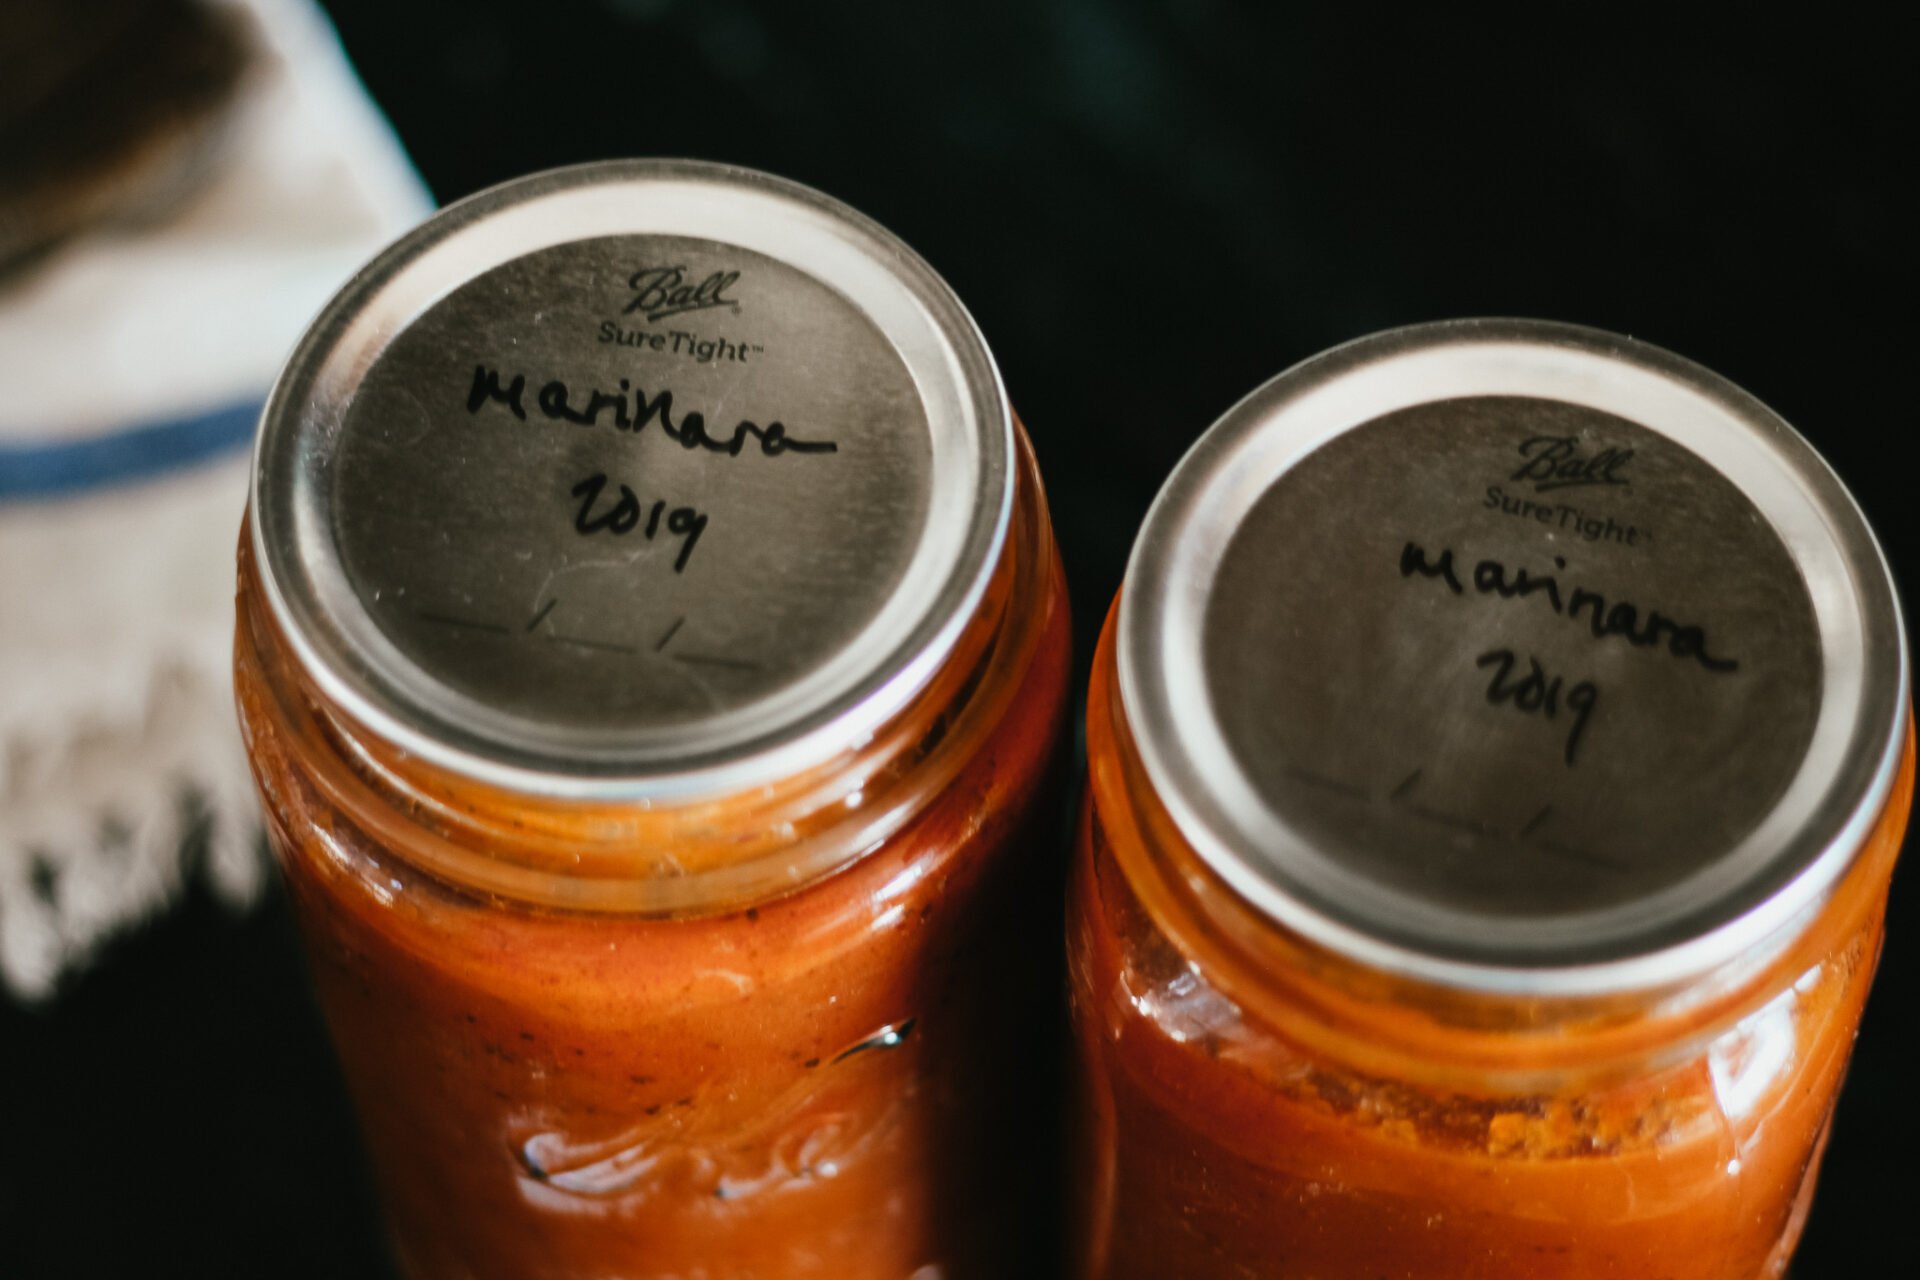
A couple hours later…and there you have it, beautifully canned tomato sauce. I go through enough of this to use quarts, because even if I open one and only use half – I know the rest will be used within a week or so in some other recipe. However, pints can be used as well.

Storage tip – never store canned jars with the rings on. It prevents you from noticing seal failures. BUT, let the jars sit untouched for several hours before removing the rings so the seal is complete.
How to Can Garden Tomatoes
Ingredients
Equipment
Method
- Wash, rinse, and dry all produce to be used.
- Rough chop tomatoes, onions, carrots, and garlic and add them all to a stock pot.
- Add wine, salt & pepper, herbs, and beef bones.
- Simmer on low for a few hours.
- Remove from heat and remove beef bones.
- Puree with a blender, or use an immersion blender to puree right in the pot you cooked in (this is what I do because it is less mess and dishes.
- Serve right away, freeze, or can.
- Add 2-3 inches of water to the pressure canner.
- Place clean jars in the pressure canner and heat to 140-180F to pre-heat the jars so they don't bust when the hot sauce is added.
- Use a funnel and ladle to transfer the sauce into clean, hot jars.
- Remove air bubbles with a silicon utensil.
- Clean and dry the jar rims.
- Screw lids and rings on fingertip tight.
- Place the sealed jars into the pressure canner and secure the lid.
- Turn up the heat and vent the steam for 10 minutes.
- Place the weight/pressure regulator on the vent pipe.
- Process for 75 minutes for pints and 90 minutes for quarts at 10 PSI.
- Remove from heat and allow the canner to depressurize with the pressure regulator in place, this will take a while. Do not "bleed" pressure by removing the regulator/weight.
- Once the gauge is at 0, remove the lid and transfer the jars to cool on a towel. Do not place jars directly onto a cold surface, this may cause them to bust.
- Once cooled, remove the rings, check the seals, and store them in a cool, dark place like a pantry or basement.

Stephanie if i dont owe a pressure canner i just been canning my stuff by boiling for 10-15 min will it still work?
I only have a water bath as well. I would live to know if it would still be ok? Thank you!
Could I freeze this instead? Canning intimidates the heck out of me.
Yes you can!