All you need is cabbage, salt, and time to make fermented sauerkraut, which is not only delicious but also so nutritious and full of live probiotics! Find step-by-step pictures and easy-to-follow instructions for this fermented sauerkraut recipe below, plus a video tutorial!
Quick Recipe Overview: Fermented Sauerkraut
🕒 Ready In: ~14 days 45 minutes (45 min prep + fermentation)
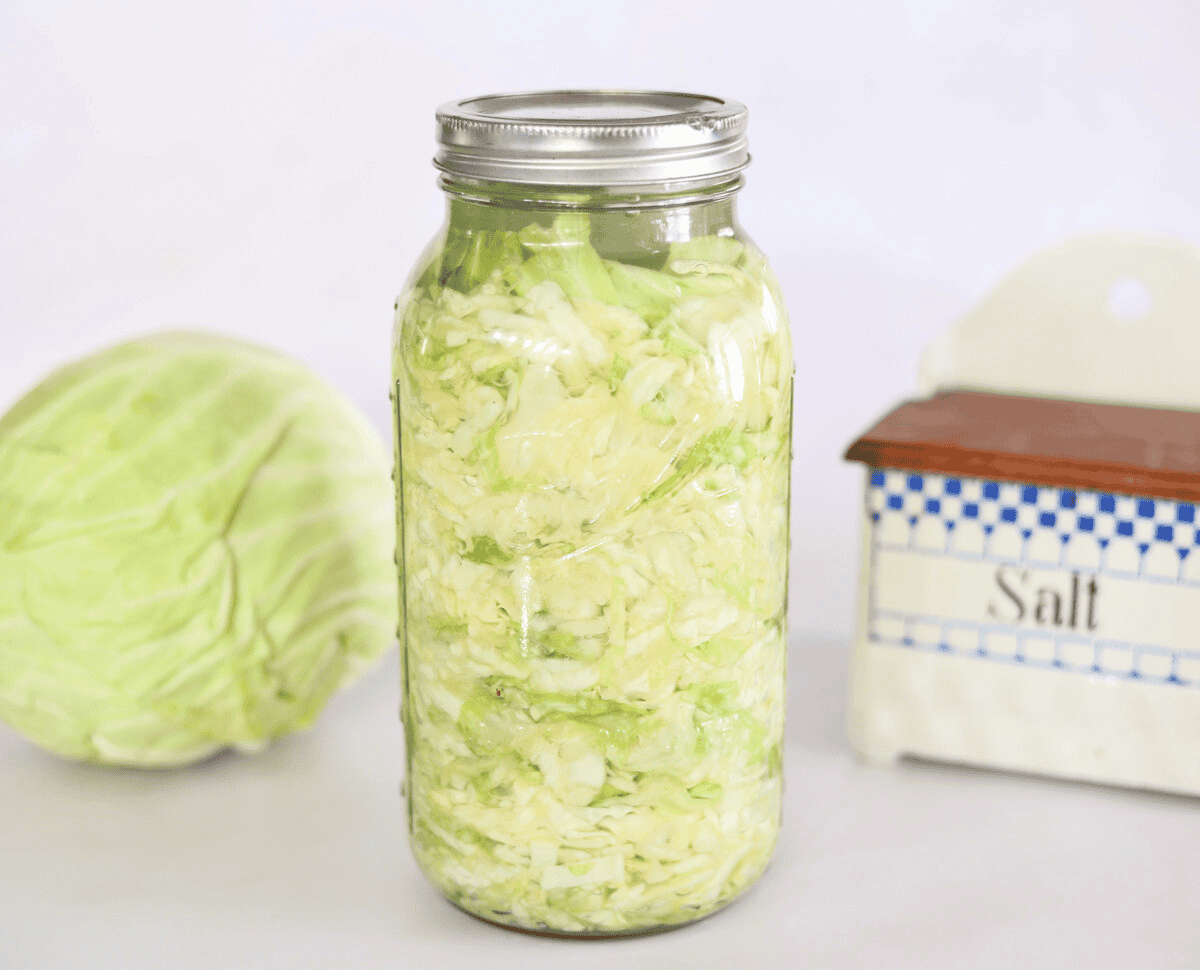
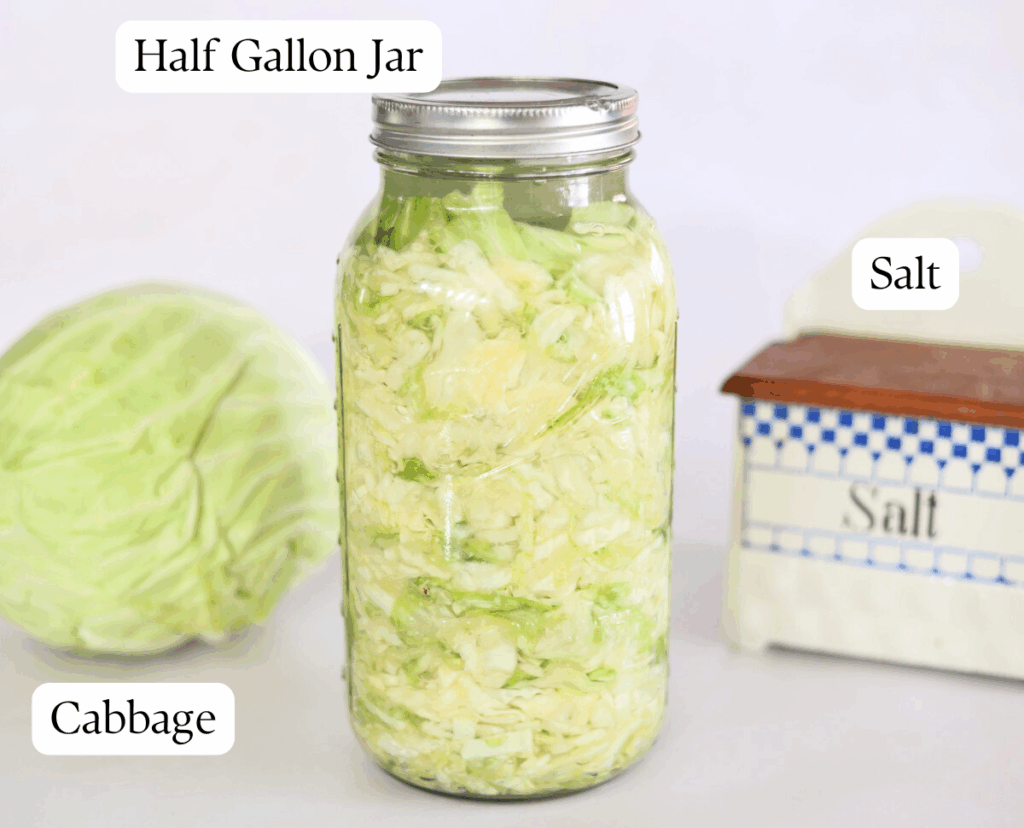
👪 Serves: 12 (half-gallon batch)
🍽 Calories: 38 kcal per serving
🥣 Main Ingredients: Fresh cabbage, salt
📖 Dietary Info: Vegetarian, raw probiotic-rich, dairy-free, freezer not recommended (texture may suffer)
⭐ Why You’ll Love It: This traditional probiotic sauerkraut uses just cabbage and salt to naturally ferment for crisp, tangy flavor and live, natural bacteria.
SUMMARIZE & SAVE THIS CONTENT ON
Fermented Sauerkraut is a staple in my house, it’s so easy to make and fermented foods are such an important part of a healthy diet! – Steph
Why You’ll Love This Recipe
- Beginner-Friendly & Foolproof – Simple steps with clear instructions make homemade sauerkraut easy, even if you’ve never fermented before.
- Step-by-Step Photos – Visual guidance at every stage so you know exactly what your sauerkraut should look like as it ferments.
- Video Tutorial – Watch the entire process start to finish for extra confidence and troubleshooting tips.
- Just a Few Ingredients – Made with cabbage and salt—no starter cultures, special equipment, or complicated techniques required.
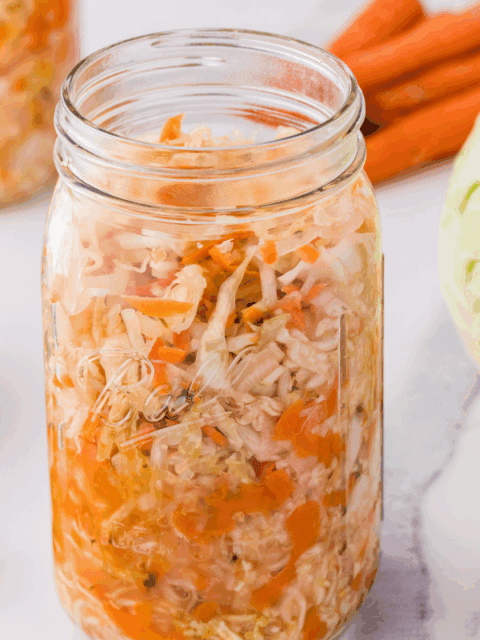
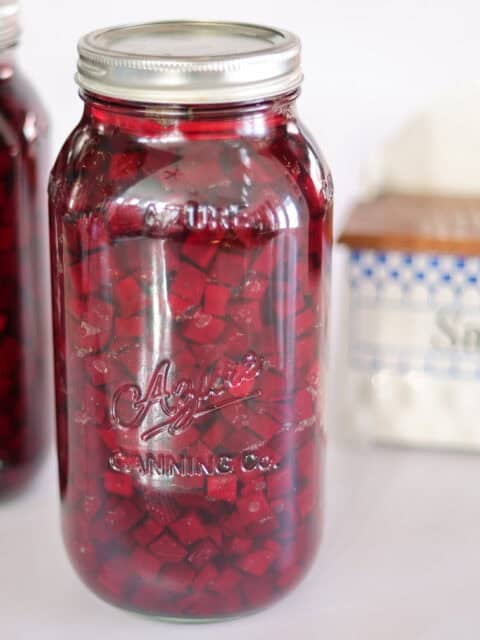
Sauerkraut is a German word meaning “sour cabbage.” It’s known as “the king of probiotics!” Fermented sauerkraut is made by mixing cabbage and salt in the right proportions, packing it in a jar, and waiting for it to ferment! Try some other simple ferments like this fermented carrots recipe or fermented beets recipe.
I may receive a small commission for items purchased through affiliate links in this post at no additional cost to you.
Spend the day with me in my homestead kitchen, cooking and fermenting – here’s the video!
Key Ingredients
Precise measurements and instructions can be found in the recipe card at the bottom of the page.
- Whole, organic cabbage – if you’re looking for health benefits in making lacto fermented sauerkraut, organic is important to avoid as many unwanted extras as possible.
- Salt – salt quality matters! I use Redmond real salt for almost all my kitchen tasks, including fermenting.
What Does “Lacto-Fermented” Mean?
- Natural Fermentation Process: Lacto-fermentation is a method where beneficial bacteria naturally present on vegetables convert sugars into lactic acid.
- No Dairy Involved: The term “lacto” refers to lactic acid, not milk—lacto-fermented foods are completely dairy-free.
- Preserves & Protects: Lactic acid lowers the pH, helping preserve vegetables while preventing harmful bacteria from growing.
- Rich in Probiotics: This process creates live beneficial bacteria that support gut health, digestion, and nutrient absorption (source).
You Don’t Need to Add Brine to Fermented Sauerkraut
- Salt Draws Out Natural Juices: When salt is massaged into shredded cabbage, it pulls water from the cabbage cells, creating a natural brine.
- No Added Water Needed: Cabbage is naturally high in moisture, so it releases enough liquid to fully submerge itself during fermentation.
- Better Flavor & Texture: Fermenting in its own juices produces a more concentrated flavor and helps maintain the classic crisp sauerkraut texture.
- Ideal for Safe Fermentation: The self-created brine provides the correct salt concentration to support beneficial bacteria while inhibiting harmful microbes.
Ready to try fermenting with added brine? Try fermented carrots next!
Step-By-Step Instructions

Step 1: Remove and reserve 1–2 outer cabbage leaves.

Step 2: Quarter the cabbage and remove the core.

Step 3: Then slice into ⅛-inch strips.

Step 4: Place the sliced cabbage in a large bowl, add salt.

Step 5: Massage salt into the sliced cabbage. Let rest for 30 minutes until the cabbage releases liquid.

Step 6: Pack the cabbage tightly into a fermentation jar or crock.

Step 7: Press firmly until it is fully submerged in its own brine. Do not add water—the salt draws out all the liquid needed.

Step 8: Place a reserved cabbage leaf over the shredded cabbage to keep pieces submerged.

Step 9: Add a fermentation weight

Step 10: Seal the jar with a fermentation lid and let the sauerkraut ferment at room temperature for at least 2 weeks or up to 4 weeks for deeper flavor.

If using a regular lid, open the lid once daily to release built-up gases aka “burp the sauerkraut.” You’ll begin to see bubbles after the first day!

After the sauerkraut is fully fermented (at least 2 weeks) refrigerate and enjoy raw for live probiotics or cooked as a side dish.
Fermented Sauerkraut FAQs
Sauerkraut can become soft if too little salt is used, the fermentation temperature is too warm, or it ferments for too long. Using the correct salt ratio (2% weight of the cabbage), fermenting at 65–75°F (18–24°C), and monitoring fermentation time helps keep sauerkraut crisp.
Yes. Common additions include carrots, garlic, onions, and beets, as well as spices like caraway seeds, dill, mustard seeds, or juniper berries. Add them before fermenting so flavors distribute evenly.
Surface mold can usually be skimmed off as long as the sauerkraut underneath smells fresh and remains submerged in brine. Keeping the cabbage fully below the liquid level helps prevent mold.
Sauerkraut typically ferments for 2–4 weeks at room temperature (65–75°F). You can start tasting after a few days and ferment longer for a tangier flavor.
Sauerkraut is ready when it tastes pleasantly tangy and remains crunchy. Flavor is the best indicator, and fermentation can be stopped by refrigerating once it reaches your preference.
Green cabbage is the most common choice due to its flavor and texture, but red (purple) cabbage also works well and adds color and extra nutrients.
No. Salt draws moisture from the cabbage, creating its own natural brine. Added water is usually unnecessary if enough salt and pressure are used.
It’s best to use non-iodized salt such as sea salt or kosher salt. Iodized salt can interfere with fermentation and beneficial bacteria.
Use about 2% salt by weight of the cabbage. This equals roughly 2 tablespoons of salt per pound of cabbage and creates ideal conditions for lactic acid fermentation.
Expert Tips for Making Fermented Sauerkraut
- 🧂 Massage the Salt Well: Work the salt thoroughly into the cabbage to release moisture and create enough natural brine.
- 🌊 Keep Everything Submerged: Cabbage must stay fully under the brine to prevent air exposure, which can cause mold.
- 🔪 Shred Evenly—Not Too Fine: Aim for thin, uniform shreds, but avoid shredding too finely, which can lead to soft, mushy sauerkraut.
- ⚖️ Use a Fermentation Weight: A clean weight or small sanitized jar helps keep cabbage submerged and prevents floating pieces.
- 👀 Check as It Ferments: Monitor for surface mold or off smells and make sure the cabbage remains covered by brine.
- 🌿 Customize the Flavor: Feel free to add herbs, spices, or other vegetables to create your own unique sauerkraut variations.
- 🌑 Store Away From Light: Keep sauerkraut in a dark place during fermentation to protect quality and beneficial bacteria.

Storage
- 🫙 After fermenting for at least 2 weeks (or up to 4 weeks for a tangier flavor), transfer the sauerkraut to the refrigerator to slow fermentation. Keep the cabbage fully submerged in brine and use a clean utensil when serving.
- Stored in the fridge, homemade sauerkraut will keep well for several months.
- ✅ What’s Normal: Bubbles, cloudy brine, and a pleasantly sour smell are normal signs of healthy fermentation.
- 🚫 What’s Not: Fuzzy mold in colors like black, pink, or green, or a strong rotten odor—discard the batch if you see or smell these.


If you love this recipe, please leave a ⭐ 5-star ⭐ rating below! If you have questions or suggestions – drop a comment!
Fermented Sauerkraut
Ingredients
Equipment
Method
- Prep the Cabbage: Remove and reserve 1–2 outer cabbage leaves. Quarter the cabbage, remove the core, then slice into ⅛-inch strips.
- Salt & Sweat: Place the sliced cabbage in a large bowl, add salt, and massage to coat evenly. Let rest for 30 minutes or until the cabbage releases liquid.
- Pack & Create Brine: Pack the cabbage tightly into a fermentation jar or crock, pressing firmly until it is fully submerged in its own brine. Do not add water—the salt draws out all the liquid needed.
- Weigh It Down: Place a reserved cabbage leaf over the shredded cabbage to keep pieces submerged. Add a fermentation weight or a clean, small stone and seal the jar or crock with a fermentation lid if you have one. Ferment at room temperature.
- (If not using fermentation lid) Release Gas Daily: Open the lid once per day to release built-up gases (“burp” the jar), then reseal.
- Ferment & Store: Taste after a few days, but allow at least 2 weeks for full fermentation. Ferment up to 4 weeks for deeper flavor, then refrigerate. Enjoy raw for probiotics or cooked as a side dish.
Nutrition
Notes
- Salt Ratio: Use 2% salt by weight of cabbage (about 2 Tbsp / 6 tsp salt per 1 lb cabbage). Weighing is most accurate since salt grain size varies.
- Brine Formation: Do not add water. Salt draws liquid from the cabbage to create its own brine. If needed, massage longer or pack more firmly.
- Shredding Tip: Slice cabbage evenly but not too finely to prevent soft or mushy sauerkraut.
- Submersion Is Key: Keep cabbage fully submerged under brine at all times to prevent mold. Use a fermentation weight or a small sanitized jar.
- Fermentation Time: Ferment at room temperature (65–75°F / 18–24°C) for 2–4 weeks. Taste after 1–2 weeks and refrigerate when it reaches your preferred tanginess.
- What’s Normal: Bubbles, cloudy brine, and a pleasantly sour smell are signs of healthy fermentation.
- Storage: After at least 2 weeks of fermentation, refrigerate with cabbage submerged in brine. Keeps several months when stored cold and served with clean utensils.
- Flavor Variations: Optional add-ins include garlic, caraway, dill, juniper berries, carrots, or beets—add before fermenting.
Tried this recipe?
Let us know how it was!About the Author

Welcome to Hopewell Heights, I’m Steph – seasoned sourdough baker, homesteader, homemaker, homeschooling mom of 5, and creator behind this Heritage American food blog. I hope you enjoy my family’s favorite, from-scratch recipes!
Fermented Sauerkraut is a staple in my house, it’s so easy to make and fermented foods are such an important part of a healthy diet!