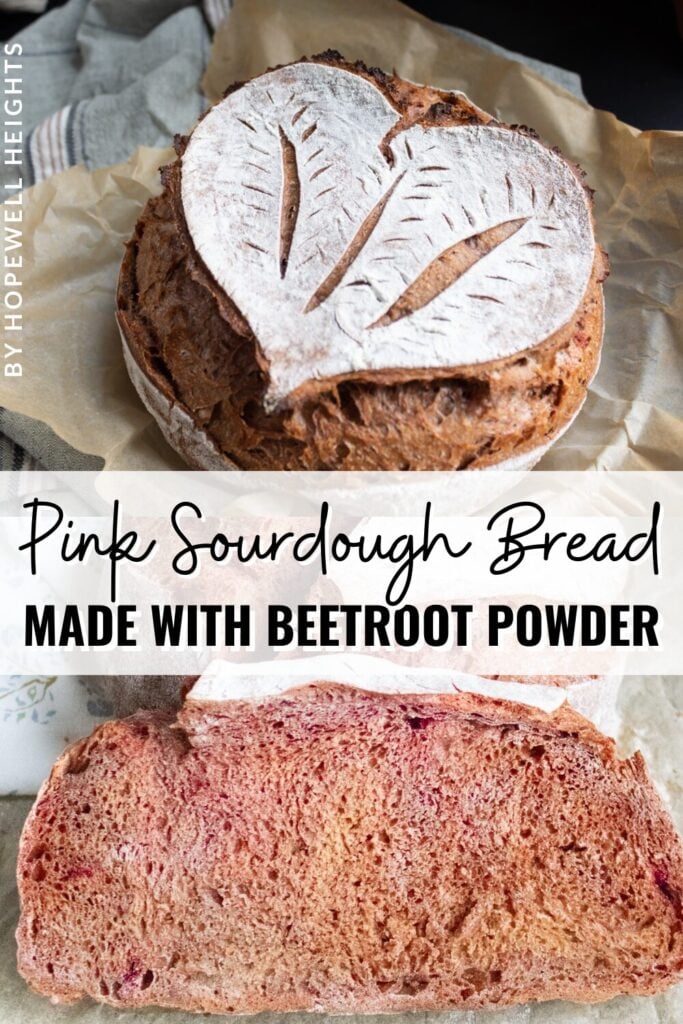
This sourdough artisan beetroot bread is the perfect way to use up beet powder or add some pink to your loaf on Valentine’s Day or just for fun!
A pink twist on homemade sourdough bread…
What’s more fun than making a perfect sourdough loaf? Making a perfect pink sourdough loaf! That’s what we’re going to do with this recipe for classic sourdough artisan bread with a pink twist using beetroot powder.
My daughter loves celebrating St. Valentine’s Day. Last year we made lots of pink treats and had pink drinks and pink everything, and she was just thrilled. This year, we’re hosting a Valentine’s dinner party for her friends and one of her requests when we were making the menu was pink bread. So, we got to baking in search of the right amount of beetroot powder for the perfect, pink loaf.
For this recipe, you’ll need a mature starter, there’s no yeast so the active starter is doing all the leavening action making the bread rise. If this is new to you, check out my easy guide to making a sourdough starter, which is actually just wild yeast!
Making wild yeasts (aka sourdough starter) is as simple as combining a little flour and water in a jar or bowl and letting it sit on the counter at room temperature for several hours until it bubbles up. Then, you use the bubbly yeast, leave just enough in the jar to cover the sides, and “activate” the next round of flour and water you add to the jar. It’s that easy. It does take over a week to make a starter though, so some patience is required.
I may receive a small commission for items purchased through affiliate links in this post at no additional cost to you.
Why You’ll Love This Recipe
- This recipe only has 4 ingredients – flour, water, salt, and beetroot powder. No artificial dyes!
- This recipe has as few steps as possible without compromising the quality of the loaf.
- You can slightly adjust the amount of beetroot powder for a slight pink tinge or a deep pink loaf.
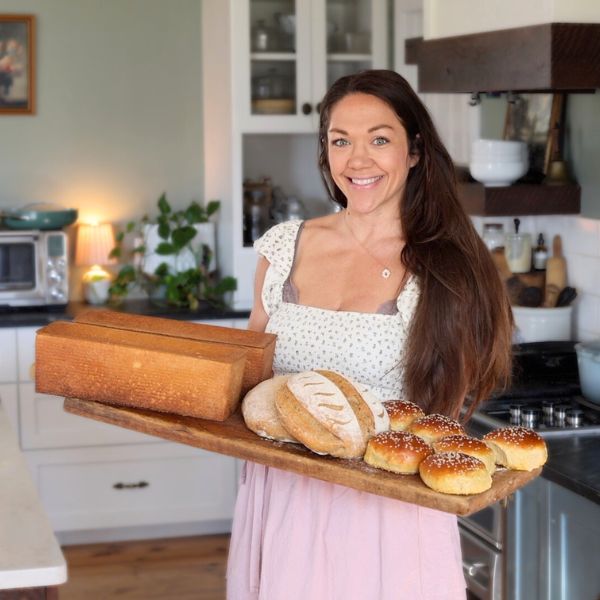
Join me in my homestead kitchen for some fun Valentine’s Day sourdough baking
What You’ll Need
INGREDIENTS
yield: 1 loaf
- 1.5 cups – 355 g water
- 1/2 cup – 80g beetroot powder
- 1 cup – 225 g starter
- 3 cups – 360 g bread flour or all-purpose flour
- 1 tablespoon -17 g salt
TOOLS
- mixing bowl
- wooden spoon
- tea towel
- large dutch oven or crock with lid
- razor blade
- parchment paper
- bench scraper (optional)
- Banneton proofing basket (optional)
Step-By-Step Instructions
Prepare the Dough
Pour 1.5 cups of warm water (no warmer than 110F or you may kill the yeast in your starter) into a large bowl. Add the beetroot powder and whisk well so there are no lumps of powder. Then add 1 cup of active sourdough starter and 3 cups of flour. Stir it all together just enough to get the flour mixed in, but don’t knead, and don’t worry about little lumps and inconsistencies.
The dough should look shaggy and somewhat dry after this step. Cover the bowl with a tea towel and let it rest at room temperature for 30 minutes. This initial 30-minute rest period allows the flour to absorb the water before adding the salt.
After the 30 minutes is up, add 1T salt to the dough, get your hands wet (water helps handle sticky dough), and use your hands to work the salt into the dough for a minute or so. Then cover the dough with a towel.
Bulk Fermentation with Stretch and Folds
“Bulk fermentation” or “bulk rise” or “bulk proof” starts now. These are just fancy terms for letting the dough rise and double in size. During this bulk fermentation phase, you will stretch and fold the dough a few times in between 30-minute rest periods, and all the while, it will be slowly rising even as you stretch and fold it.
Now that you’ve added and mixed in the salt and let the dough rest for 30 minutes, it’s time for the first stretch and fold. Uncover the dough, grab one side of it with both hands and stretch it up at least a foot from the bowl, then fold it toward the opposite side of the dough. Repeat this 4 times on each “side” of the bowl.
Cover the bowl with a towel, and let it rest for 30 minutes.
After 30 minutes, uncover the dough and repeat the stretch and fold process just like the first time. Cover and let the dough rest for another 30 minutes. Repeat this stretch and fold process followed by a 30-minute rest 3 times, for a total of 3 stretch and folds.
After the third stretch and fold, cover the dough and let it rest until it is doubled in size. Depending on the strength of your starter, the hydration of the dough, and the temperature + elevation of your home, this could take anywhere from 2 to 12 hours. That’s a wide range! See why it’s better to watch the dough rather than the clock?
The dough should be a lot stretchier and smoother throughout the fermentation process with each stretch and fold than when you first mixed it!
Shape the Dough
Once the dough has doubled in size, turn it out onto a lightly floured work surface and stretch it into a big rectangle, kind of like if you were going to make cinnamon rolls.
If the dough is really sticky, just dust it with a bit of flour or get your hands wet to make it easier to handle.
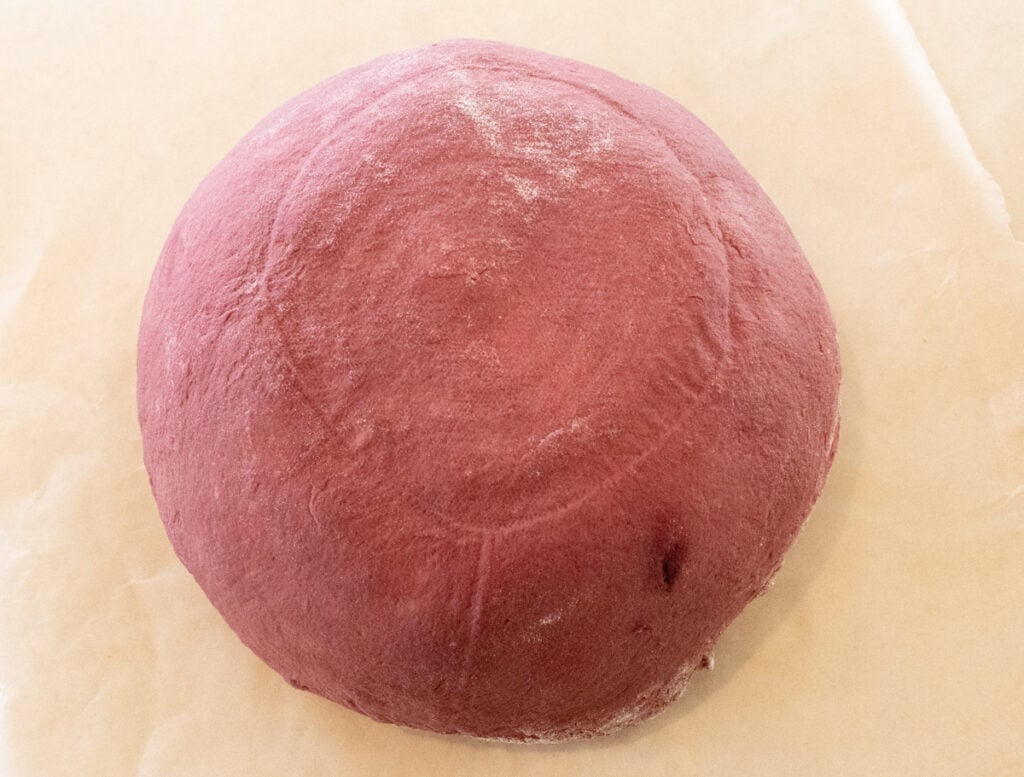
Fold one of the long sides of the dough over to bring the edge to the middle of the rectangle, then fold the other long side over the top of the first side. Now that the dough is folded into 3 layers it looks like a very long, skinny rectangle. Start at the end closest to you and roll the dough up into a ball.
Then roll it toward you in a circular motion so the seam side is facing down. Use both hands to spin the dough on the work surface a few times to tighten the seal underneath and create surface tension (a tightly sealed ball of dough).
Final Proof
For the next step, you can use a banneton basket if you have one. If not, just use a mixing bowl lined with a tea towel that’s been dusted with flour.
Turn the shaped ball of dough over into a banneton basket so the seam side is now facing up, cover the basket with plastic wrap or place it in a big plastic bag, and place it in the fridge to cold-proof before baking.
During this cold-proofing step, the cold temperature with prevent the natural yeast from causing the dough to rise anymore, but the fermentation process will continue to an extent, breaking down the gluten further. The dough will also firm up while in the fridge which makes it easier to score before baking.
If your starter is very strong and active, this step can be as short as 2 hours – just long enough for the dough to chill before scoring and baking so it doesn’t lose its shape and gives a nice oven spring.
I like to let my dough cold-proof for at least 12 hours to continue developing that sourdough flavor, so letting it cold-proof overnight before morning baking is perfect.
Score and Bake the Bread
When you’re ready to bake, start by preheating a dutch oven, bread oven, or crock with a lid in the oven at 425F for 30 minutes.
Leave the hot dutch oven (DO) in the preheated oven while you score the dough to prepare it for baking. You want the DO as hot as possible when the dough goes in.
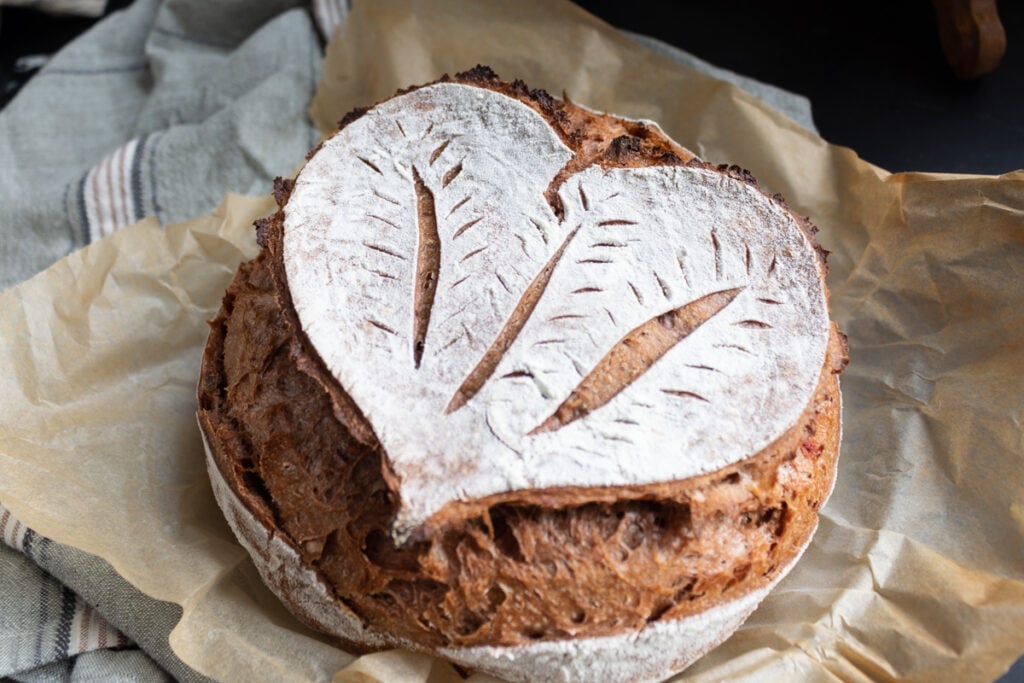
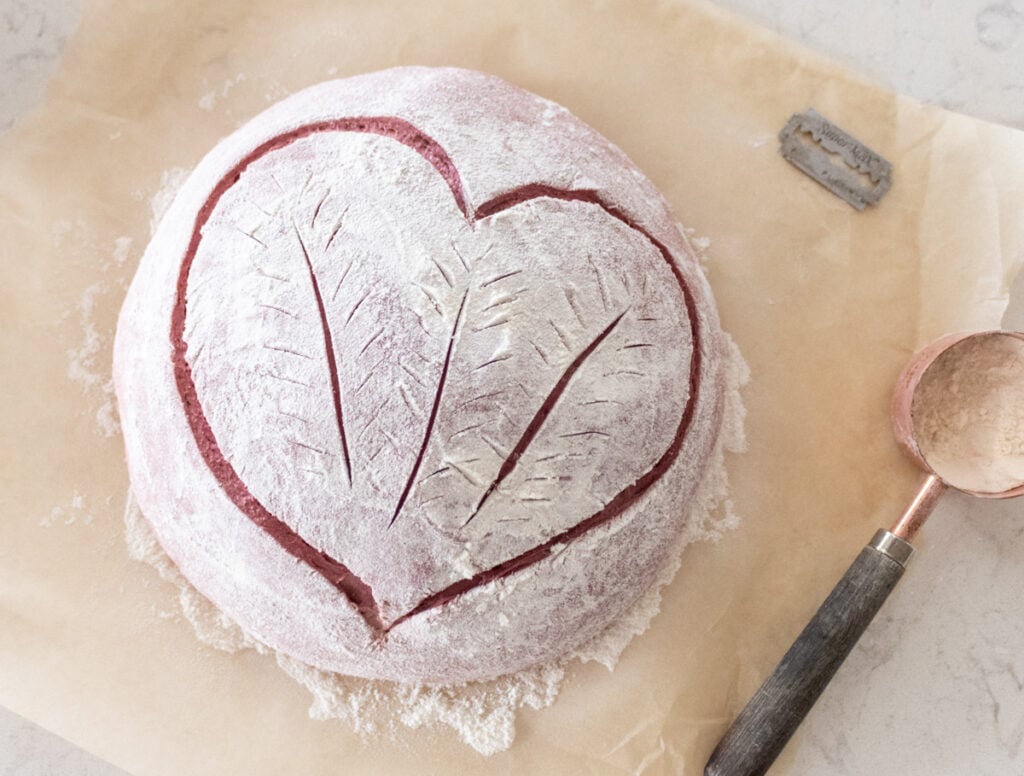
Remove the dough from the fridge, and turn it out onto a piece of parchment paper. Lightly dust the tip of the dough with flour (optional) and then use a razor blade to score the dough. I scored a heart in my dough for this loaf and it was perfect. But you can score it any way you please.
Place the dough on the parchment paper in the hot dutch oven and cover it with the lid. Bake at 425F with the lid on for 30 minutes.
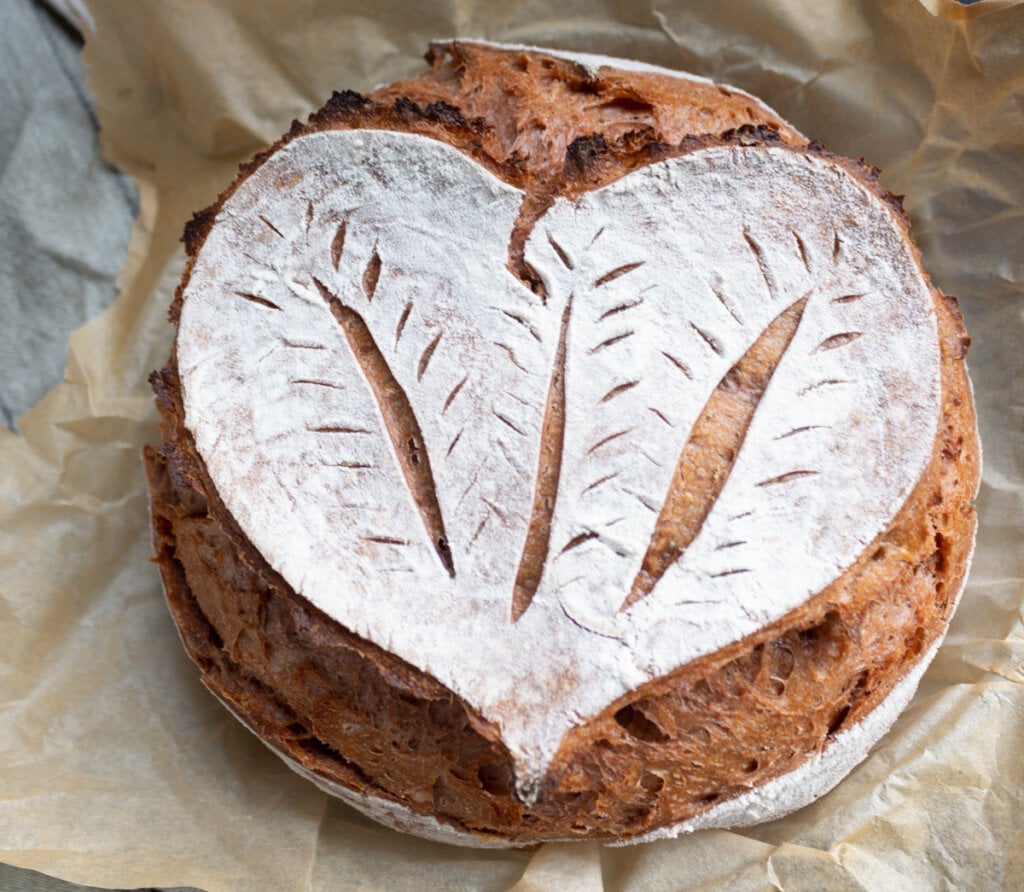
After 30 minutes, remove the lid and bake for another 8-10 minutes until the top of the loaf is tinted golden brown. Place the loaf on a wire rack to cool for an hour at the very least before slicing.
Professional sourdough bakers recommend allowing the loaf to rest for 12-24 hours before slicing. This is because the dough is still very hot and lots of moisture is trapped inside when it first comes out of the oven. If you cut into the loaf before it is cooled, it will lose moisture and be gummy, dry, and tough. It’s worth the wait!
FAQ
How long does it take to make sourdough artisan bread?
It takes anywhere between 6-24 hours to make sourdough artisan bread, depending on the strength of your sourdough starter, the hydration of your dough, and the temperature of your home. I use a proofing box to control the temperature and humidity and speed the baking process up.
What type of flour should I use to bake sourdough bread?
You can use any mixture of flour you would like, but the consistency, density, and flavor of the loaf change depending on the type of flour you use. This beginner’s recipe calls for all-purpose flour, but bread flour works great as well. A mixture of bread flour and whole wheat flour yields a nice, rustic loaf.
How do I know when my dough is done fermenting during bulk fermentation?
When the dough is done fermenting, it will have doubled in size and pass the poke test. Poke the dough, if it bounces back quickly because it is light and springy, it is ready to shape.
How can I achieve an open crumb when baking sourdough artisan bread?
For an open crumb (lots of big holes) loaf, make a higher hydration dough. This means you will omit some of the flour and beetroot powder in the above standard recipe so the dough is stickier from the get-go. Also, cut down to 2 stretch and folds and allow the dough to bulk ferment longer than usual. Use bread flour for an open crumb loaf.
Tips
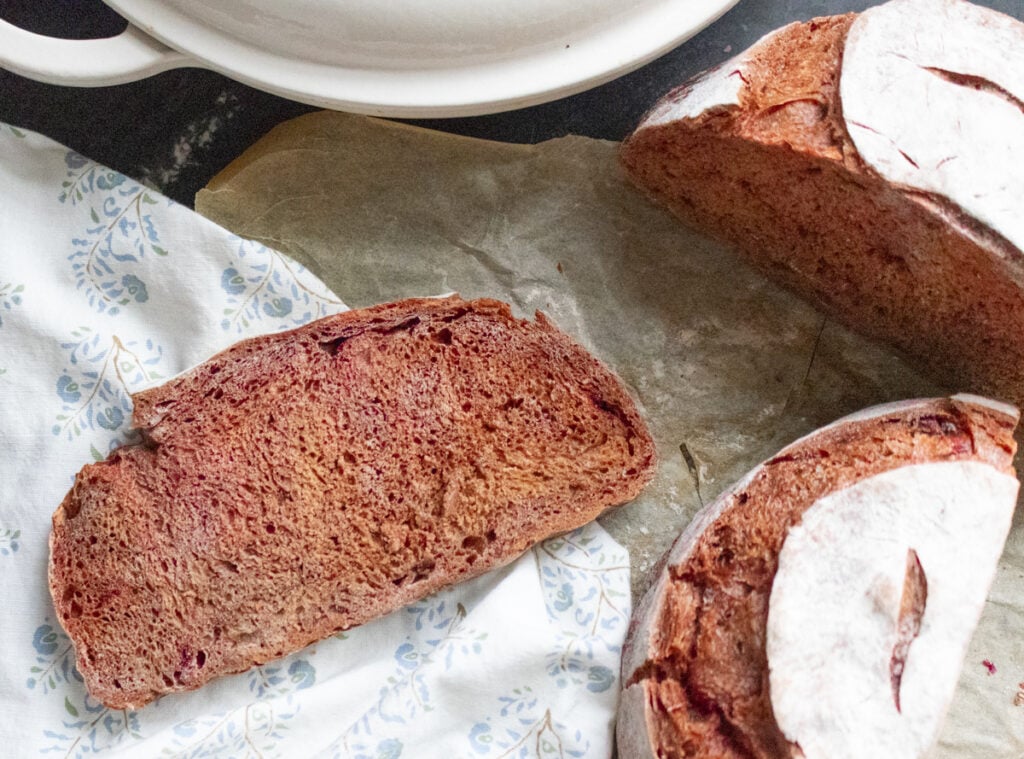
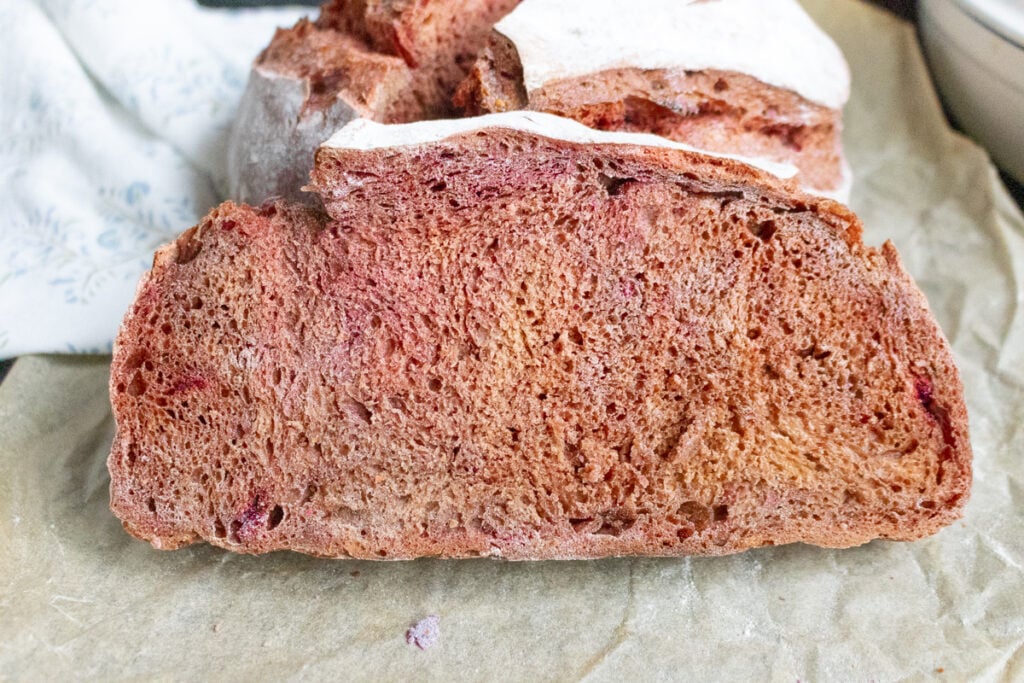
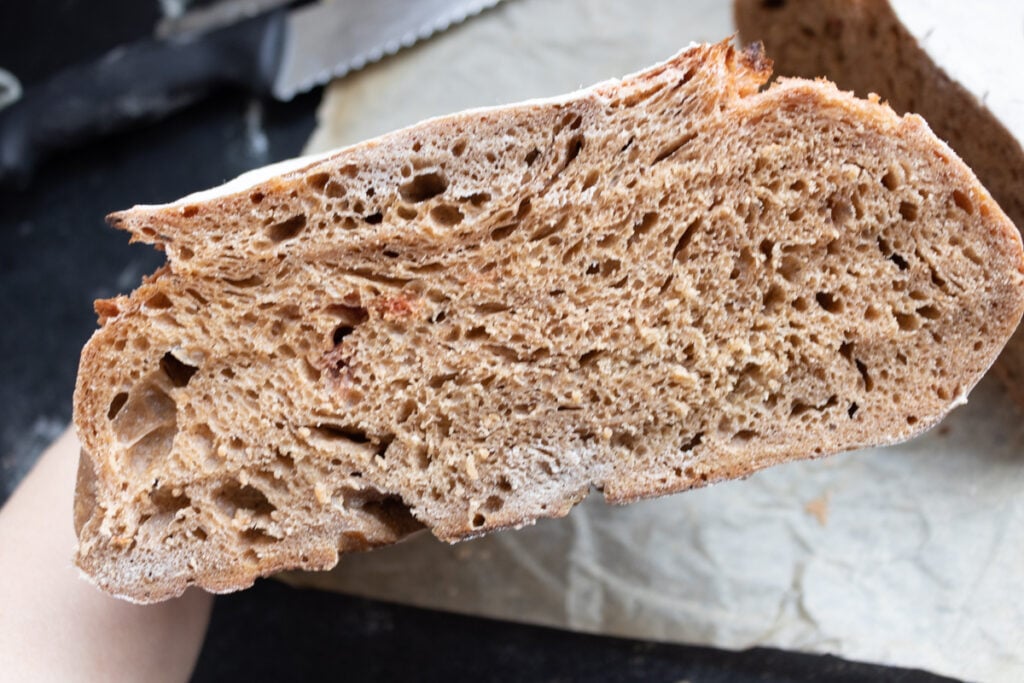
- If you’ll be adding the full amount of beetroot powder recommended in the recipe, you’ll get a loaf like the one on the right, but it will be closed crumb. The more beetroot powder you add, the tighter the crumb. The loaf on the left only had 3T beetroot powder and was only slightly pink, but looked more light a whole wheat loaf.
- Perform the float test with your sourdough starter before you prepare the dough. Drop a spoonful of starter into a cup of water, if it floats it is ready to use.
- Use quality flour and untreated water. At least make sure the flour is unbleached. Organic flour is preferable.
- Watch the dough, not the clock. When the dough is rising, be patient. Give it as much time as it needs to double in size before shaping.
- Use a glass bowl or clear plastic baking bucket so you can see the dough as it rises and observe air bubbles and whether or not it has doubled in size.
- Use a very sharp knife when slicing your bread, I use this bread knife which cuts sourdough like butter.
- Use steam in your oven for a nice, crisp crust that is not burnt. Place a pan of hot water on the bottom rack of the oven while the bread bakes.
Storage
The key to storing a sourdough loaf properly is letting it cool completely before slicing or storing it. Once cooled, the loaf can be stored in a plastic bag or airtight container at room temperature for 4-5 days, in the fridge for a week, and in the freezer for up to 3 months.

Perfect Pink Sourdough Bread made with Beetroot Powder
Ingredients
Equipment
Method
- Pour 1 ½ cups of warm water (no warmer than 110°F or you may kill the yeast in your starter) into a large bowl.
- Add the beetroot powder and whisk well so there are no lumps of powder.
- Then add 1 cup of active sourdough starter and 3 cups of flour. Stir it all together just enough to get the flour mixed in, but don't knead, and don't worry about little lumps and inconsistencies. The dough should look shaggy and somewhat dry after this step.
- Cover the bowl with a tea towel and let it rest at room temperature for 30 minutes. This initial 30-minute rest period allows the flour to absorb the water before adding the salt.
- After the 30 minutes is up, add 1 tablespoon salt to the dough, get your hands wet (water helps handle sticky dough), and use your hands to work the salt into the dough for a minute or so. Then cover the dough with a towel.
- Uncover the dough, grab one side of it with both hands and stretch it up at least a foot from the bowl, then fold it toward the opposite side of the dough. Repeat this 4 times on each "side" of the bowl.
- Cover the bowl with a towel, and let it rest for 30 minutes.
- After 30 minutes, uncover the dough and repeat the stretch and fold process just like the first time. Cover and let the dough rest for another 30 minutes. Repeat this stretch and fold process followed by a 30-minute rest 3 times, for a total of 3 stretch and folds.
- After the third stretch and fold, cover the dough and let it rest until it is doubled in size. Depending on the strength of your starter, the hydration of the dough, and the temperature + elevation of your home, this could take anywhere from 2 to 12 hours.
- Once the dough has doubled in size, turn it out onto a lightly floured work surface and stretch it into a big rectangle, kind of like if you were going to make cinnamon rolls. If the dough is really sticky, just dust it with a bit of flour or get your hands wet to make it easier to handle.
- Fold one of the long sides of the dough over to bring the edge to the middle of the rectangle, then fold the other long side over the top of the first side. Now that the dough is folded into 3 layers it looks like a very long, skinny rectangle. Start at the end closest to you and roll the dough up into a ball. Then roll it toward you in a circular motion so the seam side is facing down. Use both hands to spin the dough on the work surface a few times to tighten the seal underneath and create surface tension (a tightly sealed ball of dough).
- Turn the shaped ball of dough over into a banneton basket so the seam side is now facing up, cover the basket with plastic wrap or place it in a big plastic bag, and place it in the fridge to cold-proof before baking. During this cold-proofing step, the cold temperature with prevent the natural yeast from causing the dough to rise anymore, but the fermentation process will continue to an extent, breaking down the gluten further. The dough will also firm up while in the fridge which makes it easier to score before baking.
- If your starter is very strong and active, this step can be as short as 2 hours – just long enough for the dough to chill before scoring and baking so it doesn't lose its shape and gives a nice oven spring. I like to let my dough cold-proof for at least 12 hours to continue developing that sourdough flavor, so letting it cold-proof overnight before morning baking is perfect.
- When you're ready to bake, start by preheating a dutch oven, bread oven, or crock with a lid in the oven at 425F for 30 minutes. Leave the hot dutch oven (DO) in the preheated oven while you score the dough to prepare it for baking. You want the DO as hot as possible when the dough goes in.
- Remove the dough from the fridge, and turn it out onto a piece of parchment paper. Lightly dust the tip of the dough with flour (optional) and then use a razor blade to score the dough. I scored a heart in my dough for this loaf and it was perfect. But you can score it any way you please.
- Place the dough on the parchment paper in the hot dutch oven and cover it with the lid. Bake at 425°F with the lid on for 30 minutes.
- After 30 minutes, remove the lid and bake for another 8-10 minutes until the top of the loaf is tinted golden brown. Place the loaf on a wire rack to cool for an hour at the very least before slicing.
Nutrition
Notes
Tried this recipe?
Let us know how it was!More Recipes Like This
Ultimate Guide to Sourdough Starters – How to Make a Sourdough Starter
Beginner’s Guide to Making Sourdough Artisan Bread