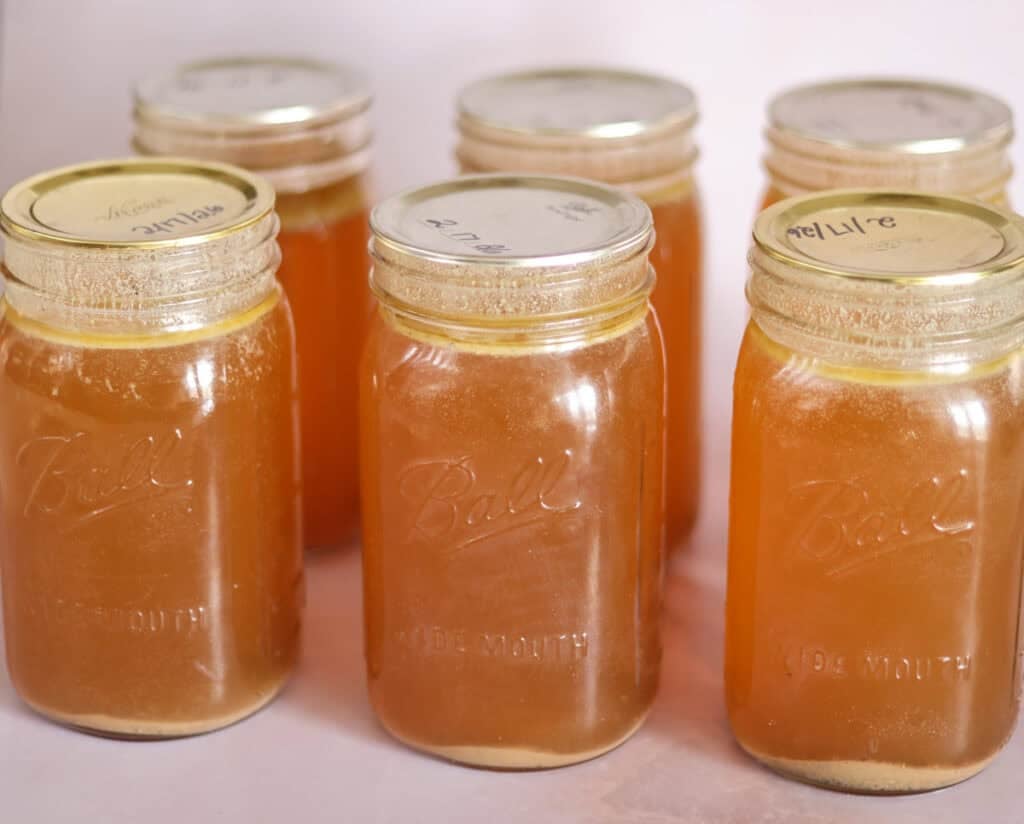
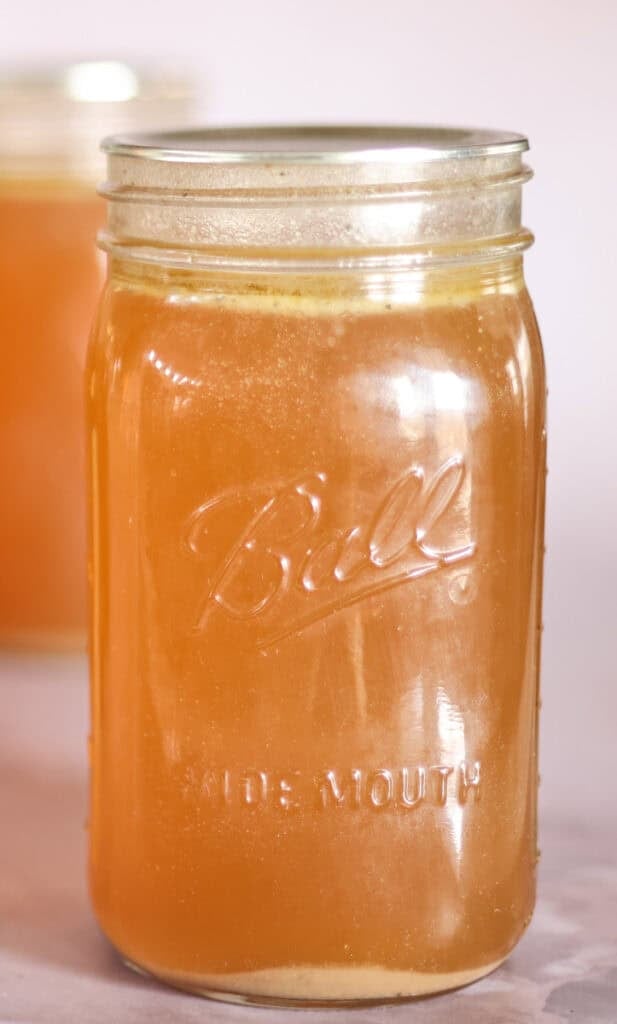
Learning to pressure can bone broth allows you to safely preserve a nutrient-rich staple without refrigeration. Because bone broth is a low-acid food, pressure canning is required to reach temperatures high enough for safe long-term storage.
Quick Recipe Overview: How to Pressure Can Bone Broth Safely
⏱ Total Time: About 2–3 hours (including processing time)
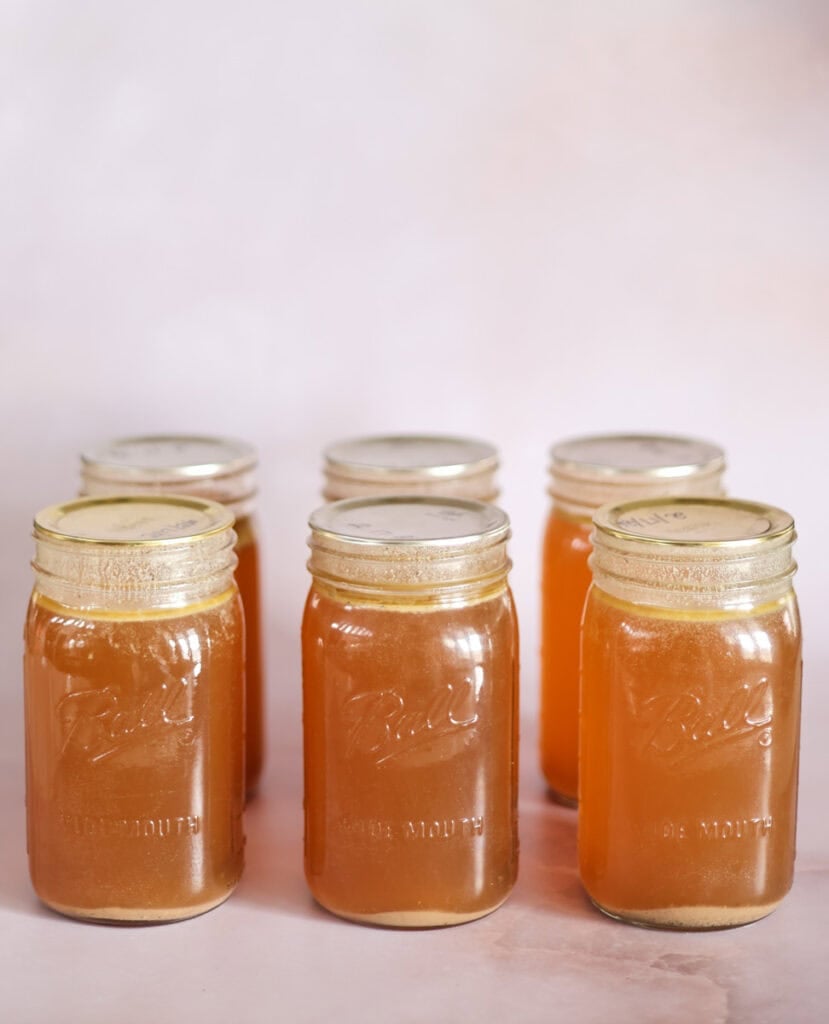
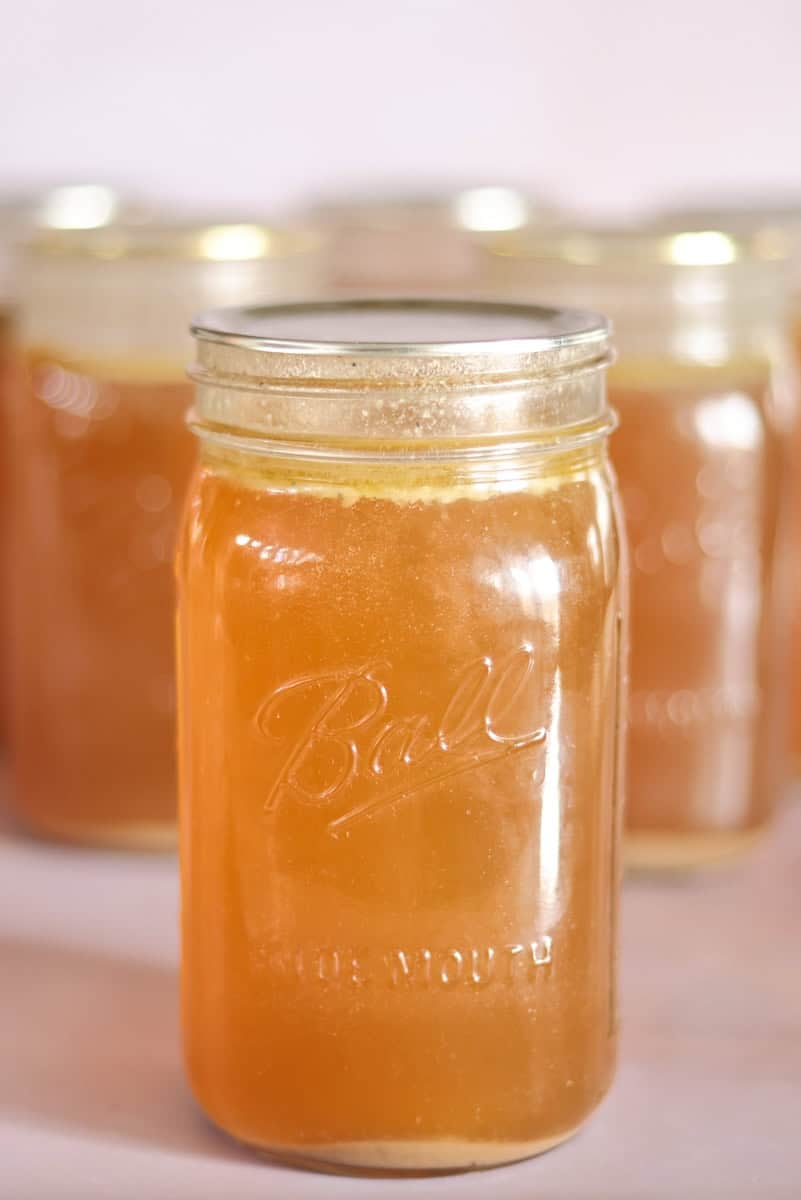
🥫 Yield: 6 quarts
🔥 Calories: ~35–50 per cup (varies by broth richness)
🥕 Main Ingredients: Finished bone broth (beef, chicken, or mixed bones)
🥗 Dietary Info: Nutrient-dense, high in collagen, paleo & keto friendly
💛 Why You’ll Love It: Shelf-stable convenience, saves freezer space, ready-to-use nourishment anytime
SUMMARIZE & SAVE THIS CONTENT ON
“This step by step is easy to follow and it’s so satisfying lining my shelves with jars of homemade bone broth!” – Steph
Why You’ll Love This Guide
- Beginner-friendly and confidence-building — clear, step-by-step guidance removes the fear from pressure canning and helps you safely preserve your first jars.
- Saves freezer space and reduces waste — turn large batches of broth into shelf-stable jars ready whenever you need them.
- Creates a nourishing pantry staple — having ready-to-use bone broth on the shelf makes soups, sauces, and simple meals easier and more wholesome.
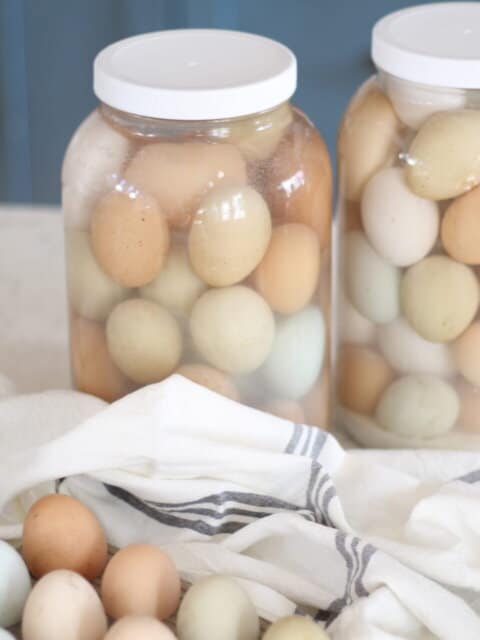
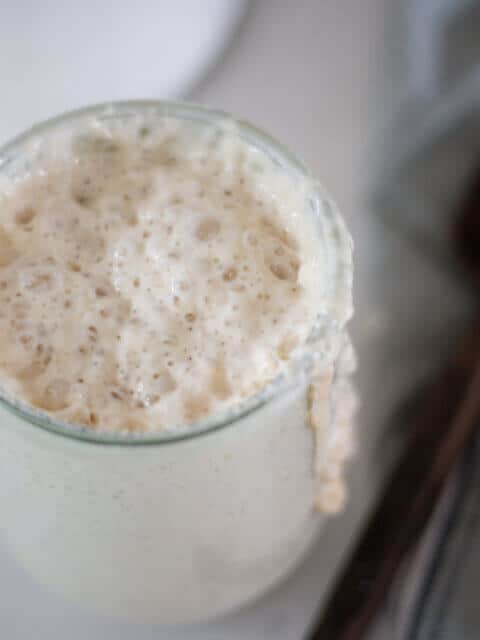
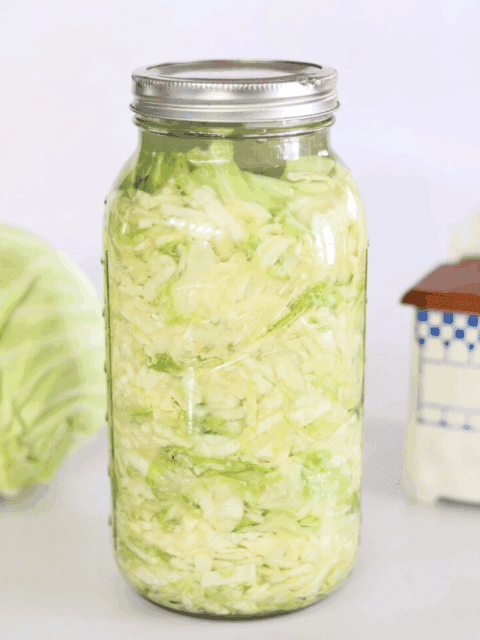
Old-fashioned kitchen skills like pressure canning bone broth, fermenting vegetables, and baking with wild yeast help build a nourishing, self-sufficient home kitchen. Once you master canning, you can turn a slow-simmered batch of bone broth into shelf-stable pantry staples. Pair with probiotic-rich kraut from a traditional fermented sauerkraut recipe, and bake wholesome, long fermented bread using a simple sourdough starter recipe — timeless skills that stretch ingredients, reduce waste, and reconnect your kitchen to generations past.

This post may contain affiliate links. I only recommend products I use and love. If you purchase through my links, I may earn a small commission at no extra cost to you.
Spend the day with me in my homestead kitchen, pressure canning bone broth, making sourdough artisan bread and pizza!
What Is the Risk of Home Canning Food?
Home canning is safe when tested methods are followed, but improper processing can allow harmful bacteria — including Clostridium botulinum — to survive in sealed jars. In low-acid foods like meats, vegetables, and bone broth, this bacteria can produce a dangerous toxin if foods are not pressure canned at the correct temperature and pressure.
The greatest risks come from using untested recipes, guessing processing times, failing to adjust for altitude, or attempting to water bath can low-acid foods. Signs of spoilage may include bulging lids, leaking jars, cloudy liquid, or off odors — but contaminated food may not always show visible signs.
By using tested guidelines, maintaining proper pressure, and storing jars correctly, home canning remains a safe and reliable way to preserve food for long-term storage.
Key Ingredients
Precise measurements and instructions can be found in the recipe card at the bottom of the page.
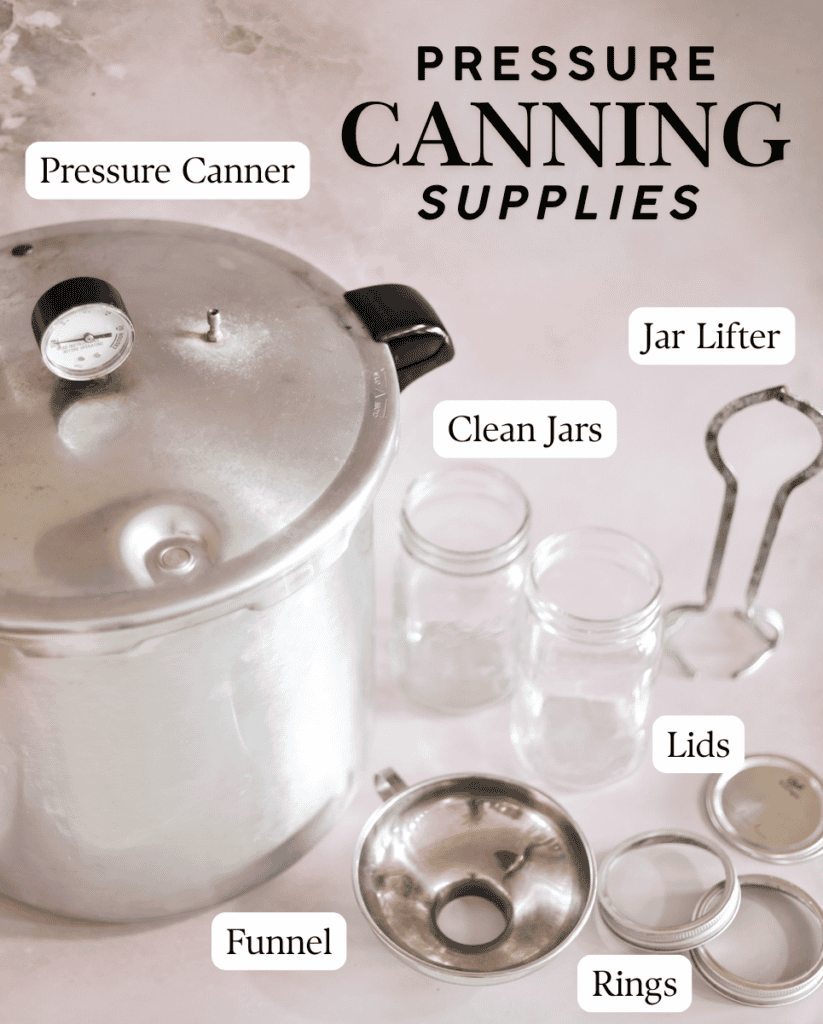
- Quart jars
- Lids & rings
- Canning funnel
- Jar lifter
- Pressure canner
Water Bath Canning vs. Pressure Canning
Here’s the simple rule: Water bath canning is for high-acid foods (acid prevents dangerous bacteria from growing), while pressure canning is required for low-acid foods because it reaches higher temperatures needed for safe preservation. Boiling water reaches about 212°F, but low-acid foods need the higher heat of pressure canning (about 240–250°F) to safely preserve them.
Can Be Water Bath Canned
- Jams & jellies
- Fruit preserves (butters, syrups, pie fillings — tested recipes)
- Pickles (cucumbers, okra, peppers)
- Relish & chutney (tested recipes)
- Applesauce
- Fruit (peaches, pears, berries)
- Tomatoes (acidified with bottled lemon juice/citric acid, per tested recipes)
- Salsa (only tested, high-acid salsa recipes)
Must Be Pressure Canned
- Bone broth, stock, and broth
- Meat (beef, pork, venison)
- Poultry (chicken, turkey)
- Fish/seafood
- Vegetables (green beans, carrots, corn, potatoes)
- Beans & legumes (dry beans, soups with beans)
- Soups, stews, and chili (tested pressure-canning recipes)
- Gravy and meat sauces (tested pressure-canning recipes)
Is Pressure Canning Safe?
Yes — pressure canning is very safe when done correctly and is the only USDA-recommended method for preserving low-acid foods like meats, vegetables, and bone broth because it reaches temperatures high enough to destroy harmful bacteria.
Modern pressure canners are built with multiple safety features, including locking lids, pressure regulators, and over-pressure release valves, making explosions extremely rare when the canner is used properly. Following tested recipes, maintaining the correct pressure, and allowing the canner to depressurize naturally ensure both food safety and safe operation.
Comparing the 3 Types of Pressure Canners
Pressure canners regulate heat and pressure in different ways, but all are designed to safely preserve low-acid foods like meats, vegetables, and bone broth. Understanding how each type works helps you choose the best option for your kitchen and experience level.
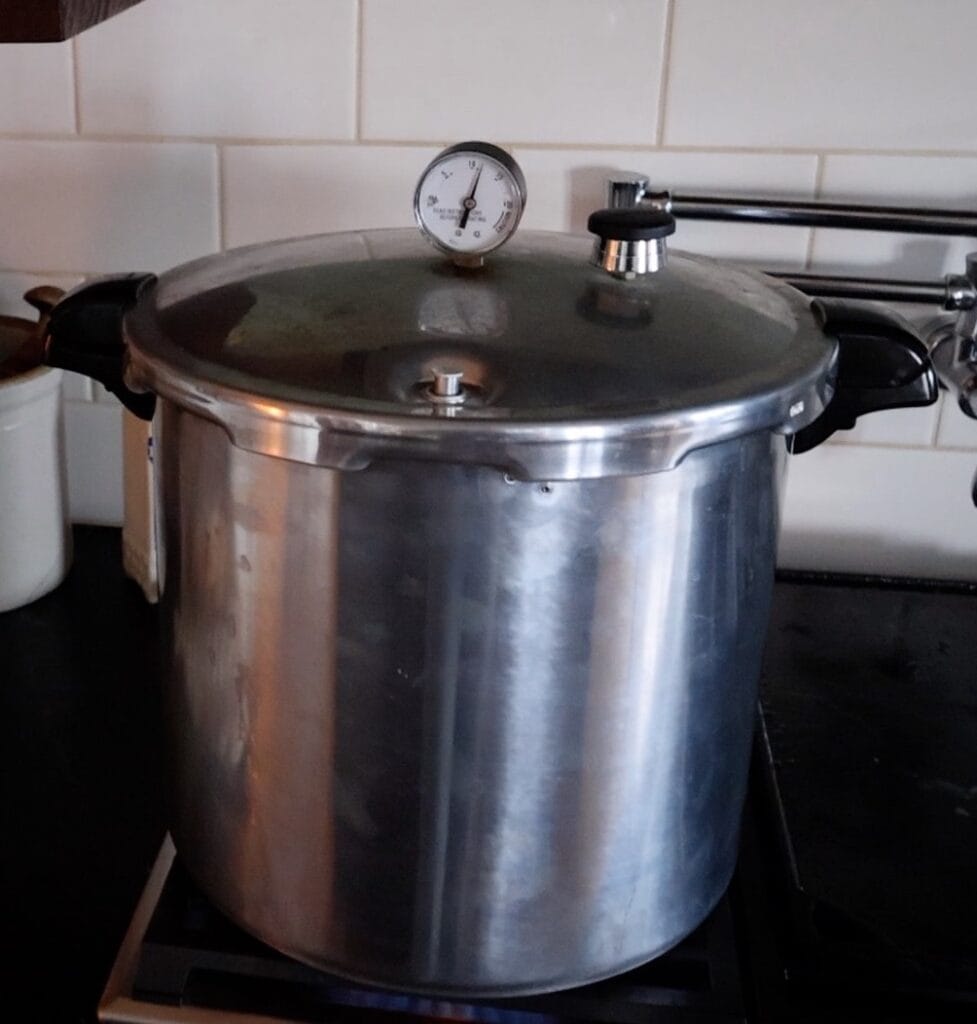
Dial-Gauge Pressure Canners
Dial-gauge canners (this is what I use) display the exact pressure inside the canner, allowing you to make precise heat adjustments. This makes them useful for maintaining consistent pressure and adjusting for altitude. However, the gauge must be tested annually to ensure accuracy.
Best for: precise control and altitude adjustments
Keep in mind: gauges should be tested regularly
- Most affordable option: Price point around $150
Weighted-Gauge Pressure Canners
Weighted-gauge canners regulate pressure using a weighted regulator that rocks or jiggles to maintain a set pressure (typically 5, 10, or 15 PSI). They maintain pressure automatically and do not require gauge testing, making them simple and reliable.
Best for: beginners and dependable use
Keep in mind: pressure is controlled in fixed increments
- Pricey: Can range from $450-$700
Electric Pressure Canners (Approved Models)
Electric pressure canners automate temperature, pressure, and timing digitally. Only models specifically tested and approved for home canning should be used for shelf-stable foods. They offer convenience and consistency but usually have smaller capacities than stovetop canners.
Best for: convenience and set-and-forget operation
Keep in mind: use only approved models and tested recipes
- Pricey: Around $450
Bottom line: All three types can safely preserve low-acid foods when used according to tested guidelines. Choose the one that fits your budget, comfort level, kitchen setup, and how often you plan to can.
What PSI Do You Use to Pressure Can Bone Broth?
The PSI (pounds per square inch) depends on your canner type and altitude.
Process pint jars for 20 minutes and quart jars for 25 minutes:
Dial-Gauge Pressure Canner
- 0–2,000 ft: 11 PSI
- 2,001–4,000 ft: 12 PSI
- 4,001–6,000 ft: 13 PSI
- 6,001–8,000 ft: 14 PSI
Weighted-Gauge Pressure Canner
- 0–1,000 ft: 10 PSI
- Above 1,000 ft: 15 PSI
Always maintain steady pressure for the entire processing time. If pressure drops below the target, bring it back up to pressure and restart the timing.
Step-By-Step Instructions for Pressure Canning Bone Broth
Step 1 – Inspect and wash jars. Check jars for nicks or cracks, then wash jars, lids, and rings in hot soapy water.
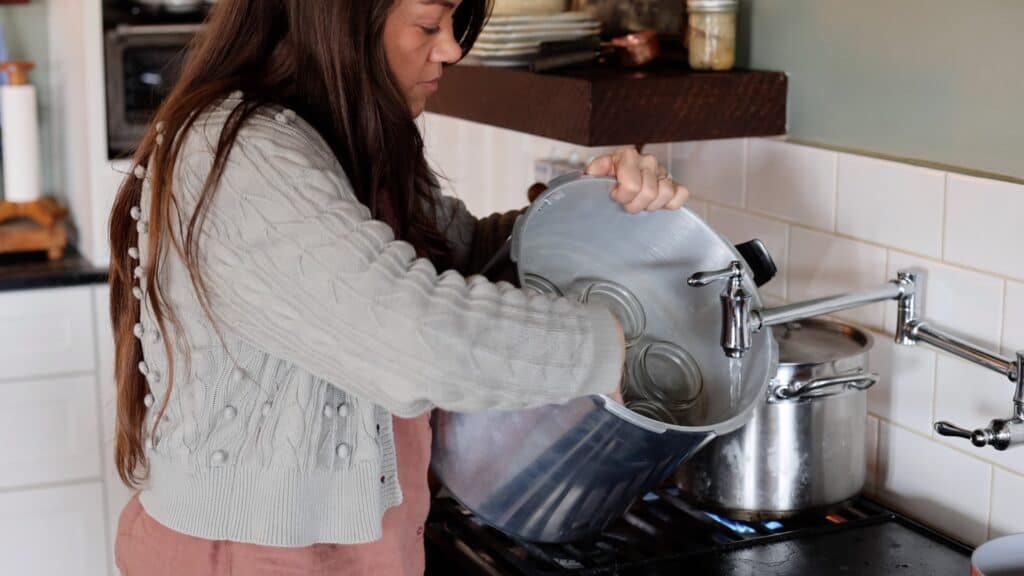
Step 2 – Keep jars hot (boiling-water method). Place clean jars upright in a large pot or canner, cover with water, and keep at a gentle simmer until ready to fill. Hot jars prevent breakage when filled with hot broth.
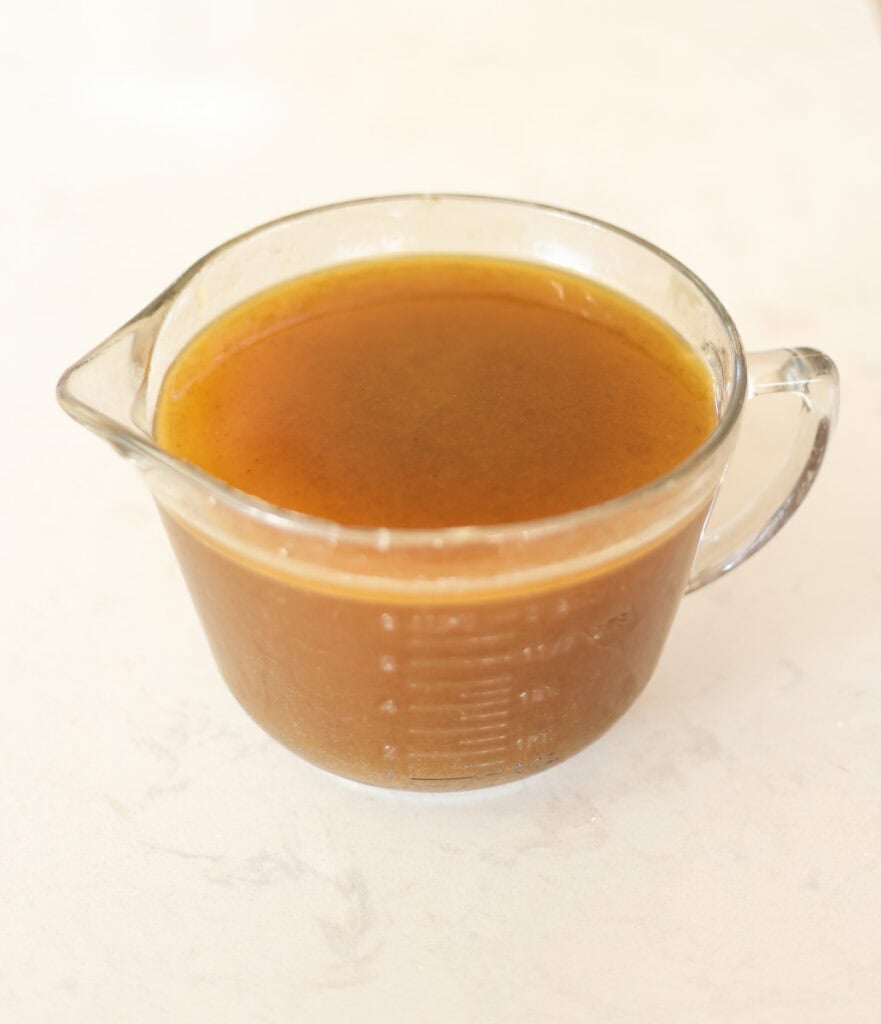
Step 3 – Chill, defat, and reheat the broth (recommended). Cool broth in the refrigerator and skim off excess fat. Removing fat helps ensure a good seal and improves storage quality. Reheat broth to a boil. Bring broth to a full boil before filling jars so everything stays hot during the canning process.
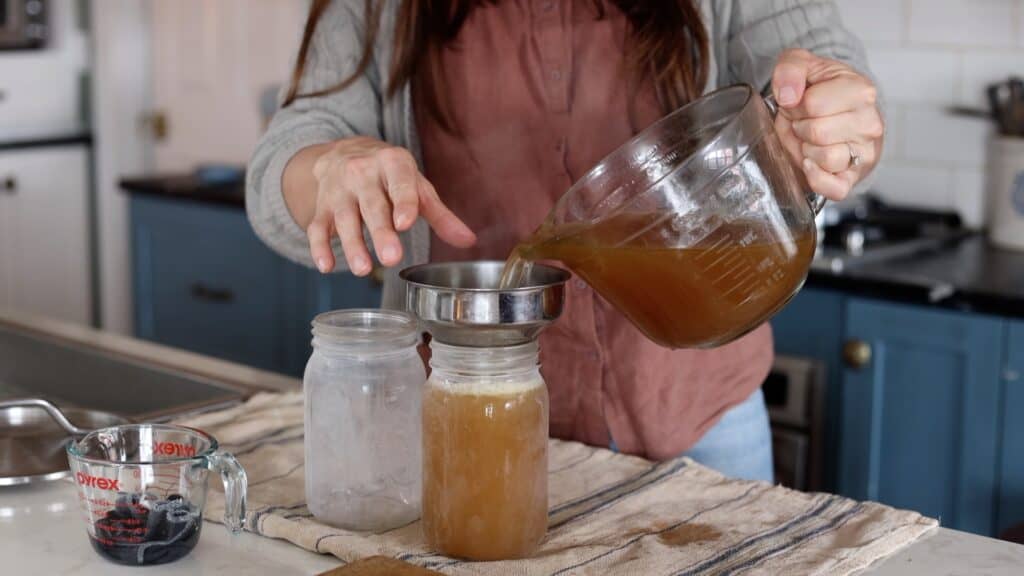
Step 4 – Fill hot jars. Lift one hot jar from the water, drain it, and place it on a towel. Using a funnel, fill with boiling broth, leaving 1 inch headspace. Repeat until all jars are filled.
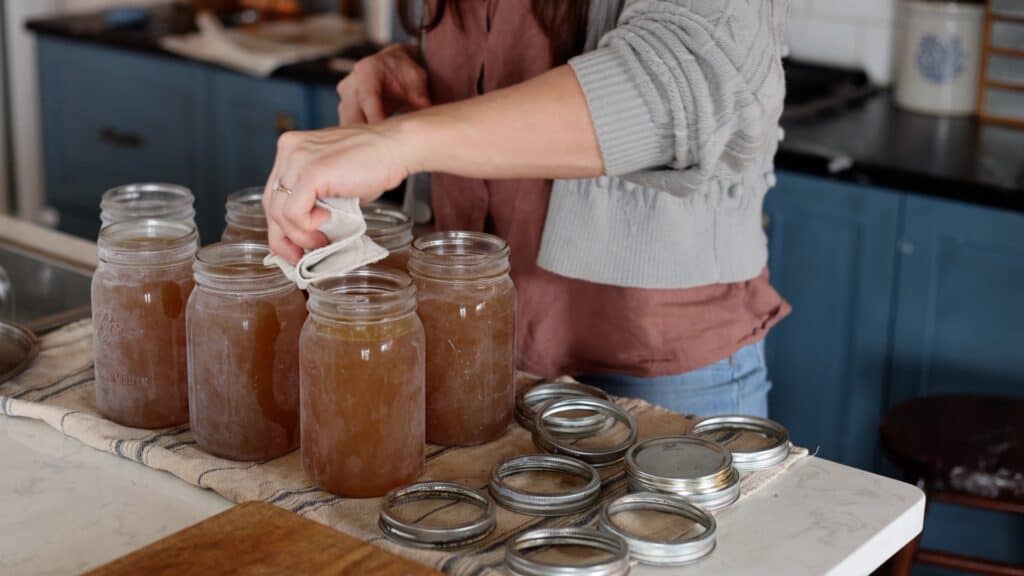
Step 5 – Clean rims. Adjust headspace if needed, then wipe the rim with a clean, with a vinegar soaked cloth, then dry the rim with a clean, dry cloth.
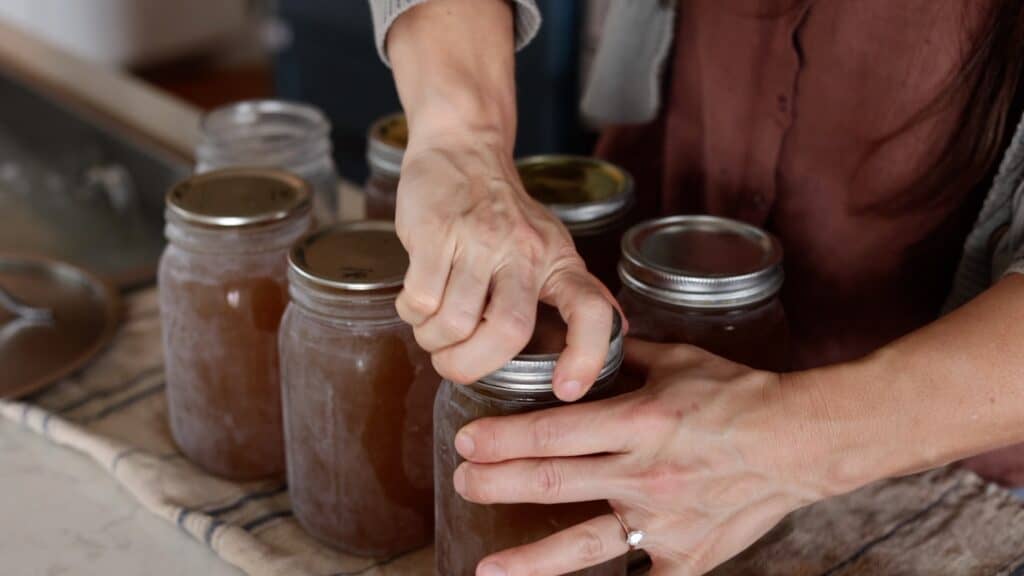
Step 6 – Apply lids and rings. Center the lid and screw the band on until fingertip-tight (snug but not forced).
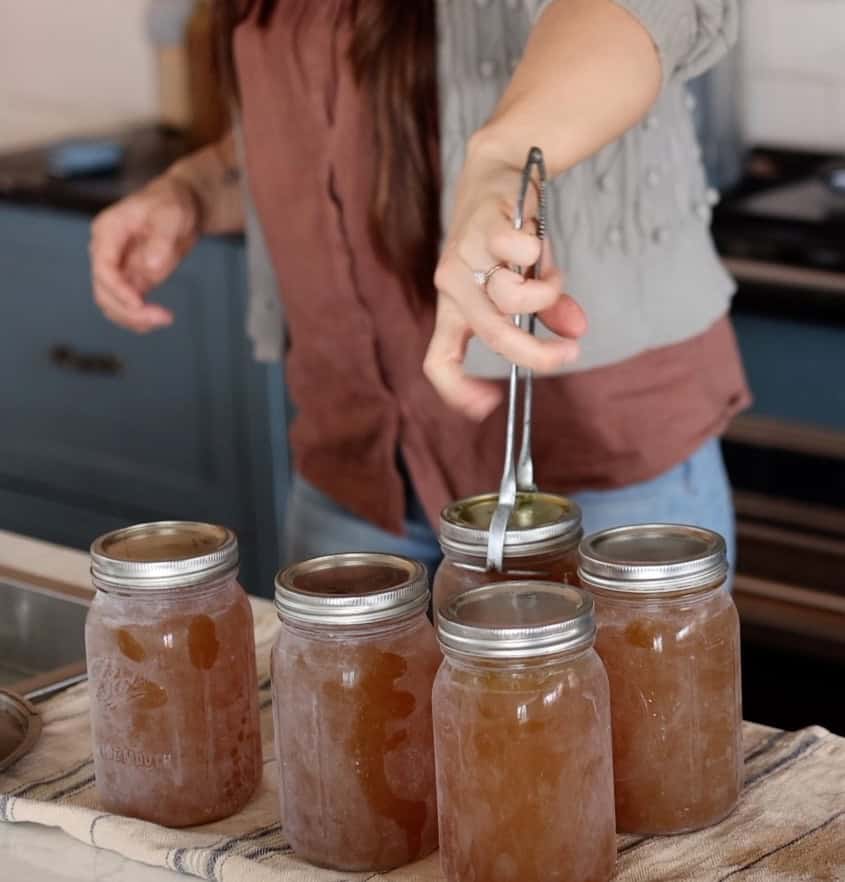
Step 7 – Prepare the canner and load jars. Place the rack in the pressure canner and add the amount of water specified in your manual (often 2–3 inches). Heat until hot but not boiling, then place filled jars onto the rack using a jar lifter and lock the lid.
Step 8 – Vent, pressurize, and process. Heat until a steady column of steam escapes and vent for 10 minutes. Add the weight or close the vent to bring the canner to the correct pressure for your altitude, then process pint jars for 20 minutes and quart jars for 25 minutes, maintaining steady pressure at 10-11 PSI the entire time.
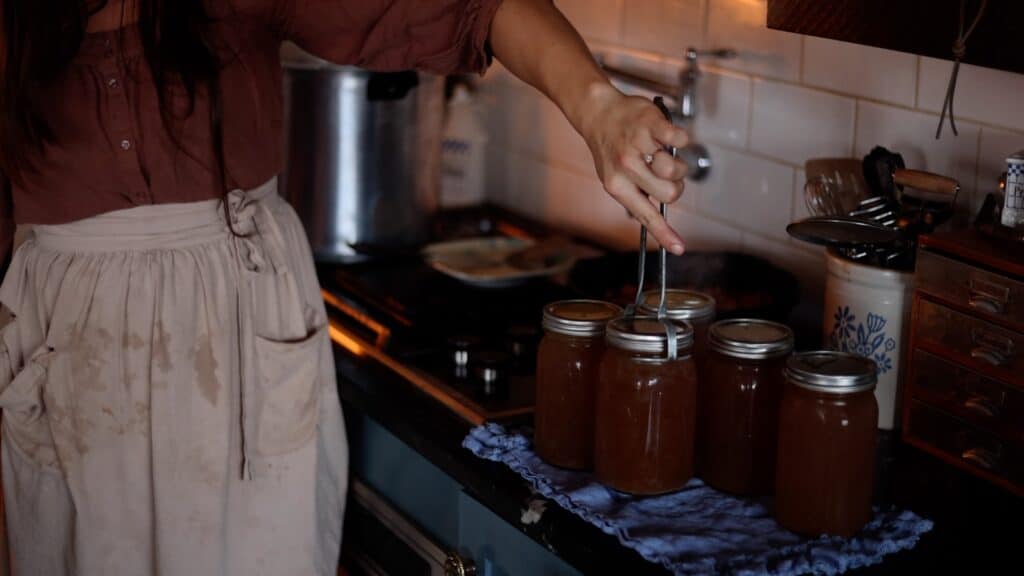
Step 9 – Cool the canner and jars gradually. Turn off heat and allow pressure to return to zero naturally. Wait 5 minutes, remove the lid away from your face, and let jars rest in the open canner for 10 minutes before moving them. Transfer jars to a towel-lined surface and cool undisturbed for 12–24 hours.
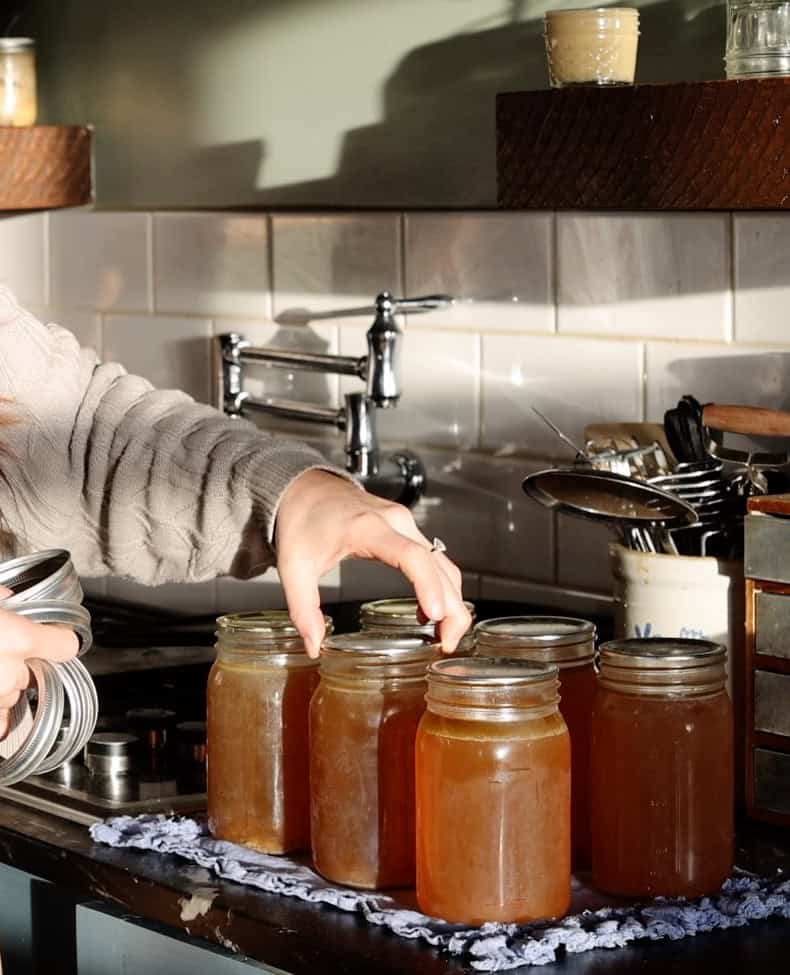
Step 10 – Remove Rings and Check Seals. Remove rings, check that lids are sealed by gently pulling on each lid.
Step 11 – Store. Wipe jars clean, label, and store in a cool, dark place with rings off. Refrigerate any unsealed jars and use promptly.
Make your own homemade bone broth with my simple tutorial.
How to Pressure Can Bone Broth FAQs
Yes, it is safe to pressure can bone broth when you follow tested guidelines. Because bone broth is a low-acid food, pressure canning is required to reach temperatures high enough to destroy harmful bacteria and make it shelf stable.
Bone broth should be pressure canned for 20 minutes for pint jars and 25 minutes for quart jars, adjusting pressure as needed for your altitude and canner type.
No, bone broth cannot be safely water bath canned because it is a low-acid food. Only pressure canning reaches the temperatures required to safely preserve broth for shelf storage.
Pressure canned bone broth is best used within 12–18 months for optimal quality, but it remains safe as long as the jar stays sealed and shows no signs of spoilage.
Removing excess fat before pressure canning helps ensure a proper seal and prevents the fat from going rancid during storage. A thin layer is normal, but large amounts can interfere with sealing.
The PSI for pressure canning bone broth depends on your canner type and altitude. Most dial-gauge canners use 11 PSI at 0–2,000 ft, while weighted-gauge canners use 10 PSI below 1,000 ft and 15 PSI above 1,000 ft; always adjust for altitude and maintain steady pressure for the full processing time.
Expert Tips to Pressure Can Bone Broth Safely
- Chill and remove excess fat first. Refrigerating broth and skimming hardened fat helps improve seal quality and storage stability.
- Strain broth well. Remove small bone fragments and solids with a fine mesh strainer for clearer jars and better sealing.
- Keep everything hot. Hot broth into hot jars prevents thermal shock and reduces siphoning.
- Maintain steady pressure. Fluctuating pressure can cause liquid loss from jars, so adjust the heat gradually instead of turning it up or down dramatically.
- Don’t over-tighten rings. Fingertip-tight is enough; over-tightening can prevent air from escaping during processing.
- Let the canner depressurize naturally. Quick cooling can cause siphoning and seal failures.
- Expect some liquid loss. A small amount is normal as long as jars seal properly.
- Remove rings before storage. Store jars without rings to prevent trapped moisture and to easily spot seal failures.
- Label with date and batch. Bone broth is best used within 12–18 months for peak quality.
- When in doubt, throw it out. If a jar loses its seal, smells off, or shows spoilage, discard it without tasting. (throw it in the compost pile so it doesn’t go to waste)
Storage
- Remove rings before storing to prevent trapped moisture and to easily detect seal failures.
- Check seals before putting jars away — lids should be concave and not flex when pressed.
- Store in a cool, dark place such as a pantry, basement, or cupboard away from heat and sunlight.
- Keep jars between 50–70°F for best quality and longest shelf life.
- Use within 12–18 months for the best flavor and nutrient quality.
- Refrigerate after opening and use within 3–5 days.
- Discard if the seal is broken or the broth smells off — never taste broth from a compromised jar.

If you love this recipe, please leave a ⭐ 5-star ⭐ rating below! If you have questions or suggestions – drop a comment!
How to Pressure Can Bone Broth
Ingredients
Equipment
Method
- Inspect and wash jars. Check 6 quart jars for nicks or cracks, then wash jars, lids, and rings in hot soapy water.
- Keep jars hot (boiling-water method). Place clean jars upright in a large pot or canner, cover with water, and keep at a gentle simmer until ready to fill. Hot jars prevent breakage when filled with hot broth.
- Chill and defat the broth (recommended). Cool broth in the refrigerator and skim off excess fat. Removing fat helps ensure a good seal and improves storage quality.
- Reheat broth to a boil. Bring broth to a full boil before filling jars so everything stays hot during the canning process.
- Fill hot jars. Lift one hot jar from the water, drain, and place on a towel. Using a funnel, fill with boiling broth, leaving 1 inch headspace.
- Clean rims. Adjust headspace if needed, then wipe the rim with a vinegar soaked cloth, then wipe rims with a clean, dry cloth.
- Apply lids and rings. Center the lid and screw the band on until fingertip-tight (snug but not forced).
- Prepare the canner and load jars. Place the rack in the pressure canner and add the amount of water specified in your manual (often 2–3 inches). Heat until hot but not boiling, then place filled jars onto the rack using a jar lifter and lock the lid.
- Vent, pressurize, and process. Heat until a steady column of steam escapes and vent for 10 minutes. Add the weight or close the vent to bring the canner to the correct pressure for your altitude, then process pint jars for 20 minutes or quart jars for 25 minutes at 10-11 PSI, maintaining steady pressure the entire time. (see notes on PSI for various altitudes)
- Cool the canner and jars gradually. Turn off heat and allow pressure to return to zero naturally. Wait 5 minutes, remove the lid away from your face, and let jars rest in the open canner for 10 minutes before moving them. Transfer jars to a towel-lined surface and cool undisturbed for 12–24 hours.
- Check seals and store. Remove rings, check that lids are sealed, wipe jars clean, label, and store in a cool, dark place. Refrigerate any unsealed jars and use promptly.
Notes
- Use pressure canning for safety. Bone broth is a low-acid food and must be pressure-canned to reach temperatures that destroy harmful bacteria.
- Remove excess fat before canning. Chilling and skimming the broth helps ensure proper sealing and prevents rancid flavors during storage.
- Hot broth + hot jars = best results. Filling hot jars with boiling broth reduces thermal shock and helps prevent liquid loss.
- Leave 1 inch headspace. Proper headspace allows for expansion during processing and supports a strong seal.
- Maintain steady pressure. Fluctuating pressure can cause siphoning (liquid loss) and may affect seal quality.
- Altitude affects PSI requirements. Always adjust pressure based on elevation:
- Dial-Gauge Canner
- 0–2,000 ft: 11 PSI
- 2,001–4,000 ft: 12 PSI
- 4,001–6,000 ft: 13 PSI
- 6,001–8,000 ft: 14 PSI
- Weighted-Gauge Canner
- 0–1,000 ft: 10 PSI
- Above 1,000 ft: 15 PSI
- Processing time:
- Pints: 20 minutes
- Quarts: 25 minutes
- Let the canner cool naturally. Forcing pressure down can cause siphoning and seal failures.
- A small amount of liquid loss is normal. As long as jars seal properly, the broth is safe to store.
- Store without rings. Removing bands prevents trapped moisture and makes seal failures easier to detect.
- For best quality, use within 12–18 months.
Tried this recipe?
Let us know how it was!About the Author

Welcome to Hopewell Heights, I’m Steph – seasoned sourdough baker, homesteader, homemaker, homeschooling mom of 5, and creator behind this Heritage American food blog. I hope you enjoy my family’s favorite, from-scratch recipes!
This step by step is easy to follow and it’s so satisfying lining my shelves with jars of homemade bone broth!