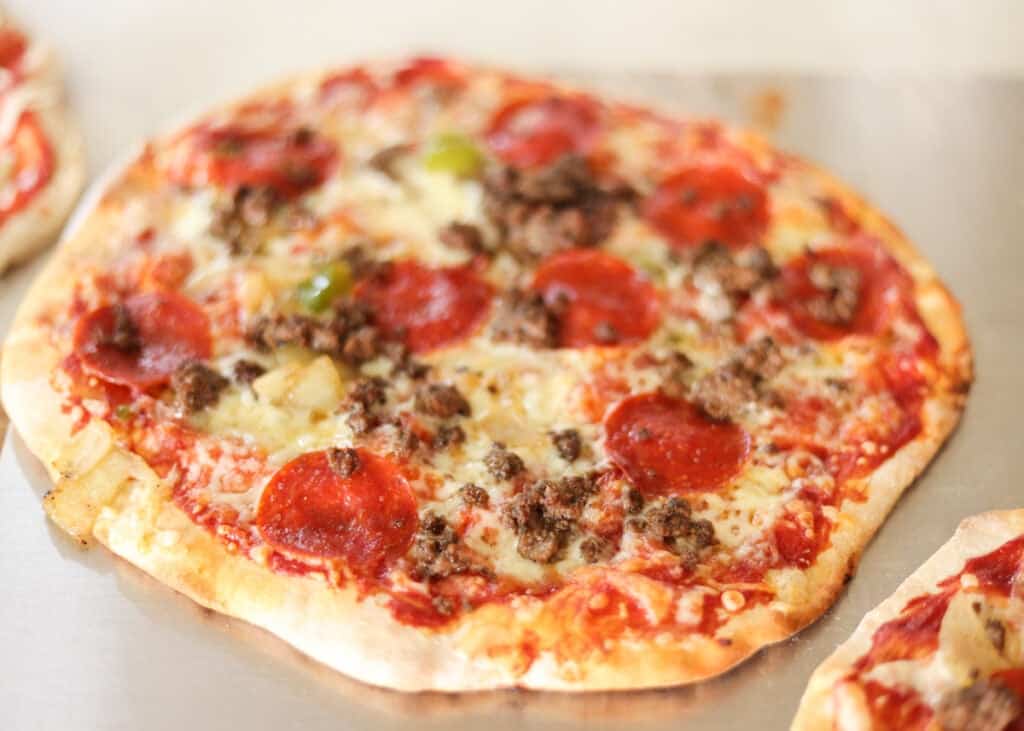
This high protein pizza crust is the perfect way to enjoy pizza while hitting your protein goals—crispy, satisfying, and made with 3 simple, real-food ingredients.
Quick Recipe Overview: High Protein Pizza Crust
⏱️ Ready In: ~20 minutes
🍽️ Serves: 2–4
🔥 Calories: ~600–800 per crust (varies by ingredients)
💪 Protein: ~40–60g per crust
🥣 Main Ingredients: Greek yogurt, flour (or gluten-free flour), optional eggs, baking powder, salt
🌾 Dietary Info: High-protein, customizable gluten-free, no yeast required
🤍 Why You’ll Love It: This crust is quick, satisfying, and packed with protein to keep you full, giving you all the comfort of pizza with a more balanced, nourishing twist.
SUMMARIZE & SAVE THIS CONTENT ON
This super simple 3 ingredient pizza crust is a staple in my weekly food prep rotation. It’s so quick and easy to make a massive batch of these crusts and either par-bake them for later assembly, assemble pizzas to freeze and bake later, or have a quick lunch or dinner in a pinch.
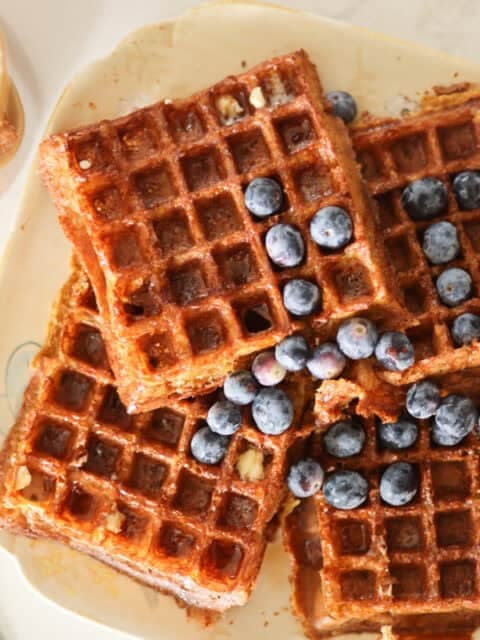
If you love this high protein pizza crust, be sure to try my other high-protein favorites like 2 ingredient egg wraps for a quick savory option, sourdough protein waffles for easy breakfasts, or my brown butter Dutch baby for a simple, oven-baked meal that’s just as nourishing and satisfying.
Why You’ll Love This Recipe
- High protein: This crust is packed with protein to help keep you full and support muscle and metabolism
- Quick and easy: No yeast or long rise time required, so you can have pizza ready fast
- Crispy texture: Bakes up golden and crisp on the outside while staying soft inside
- Simple ingredients: Made with basic, real-food ingredients you likely already have on hand
- Customizable: Easily adjust toppings and ingredients to fit your dietary needs and preferences
“I make a big batch of these pizza crusts every week for my meal prep and par bake some crusts for the freezer, assemble some ready to bake crusts also for freezer, and of course bake a few fresh for a quick lunch! My whole family loves this crust!” – Steph
This post may contain affiliate links. I only recommend products I use and love. If you purchase through my links, I may earn a small commission at no extra cost to you.
Spend a week with me, ingredient prepping and working this high protein pizza crust into my meal rotation!
Key Ingredients
Precise measurements and instructions can be found in the recipe card at the bottom of the page.
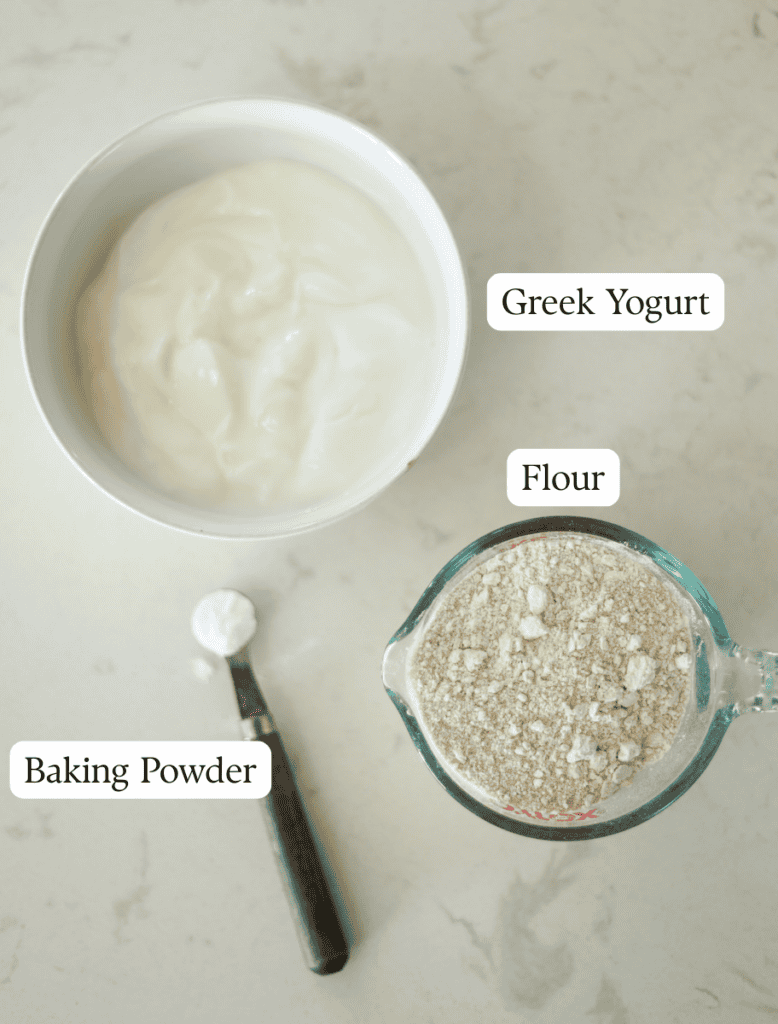
- Greek Yogurt – This is where we get the major protein punch, you can try blended cottage cheese as well! I use a homemade long fermented Greek yogurt that works great as well if you like to make your own ferments.
- Flour – All-purpose flour is the standard for this recipe but I use fresh milled because I’m crunchy like that and appreciate the added nutrition!
- Baking Powder – No yeast required, baking powder does all the heavy lifting in this recipe.
Fresh Milled Flour for High Protein Pizza Crust
I use 1.5 cups fresh milled flour from hard white wheat for this pizza crust recipe.
- Fresh milled flour: Using freshly milled hard white wheat gives this high protein pizza crust a richer flavor, better texture, and more nutrients than store-bought flour
- Higher protein grain: Hard white wheat naturally boosts the protein content of the crust while still keeping it soft and mild in flavor
- Better digestion: Fresh milled flour retains the bran and germ, making it easier on the gut and more stable energy
Step-By-Step Instructions for making High Protein Pizza Crust
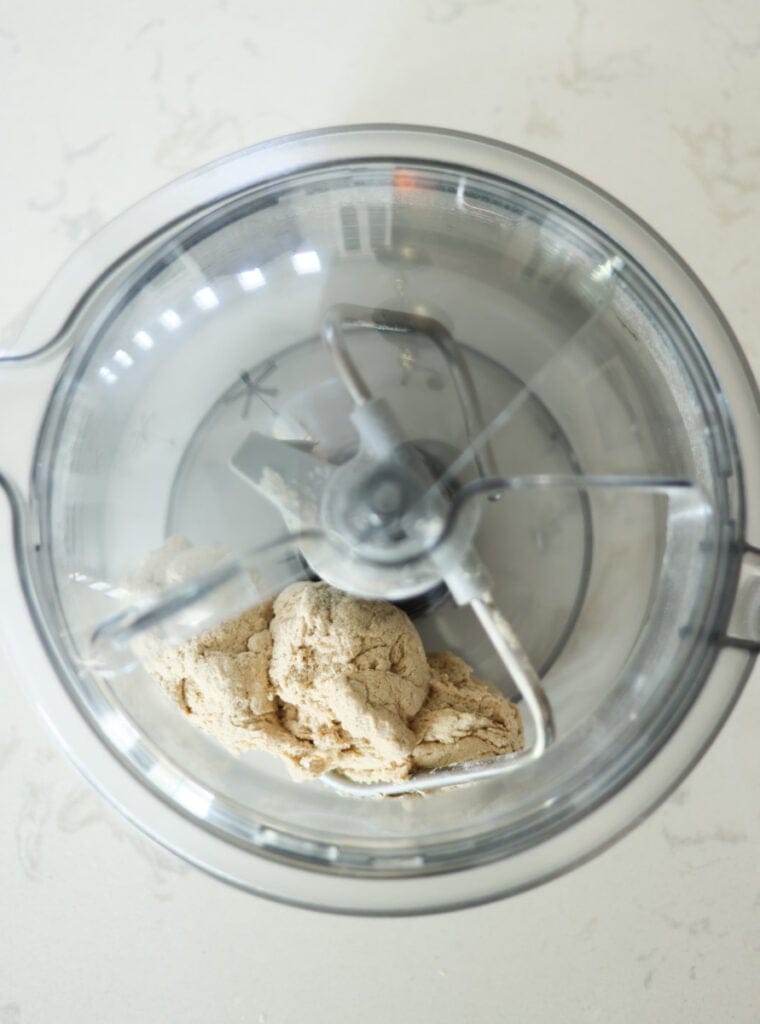
Step 1: Make the Dough – Add ingredients to a large bowl or bowl of a stand mixer and knead until smooth.
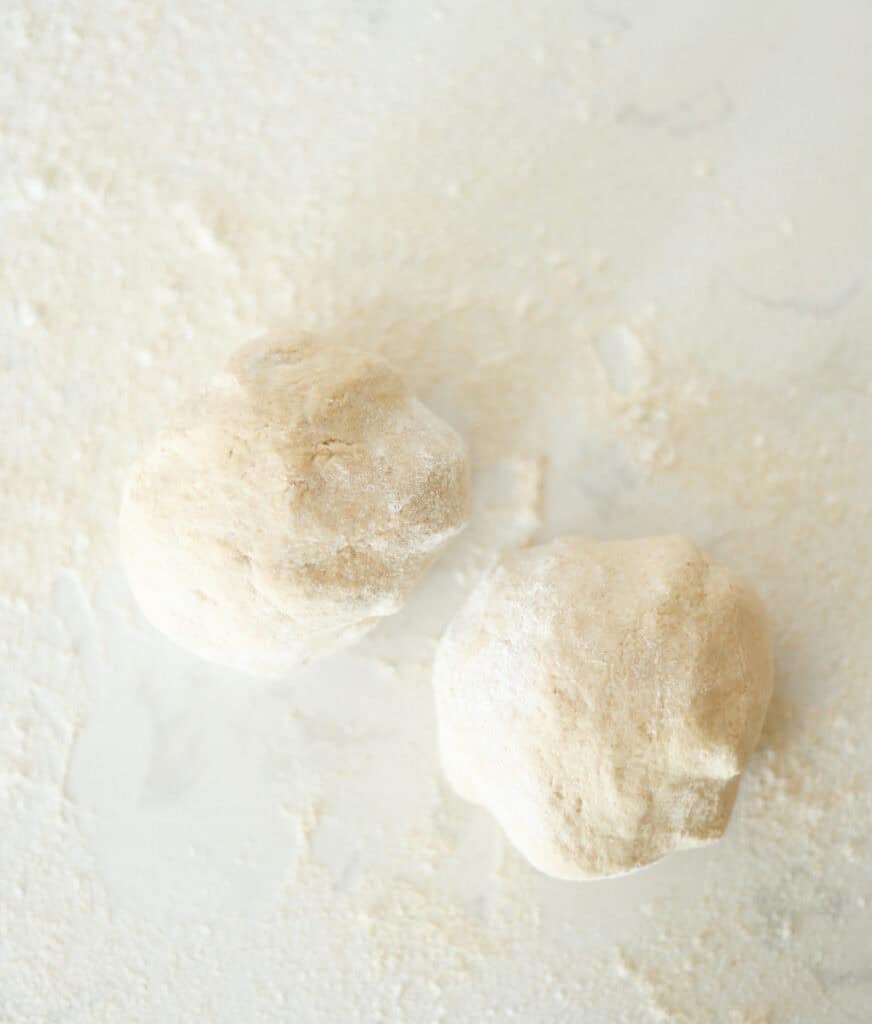
Step 2: Divide Dough – Divide the dough into 2 pieces for making large pizzas or 4 pieces for making smaller individual pizzas.
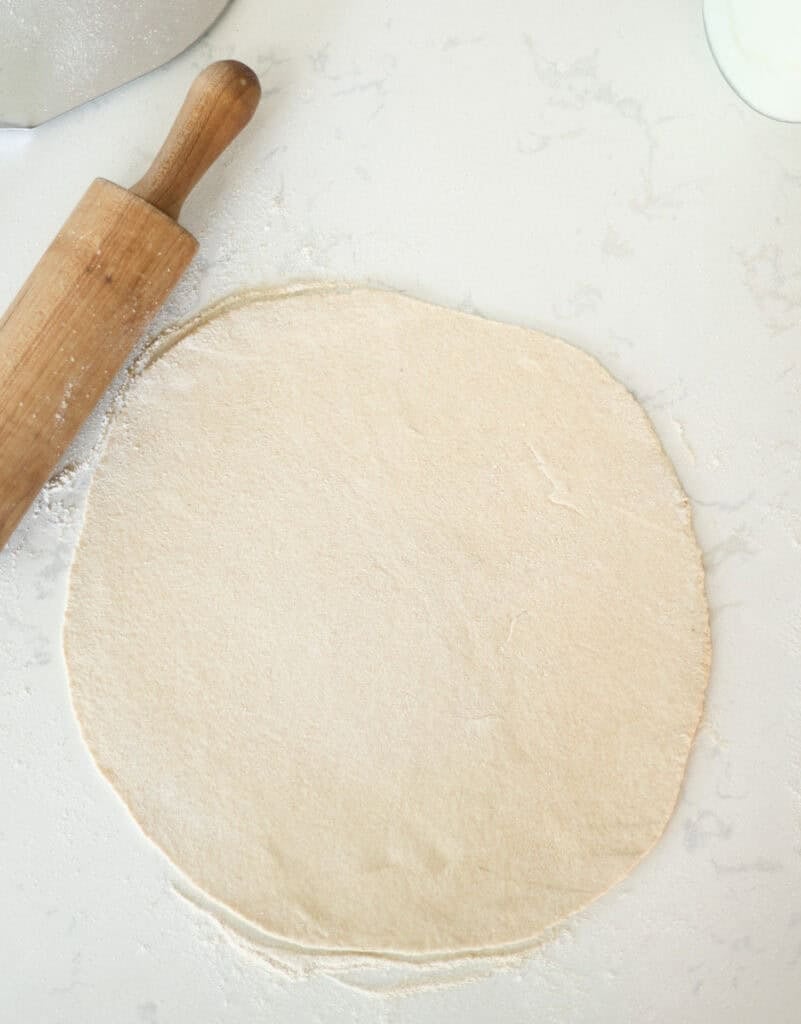
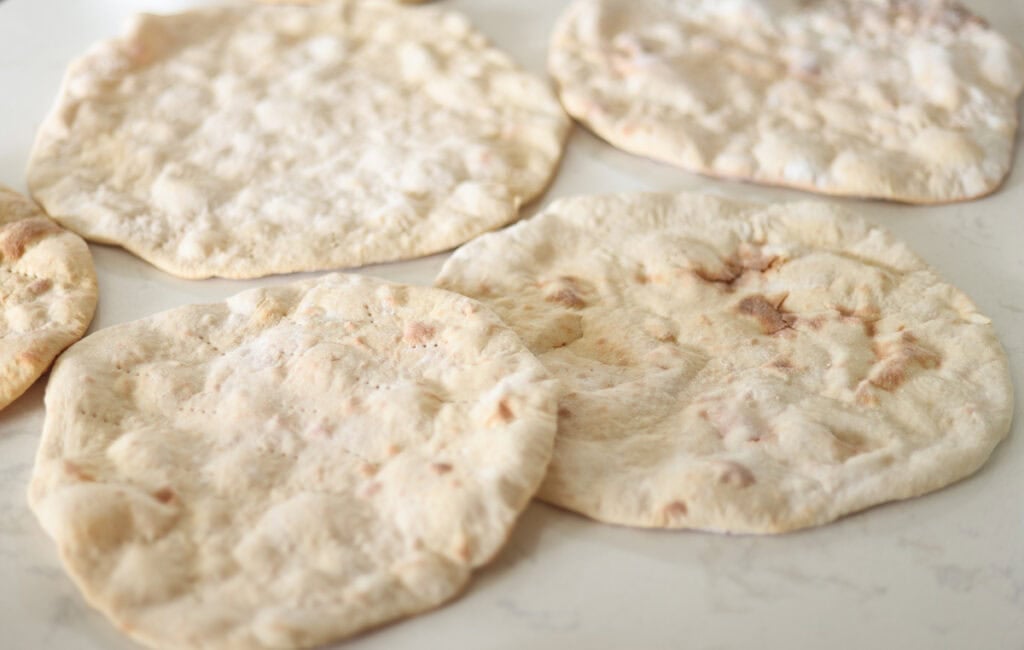
Step 3: Roll the Dough – On a floured surface roll the dough to 1/8th inch thick.
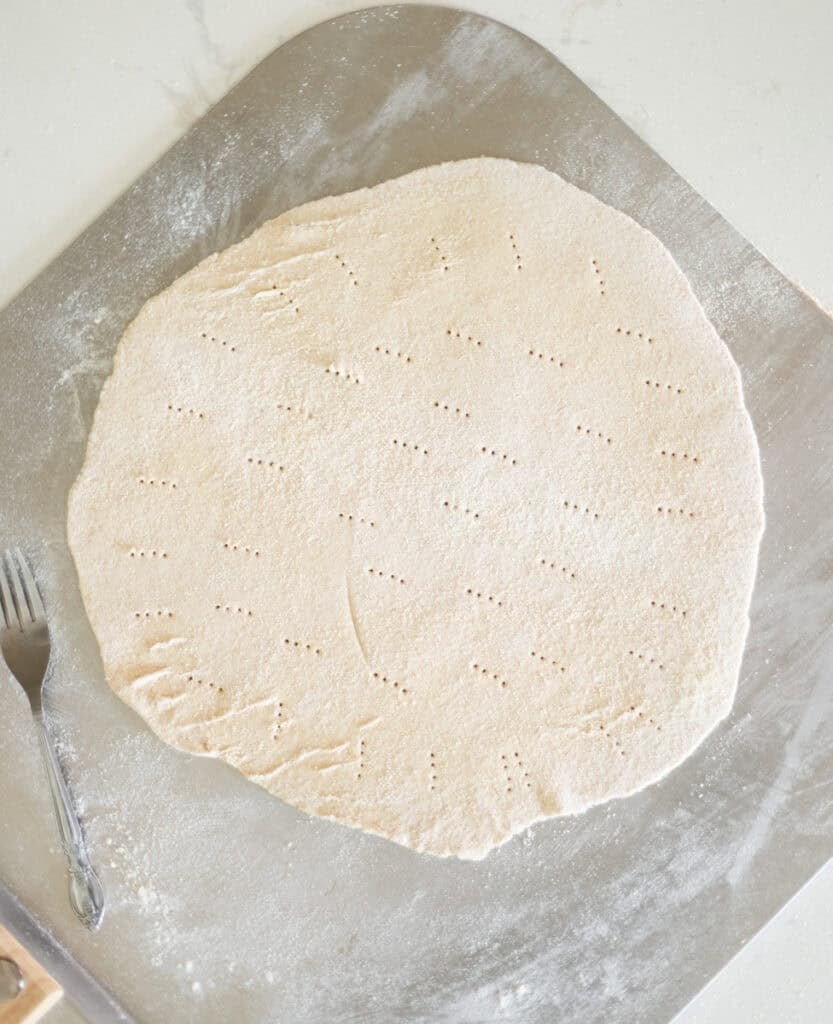
Step 4: Prep for Baking – Use a fork to poke holes in the crust and use a floured pizza peel to transfer onto a pizza stone for baking.
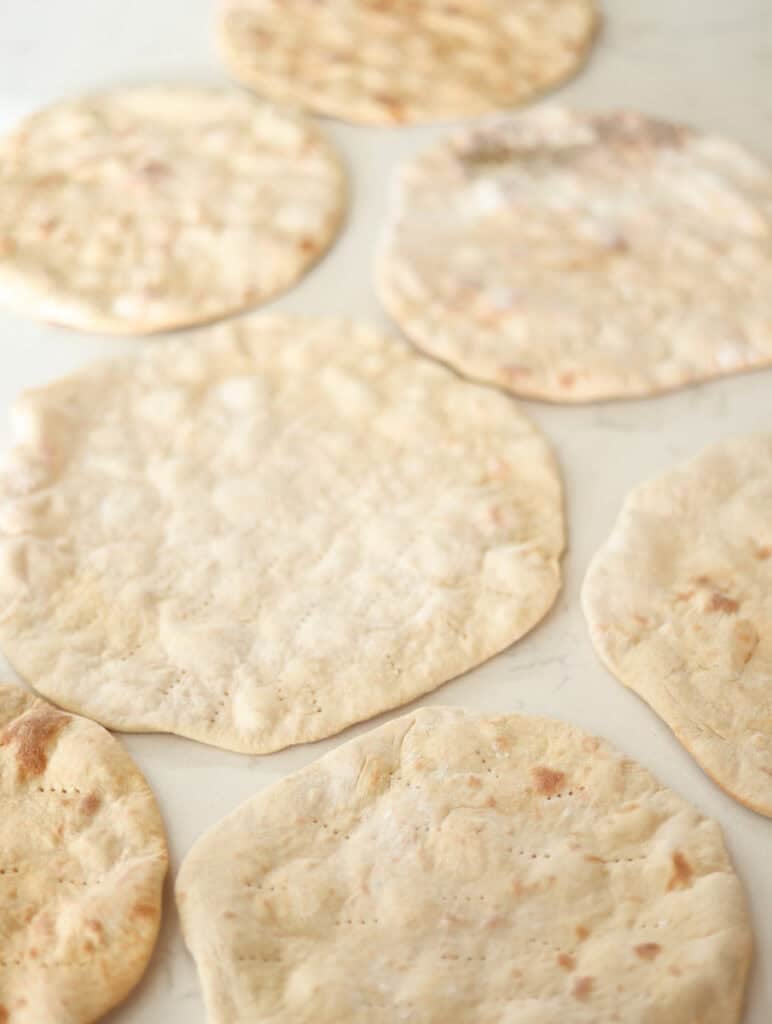
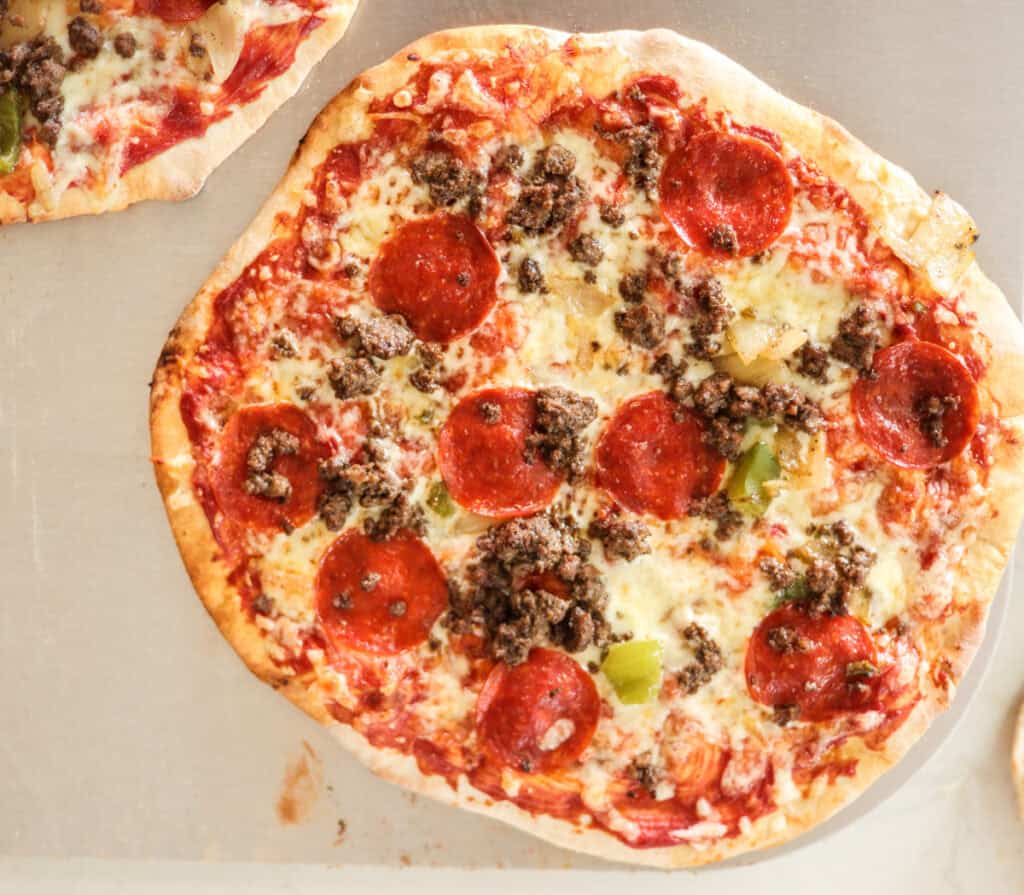
Step 5:Par-Bake – on a preheated pizza stone for 7 minutes at 450F. You can either assemble pizzas or let the par-baked crusts cool, then store for later use.
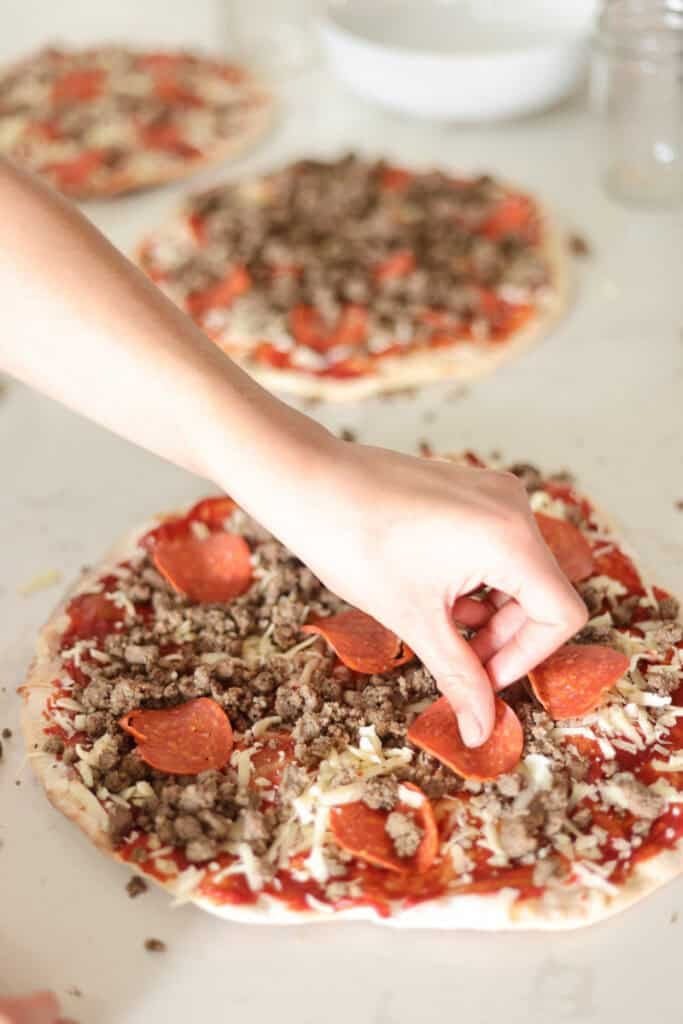
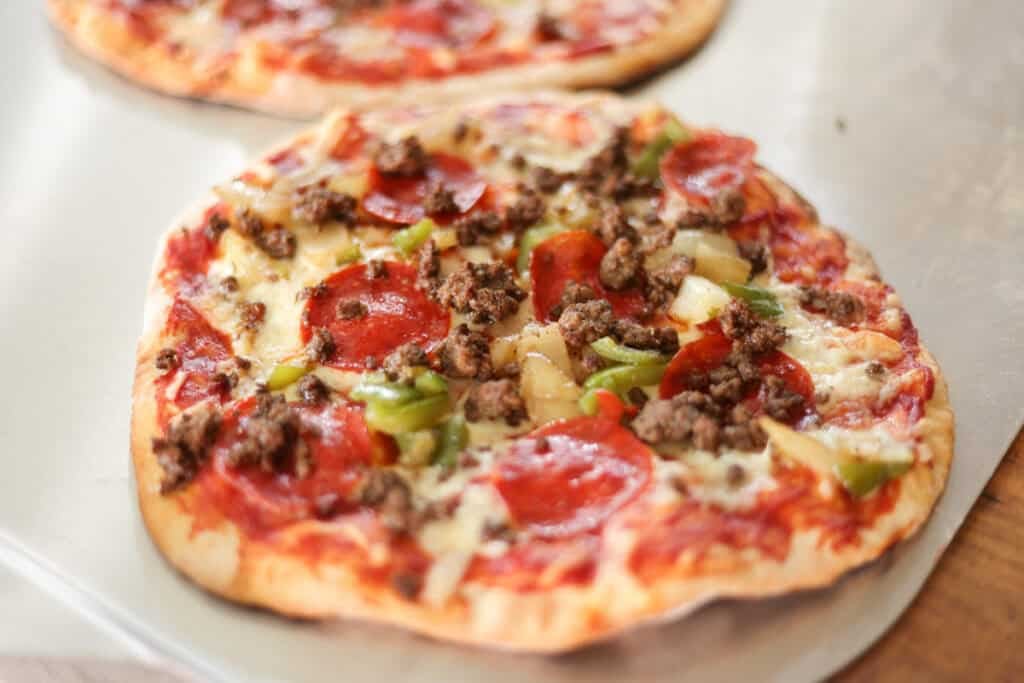
Step 6: Assemble – Add your favorite sauce, cheese, and toppings. You can freeze assembled pizzas at this point to have your own ready-to-bake frozen pizzas or bake them right away.
High Protein Pizza FAQs
Yes, high protein pizza crust can be a more balanced option than traditional crust because it includes more protein to support satiety, blood sugar stability, and muscle support, especially when made with whole-food ingredients.
High protein pizza crust gets its protein from Greek yogurt or higher-protein flours such as hard white wheat, which naturally contain more protein than refined flour.
Yes, high protein pizza crust can easily be made without protein powder by using ingredients like Greek yogurt or fresh milled flour to naturally increase protein content.
Yes, fresh milled hard white wheat works very well for high protein pizza crust, adding more nutrients, better flavor, and naturally higher protein compared to store-bought flour.
High protein pizza crust can turn out dense if the dough is too dry or overmixed. Adding a bit more liquid and handling the dough gently can help create a lighter texture.
To get a crispy high protein pizza crust, preheat your oven well, bake on a hot surface like a pizza stone or steel, and avoid adding too many wet toppings before the crust sets.
Expert Tips for Making High Protein Pizza Crusts
- Don’t overwork: Mix and handle the dough just until combined to keep the crust tender, not tough
- Pre-bake first: Par-bake the crust for 5-7 minutes before adding toppings to help it hold its structure and get crispy
- Use high heat: A hotter oven (425–475°F) helps create a better rise and golden, crisp edges
- Roll thin: For the best texture, roll the dough thinner than you think—it will puff slightly as it bakes
- Balance moisture: Avoid overly wet toppings or add them after a short pre-bake to prevent a soggy crust
- Rest briefly: Let the dough rest for 5–10 minutes before shaping to make it easier to work with
Storage
Refrigerate: Store leftover high protein pizza crust or fully baked pizza in an airtight container in the fridge for up to 3–4 days
Freeze crusts: Par-bake the crust, let it cool completely, then wrap and freeze for up to 2–3 months
Freeze pizzas: Add sauce and toppings to a par-baked crust, freeze flat, then wrap well for quick homemade “frozen pizzas”
Reheat: Bake from refrigerated or frozen in a hot oven until heated through and crispy
Make ahead: Keep a stash of par-baked crusts or frozen pizzas on hand for easy, high-protein meals anytime

If you love this recipe, please leave a ⭐ 5-star ⭐ rating below! If you have questions or suggestions – drop a comment!

High Protein Pizza Crust
Ingredients
Equipment
Method
- Preheat: Preheat a pizza stone or steel in the oven at 450F
- Make dough: Mix your ingredients until a soft, workable dough forms, adjusting flour as needed, divide dough into 2 pieces for large pizzas or 4 pieces for individual pizzas
- Shape crust: Roll or press dough into your desired pizza shape on a lined or lightly floured surface, about 1/8th inch thick
- Par-bake: Transfer to a baking surface and bake at 450°F for 7 minutes until set but not fully browned
- Add toppings: Remove from oven, add sauce, cheese, and desired toppings
- Final bake: Return to oven and bake at 450°F for 5–7 minutes until cheese is melted and edges are golden
- Serve: Slice and enjoy warm while crispy and fresh
Nutrition
Notes
- Fresh milled adjustment: If using fresh milled flour use 1.5 cups hard white wheat, adding more 1 tablespoon at a time if need be.
- Dough texture: The dough should be soft but not sticky—adjust with small amounts of flour or liquid as needed
- Par-bake is key: Don’t skip the par-bake step, as it helps prevent a soggy crust once toppings are added
- Thin vs thick: Roll thinner for a crispier crust or slightly thicker for a softer, more bread-like texture
- Crispier crust: Bake on a preheated pizza stone or steel for best results
- Topping tip: Avoid overly wet toppings or layer lightly to keep the crust from getting soggy
Tried this recipe?
Let us know how it was!About the Author

Welcome to Hopewell Heights, I’m Steph – seasoned sourdough baker, homesteader, homemaker, homeschooling mom of 5, and creator behind this Heritage American food blog. I hope you enjoy my family’s favorite, from-scratch recipes!
I love to make sourdough pizza, but these are an easy high protein alternative! I plan to meal prep a large batch for my freezer. Great to have frozen homemade pizza on hand for my kids. Thank you!
Easy and good, I used fresh milled.
I make a big batch of these pizza crusts every week for my meal prep and par bake some crusts for the freezer, assemble some ready to bake crusts also for freezer, and of course bake a few fresh for a quick lunch! My whole family loves this crust!