How to Make Coffee with a Percolator
I’ve got a big, fancy coffee machine. But a few years ago I found a dusty old stovetop percolator in the barn and decided to clean it up and give it a try, I was instantly hooked. I’ve since upgraded to a shiny, new stainless perc – but the old fashioned feel and flavor is all the same.
I may be compensated for some items linked in this post at no extra cost to you.
Coffee rocks. If you’re reading this you agree. There are many ways to brew it. And I don’t claim to be a coffee connoisseur by any means. I simply enjoy a good cup…pot, actually – in the early, quiet hours of the morning as the little ones are waking.
When we first moved to the farm in 2017, I found an old enamelware percolator that belonged to Big John’s grandma, collecting dust in one of the outbuildings. I gave it a good wash and tried it out. It was love. Percolated coffee has a unique taste, and there’s just something about the simplicity of it.
A fresh cup of percolated coffee with some fresh cream and a slice of raw buttered sourdough boule. SAY NO MORE. This is living.
Let’s walk through the basics of switching to a stovetop percolator for your everyday coffee brewing.
What is a percolator & how does it work?
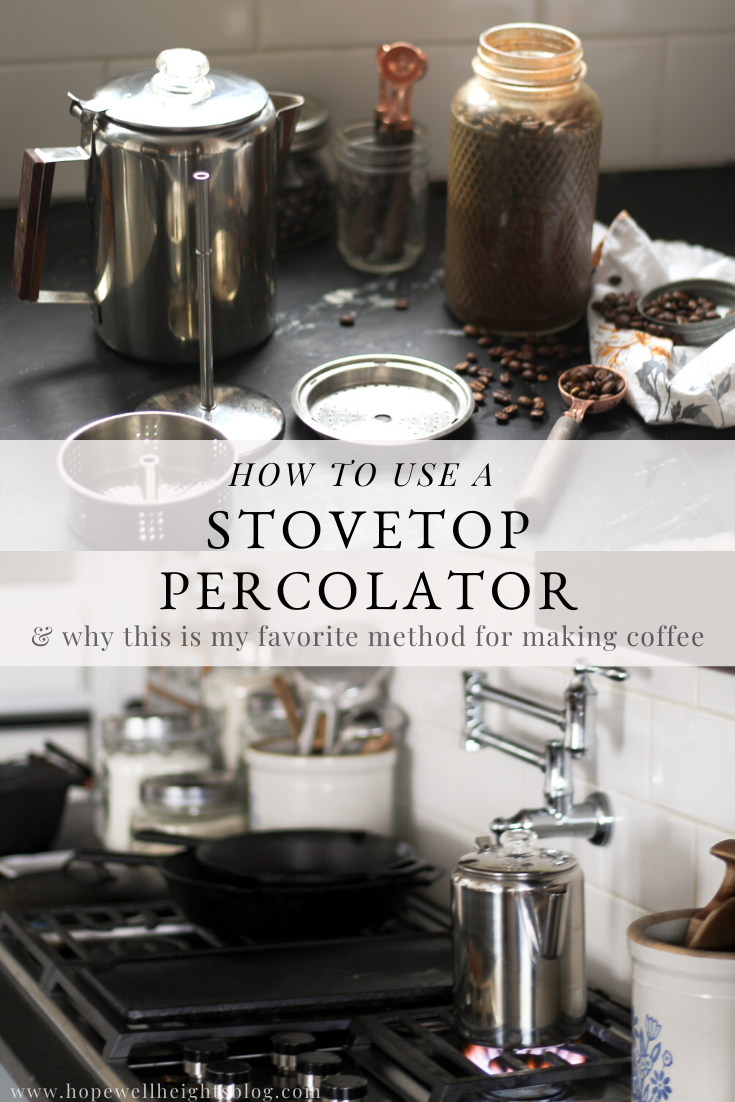
A percolator looks a lot like a kettle, but it’s got a steam powered vacuum system inside that creates a strong, bitter brew free of impurities.
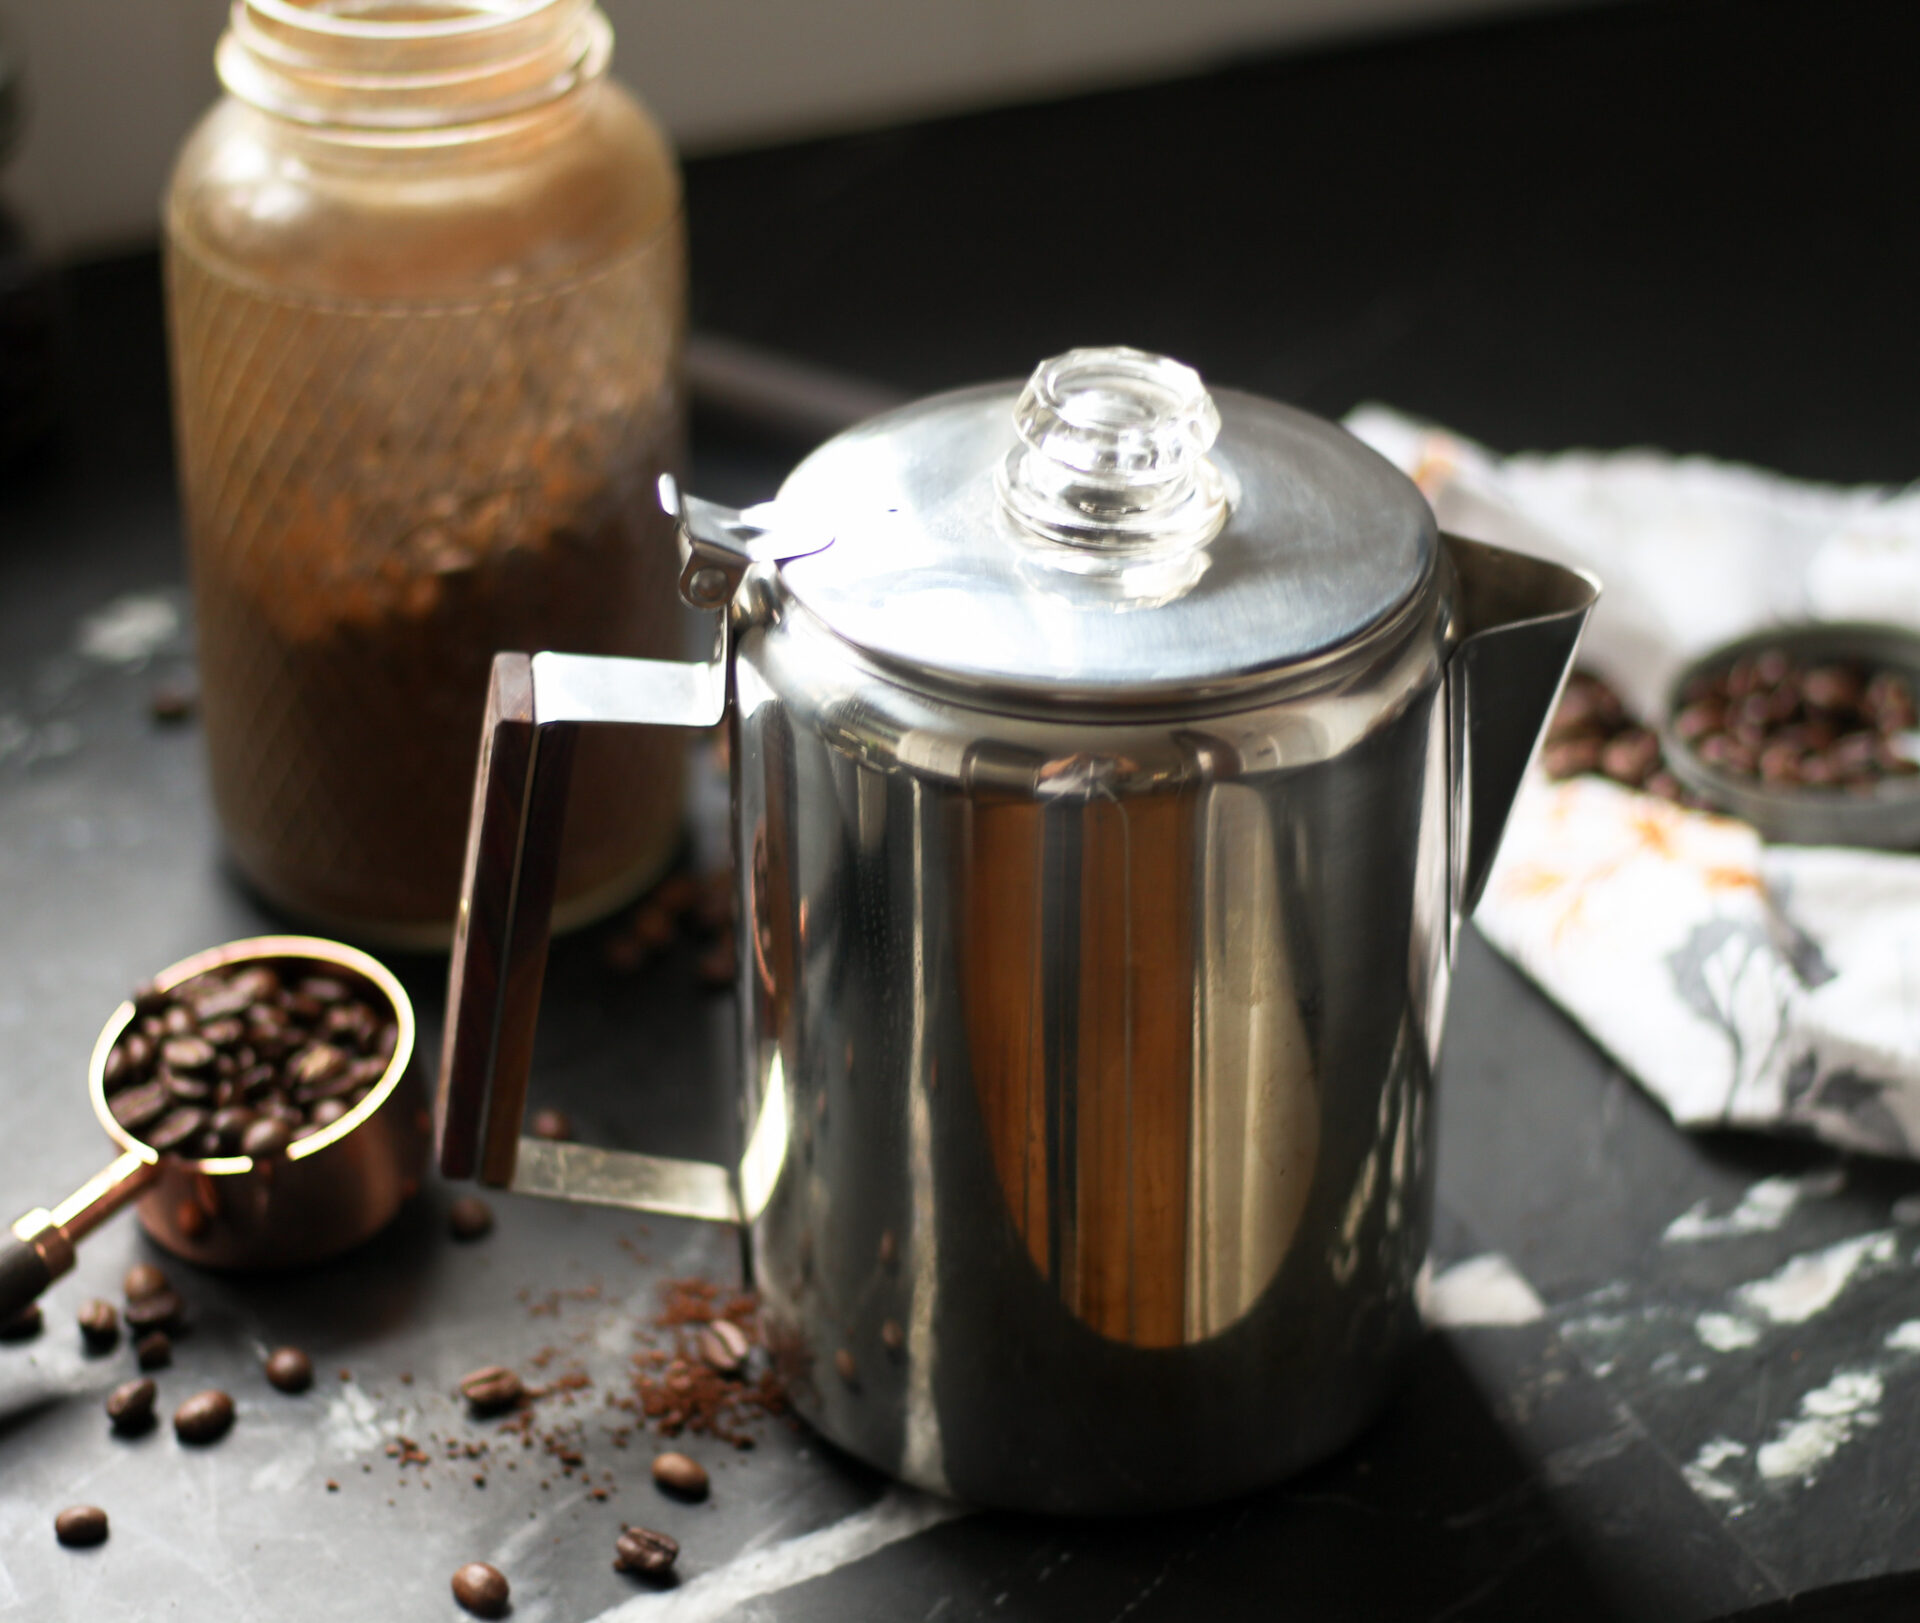
I got this stainless steel, 12-cup beauty for a non-toxic option.
Percolating is a method of brewing coffee by continuously cycling the steaming brew through the coffee grounds.
Inside a percolator, steam saturates the coffee grounds before the coffee is filtered, unlike other methods. The rising steam from the water in the reservoir soaks the grounds in the basket, then the brew drips back into the reservoir. It continues to re-cycle and steep over an 8-10 minute period for a saturated, strong, & bitter brew.
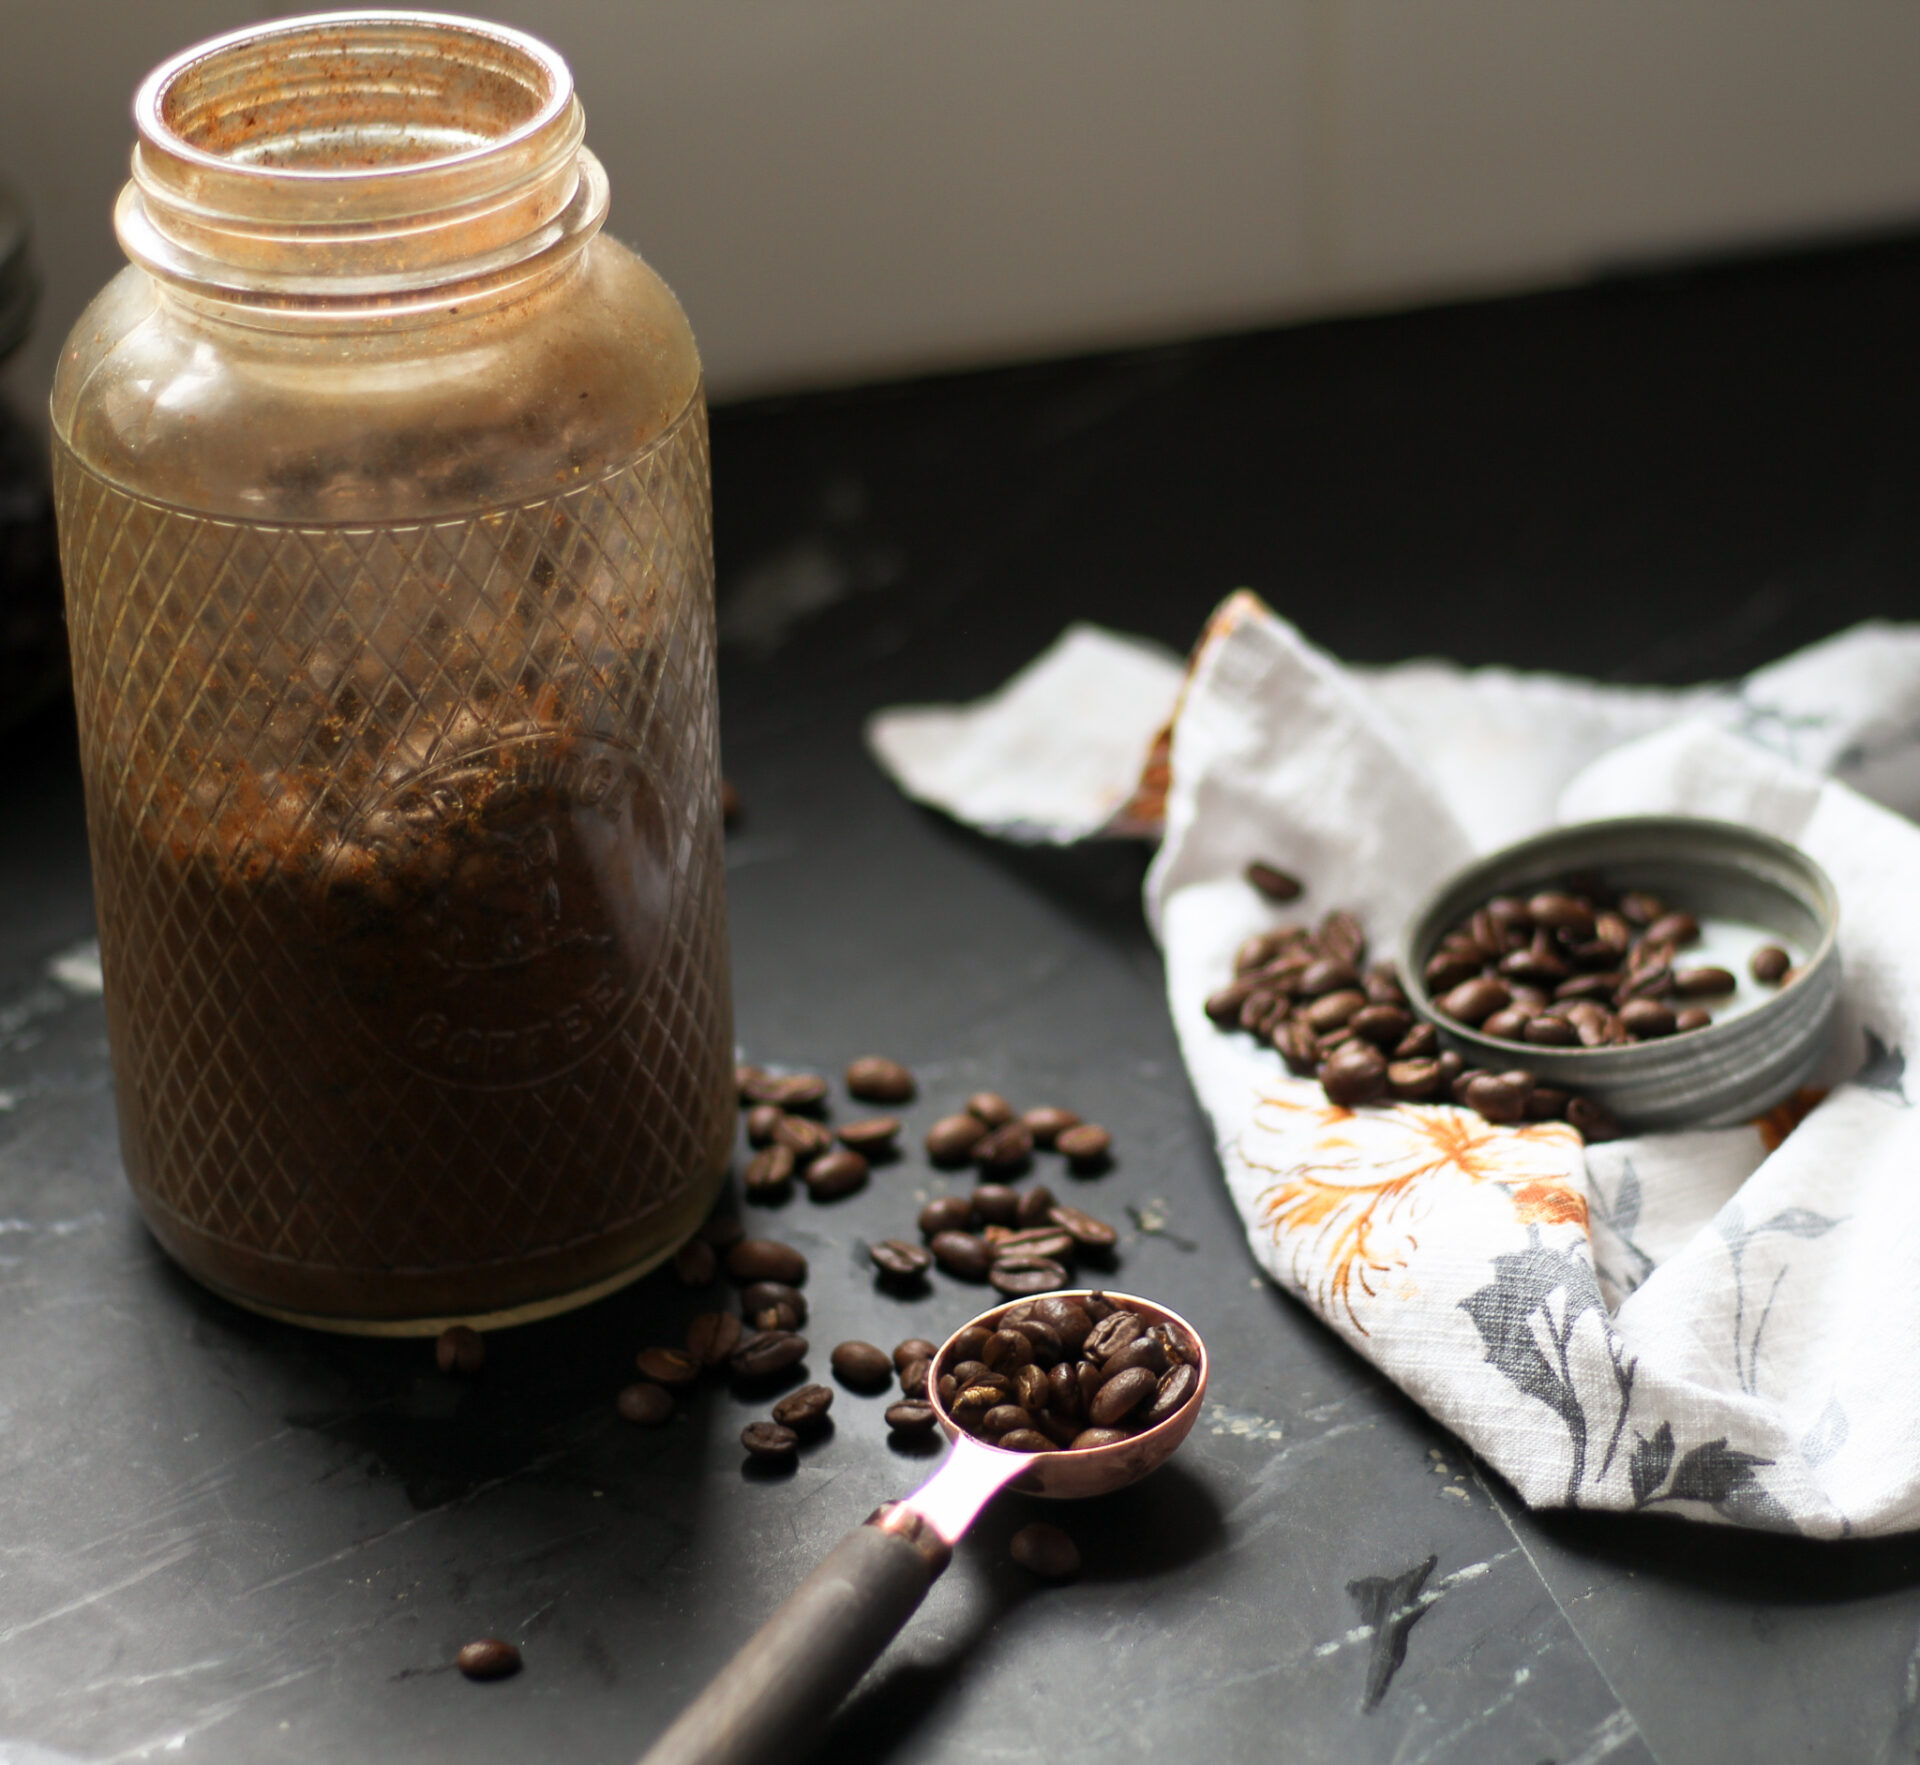
Freshly ground whole beans
Now. This isn’t a rule. But its a strong suggestion because freshly ground coffee is simply more delicious, the smell is unbeatable, and I’ve read that whole beans are harvested from a superior crop and roasted more recently than pre-ground. So if I read it, must be true right?? Just kidding. But it does make sense.
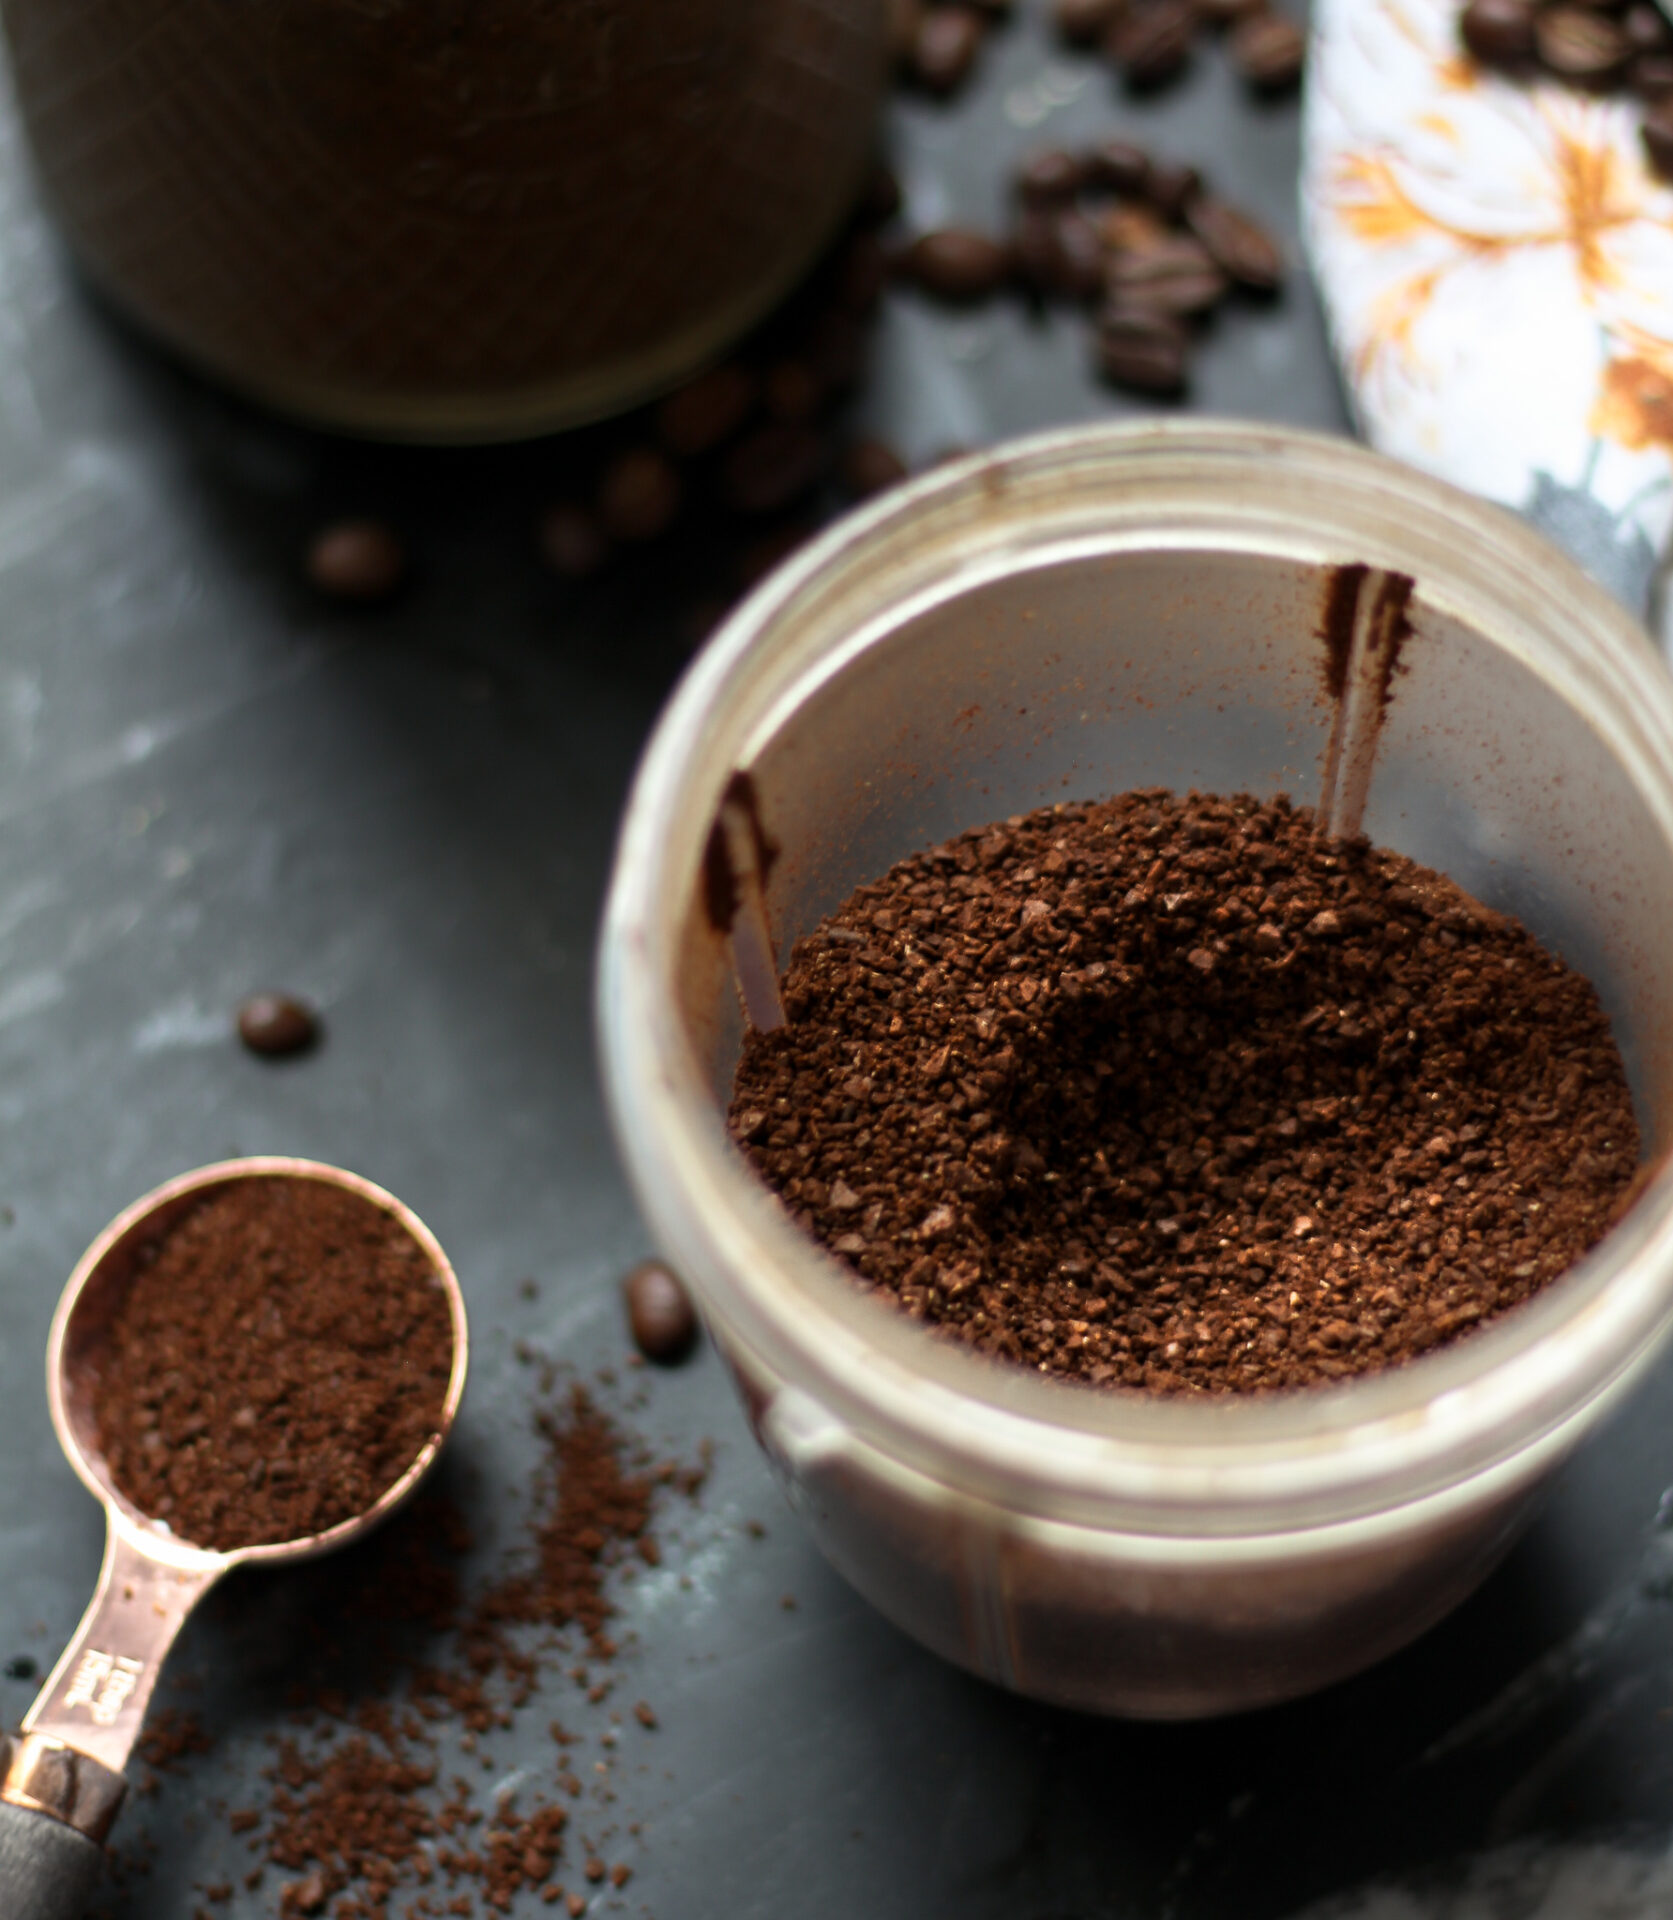
I’ve always used my nutribullet to grind beans, I’ve had this thing over 10 years and it’s held up so well.
When grinding for a percolator the ground should be coarse, because fine grounds may dissolve and end up in your coffee. (But not to course or you won’t get any flavor!) I just pulse the NutriBullet blender for a few seconds at a time, shaking in-between pulses to check the grounds for texture until they’re just right.
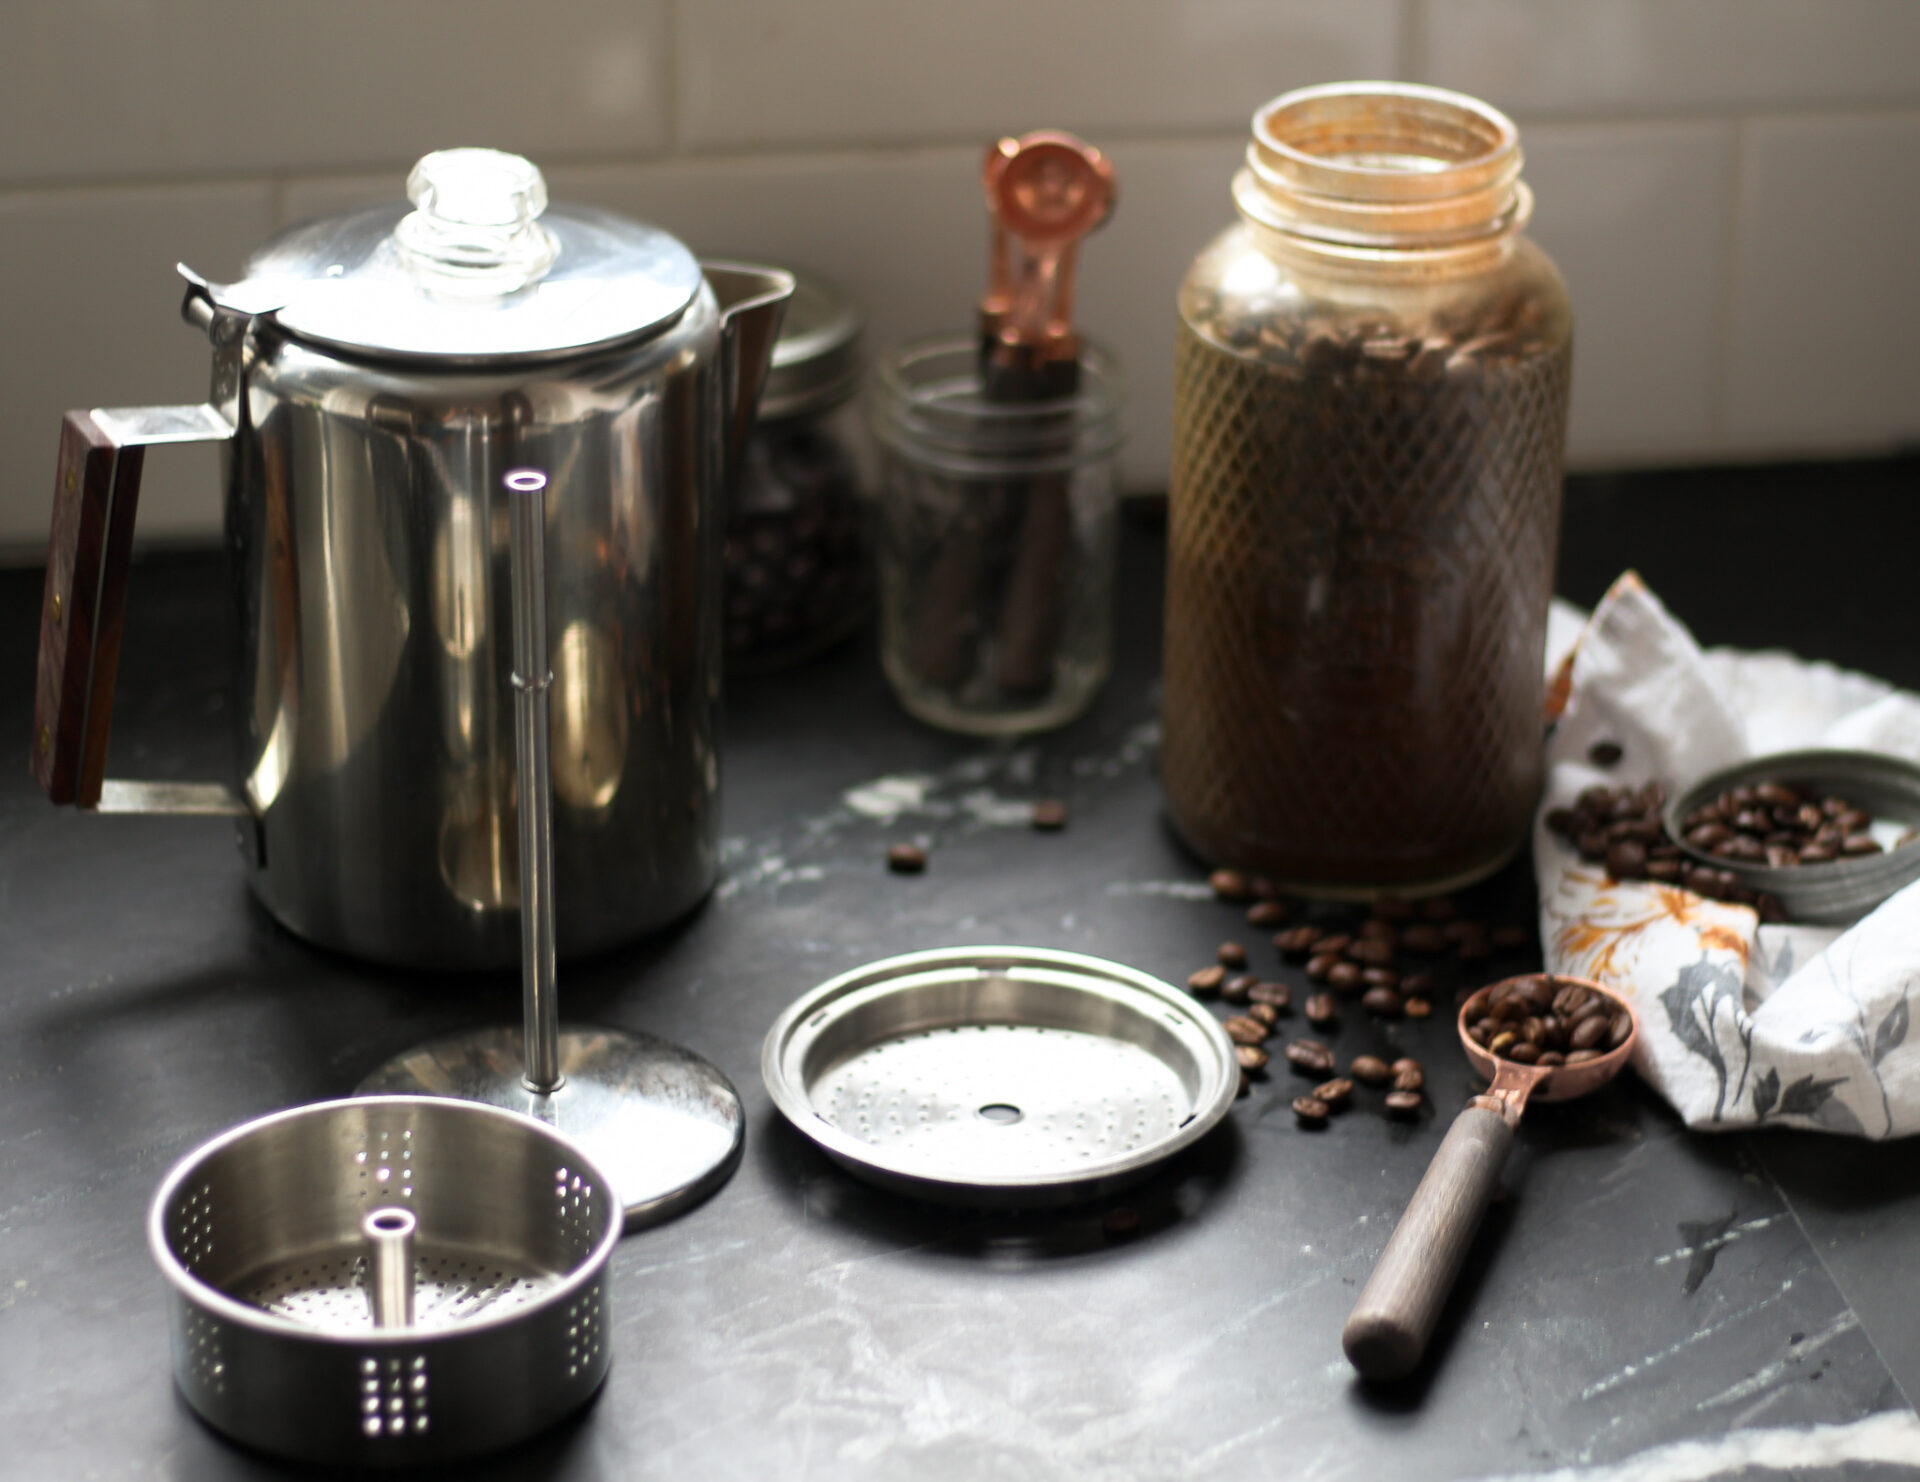
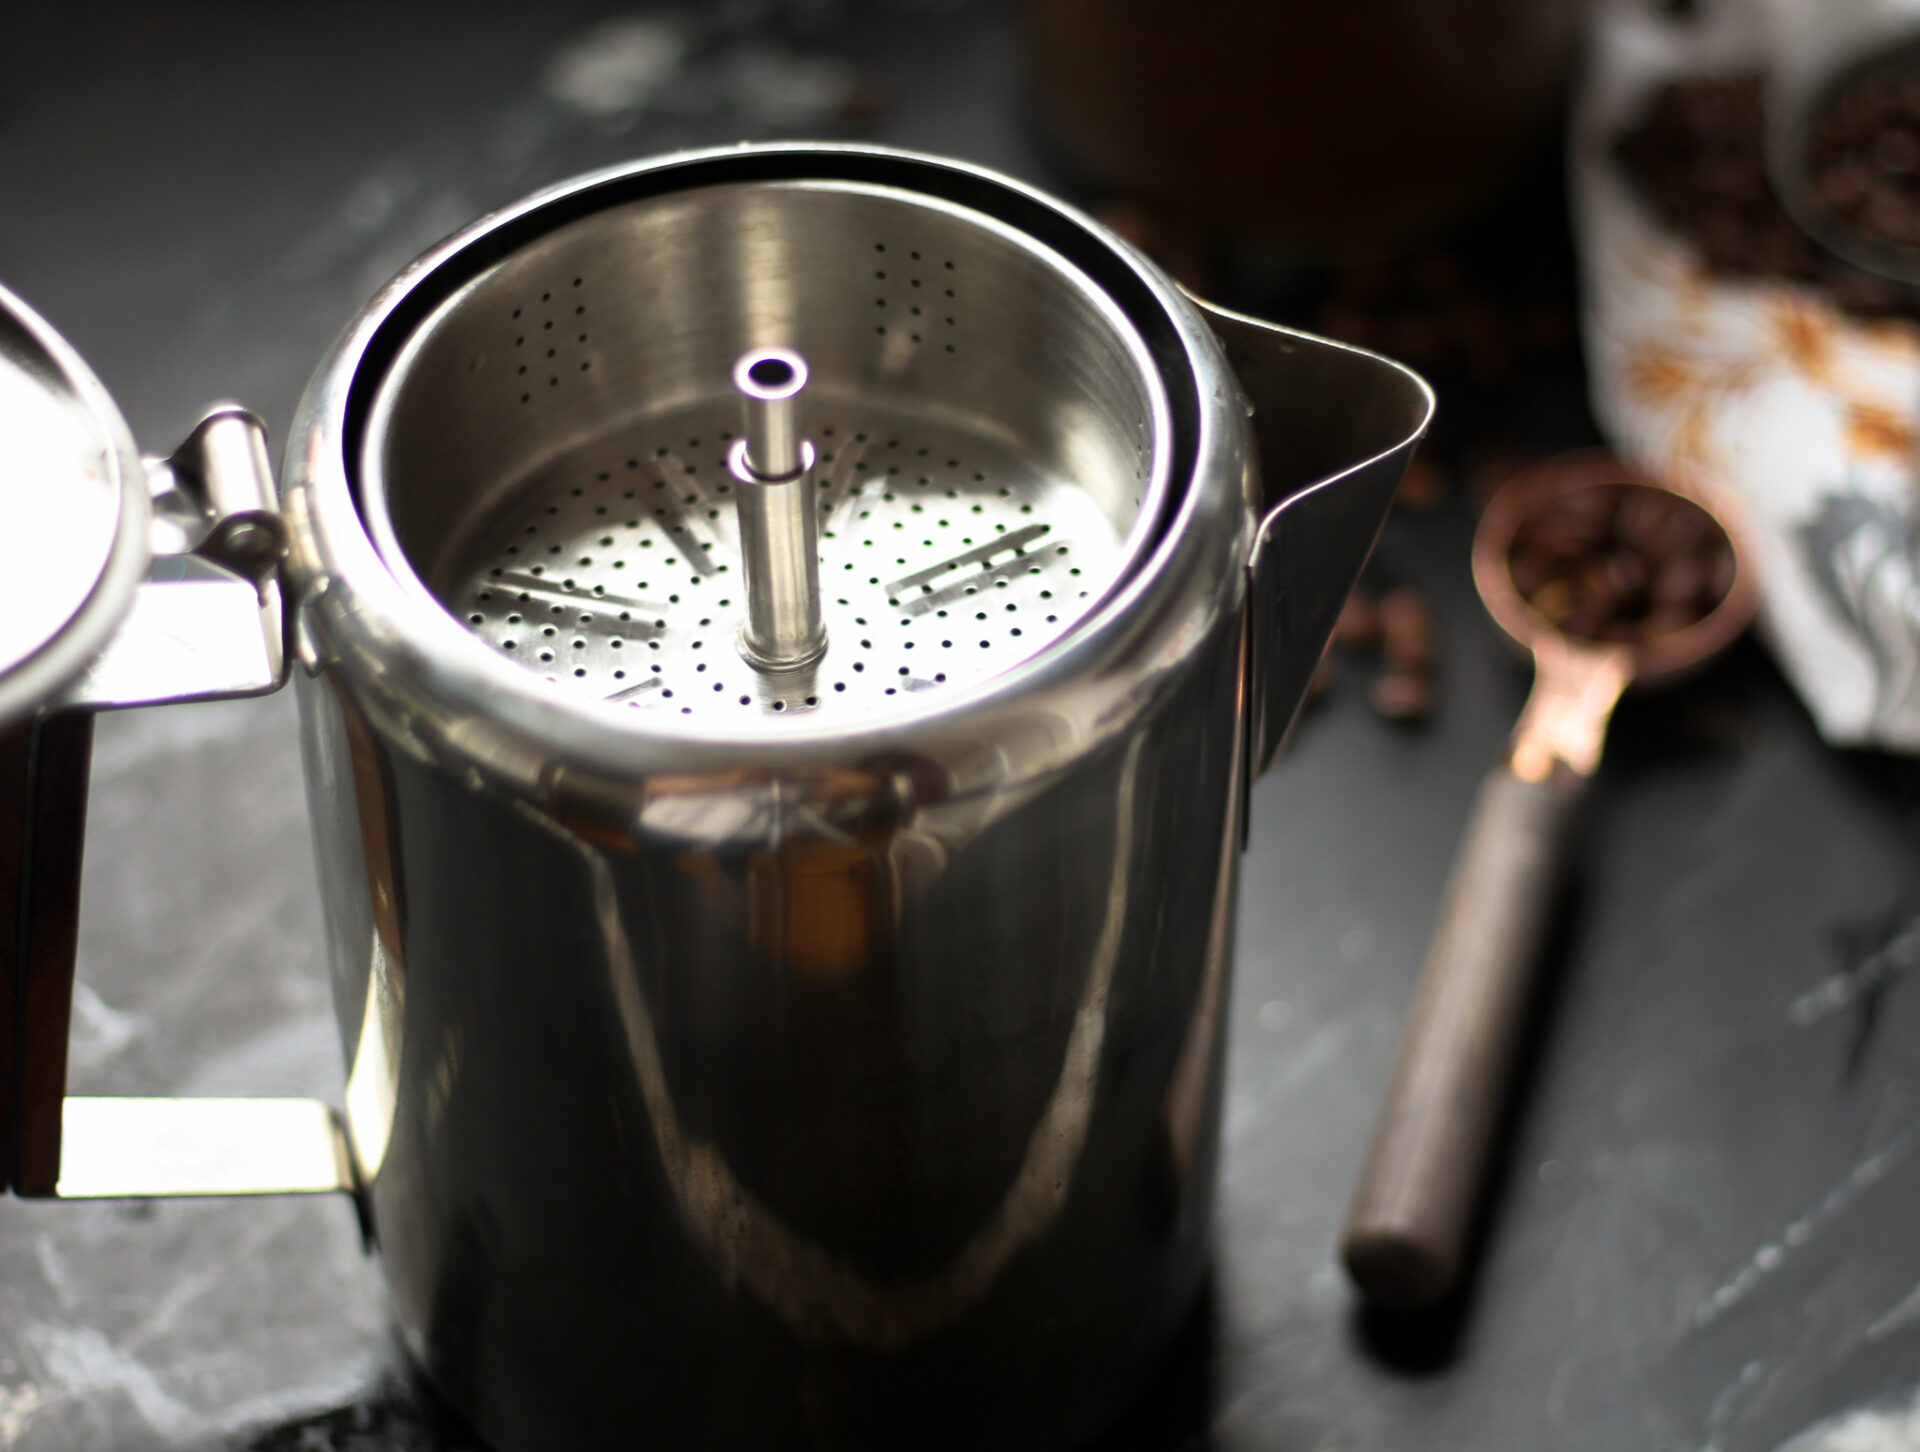
Percolator Parts
Most percolators have four parts.
- Reservoir, or “pot”
- Stem (tall part)
- Basket
- Basket Lid
Assembly
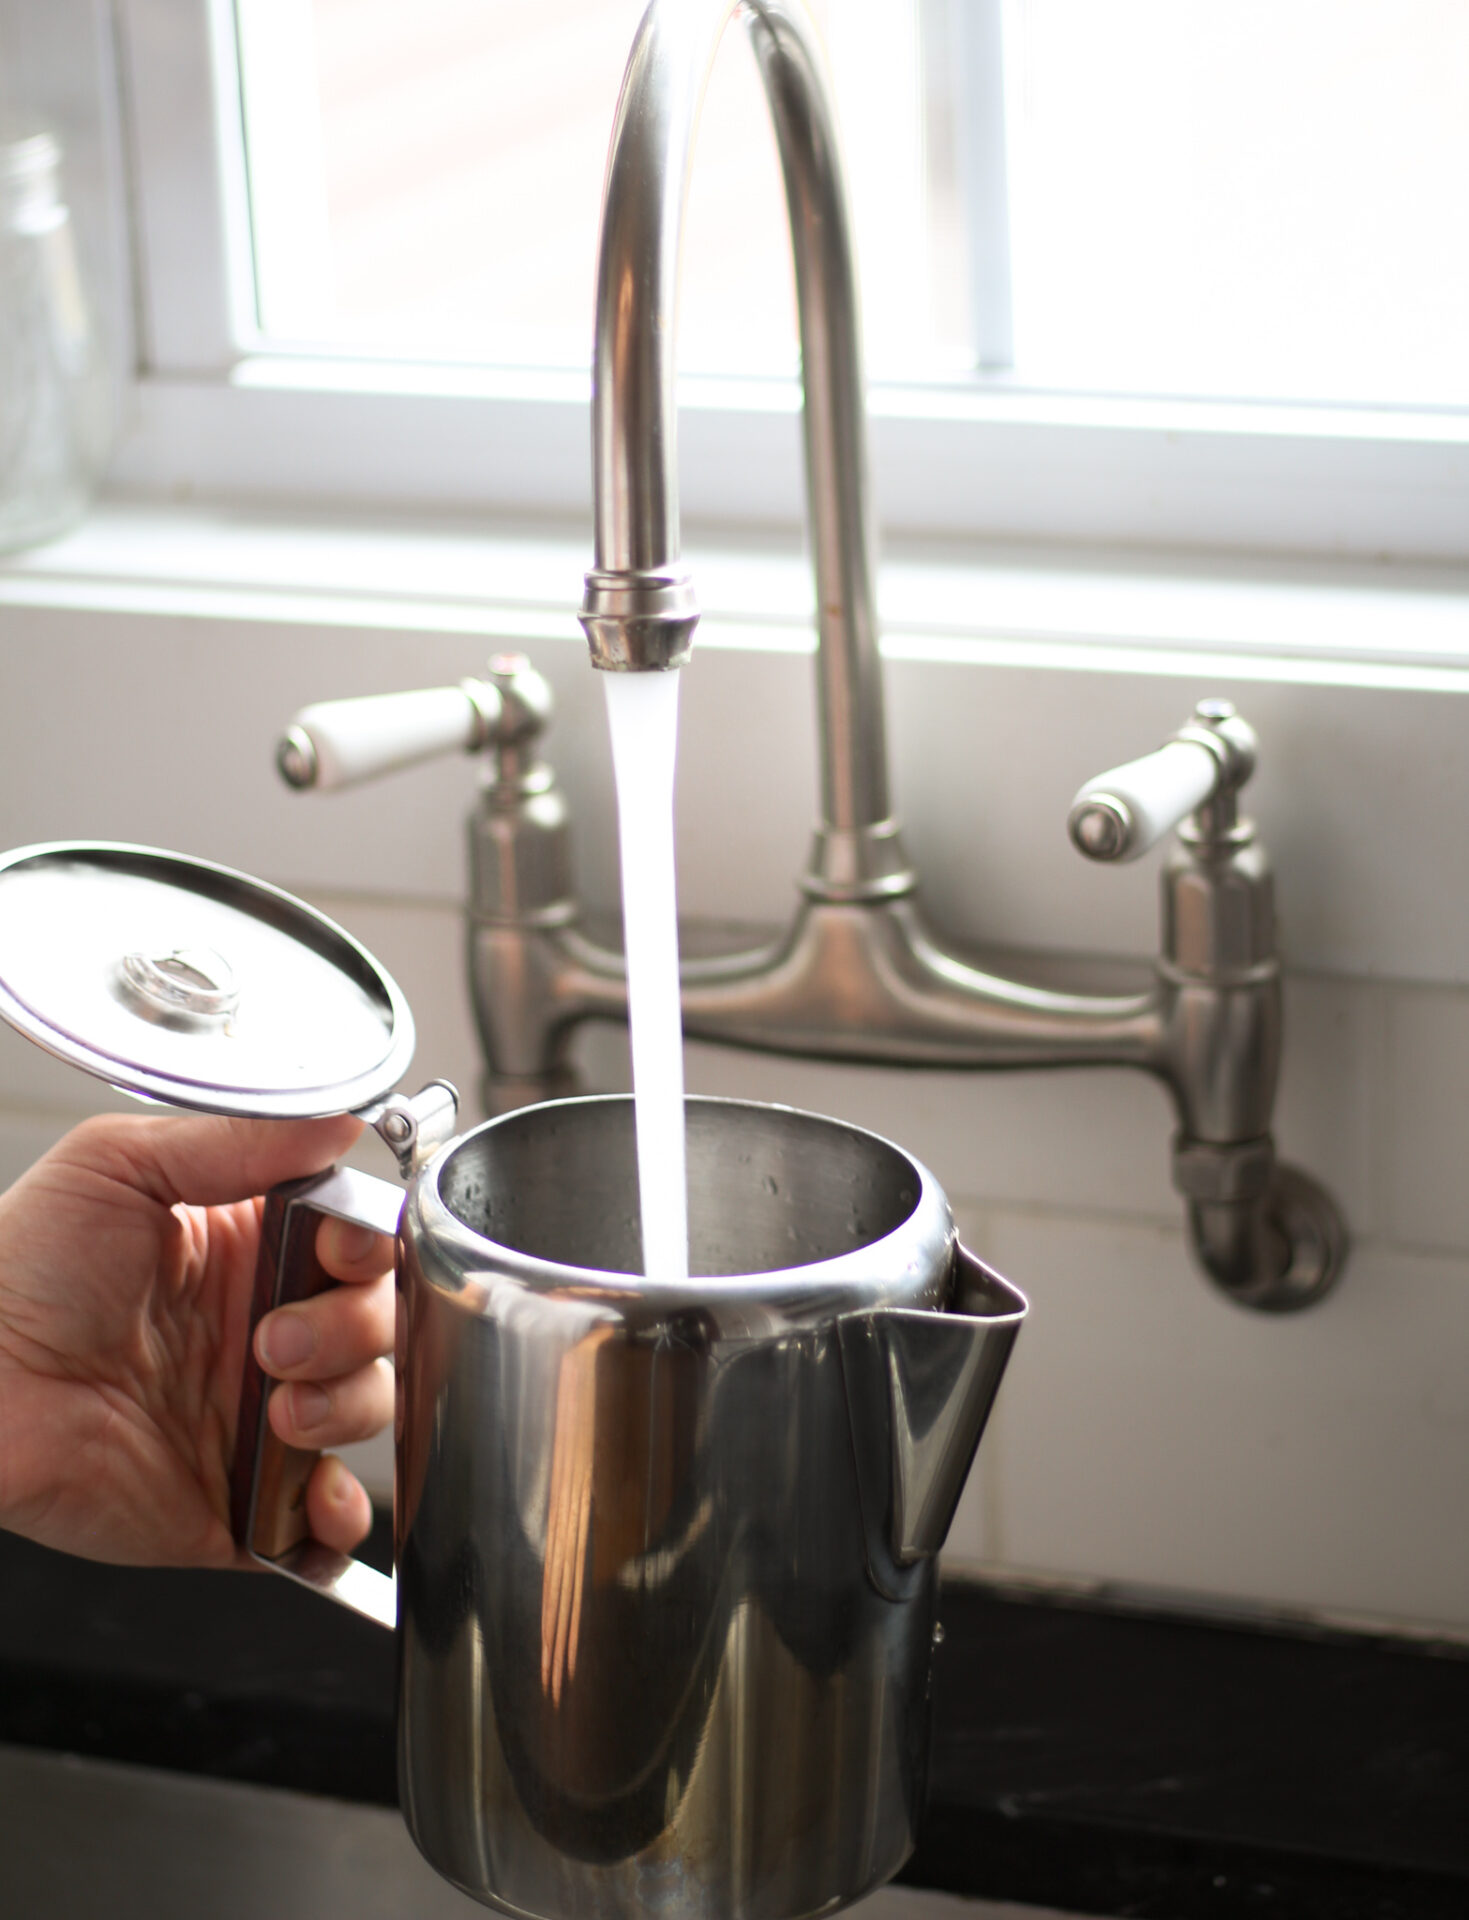
First, fill the reservoir with cold water. The point of percolated coffee is to heat the water slowly, so starting with cold water is best. I almost always make a full, 9-cup pot. But there are markers for fewer cups as well.
Next, place the stem in the reservoir and fit the basket over top
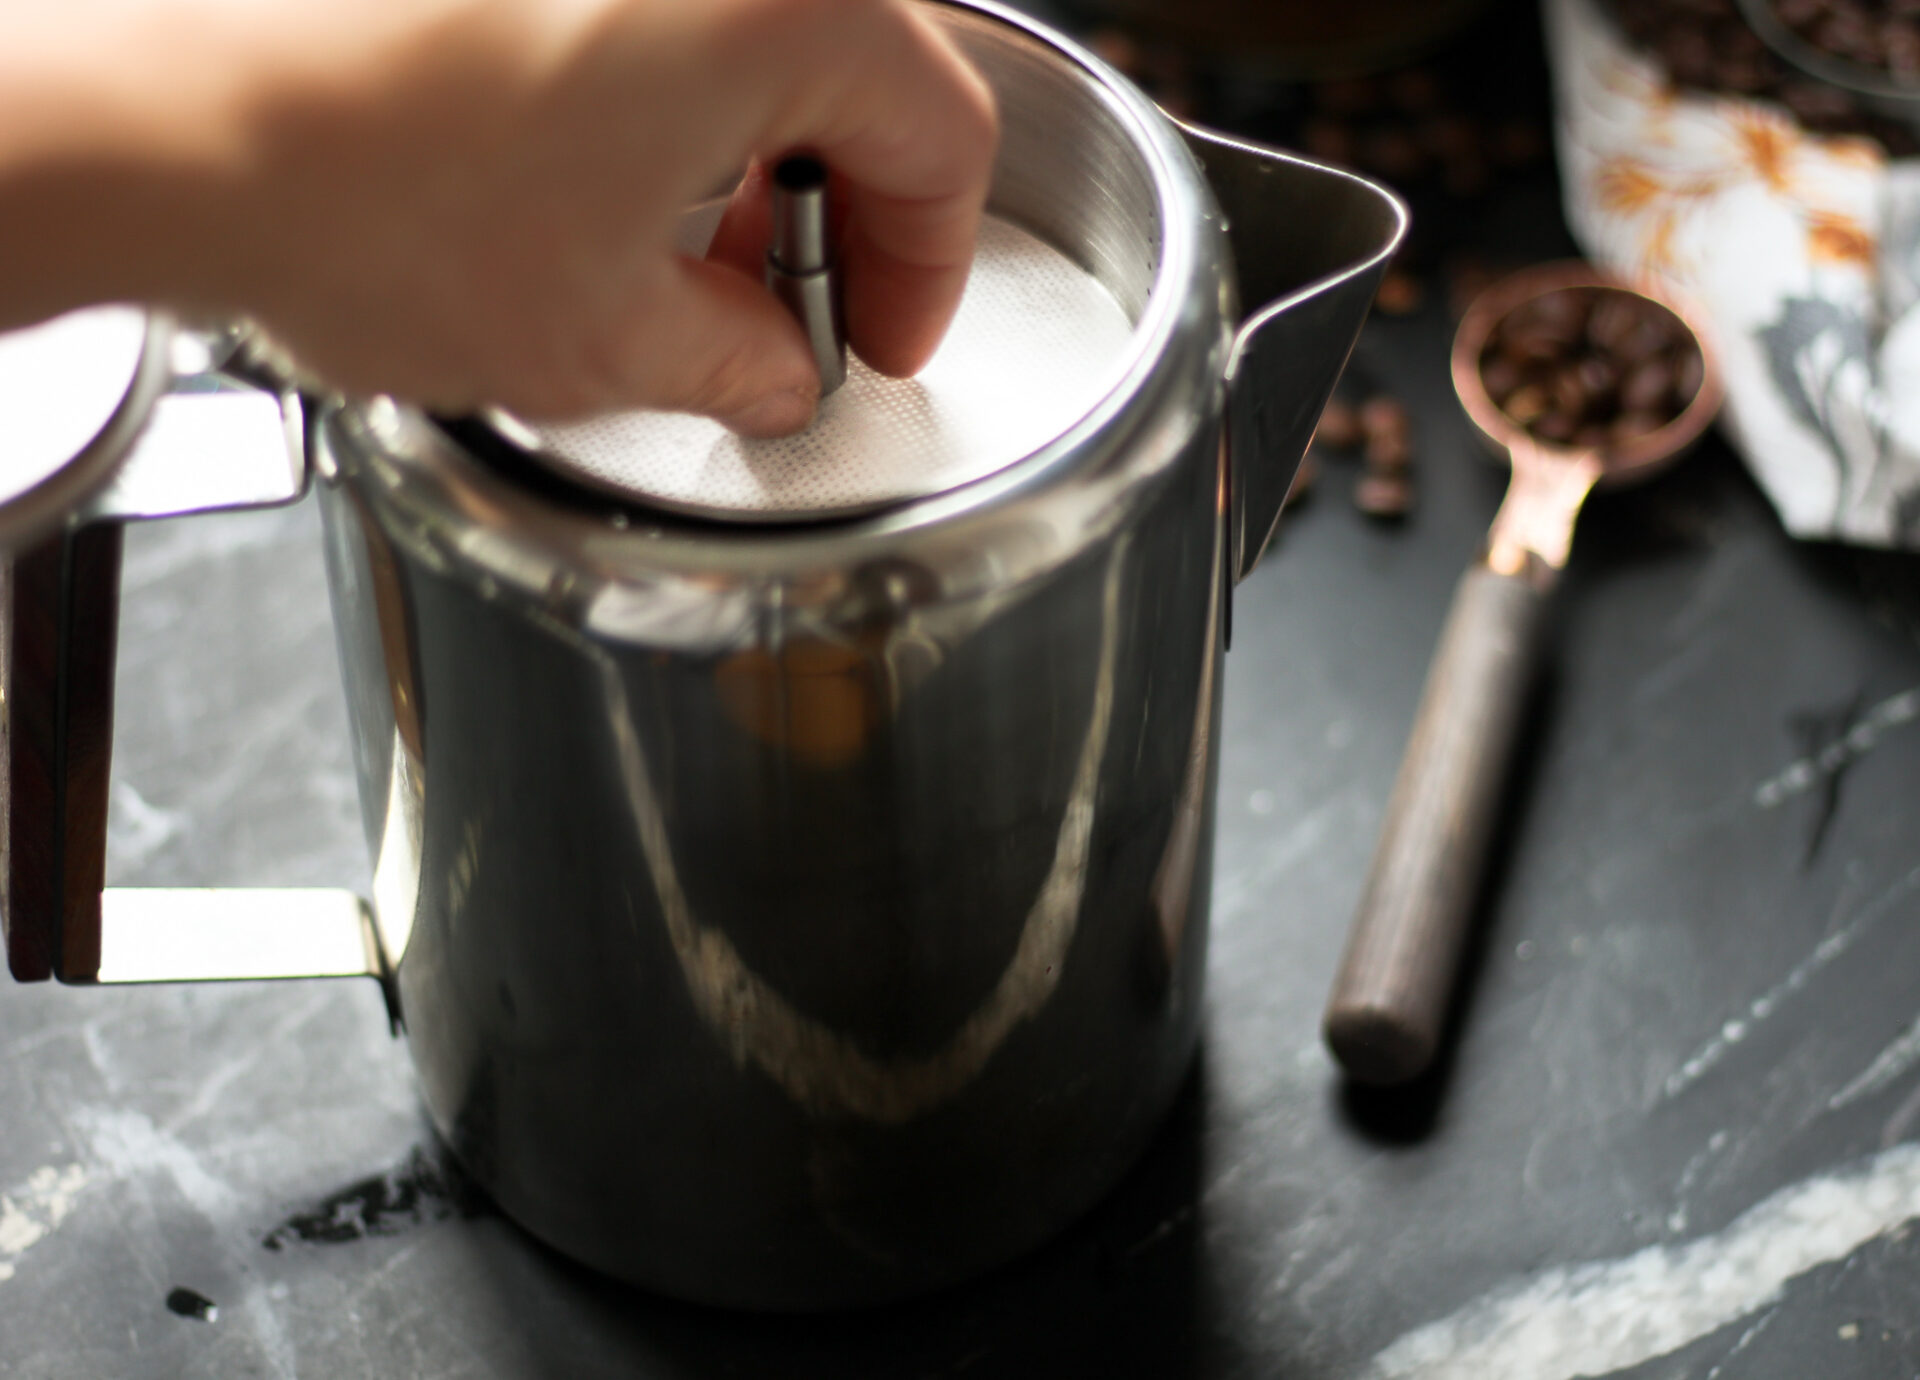
You’ll need a filter, too
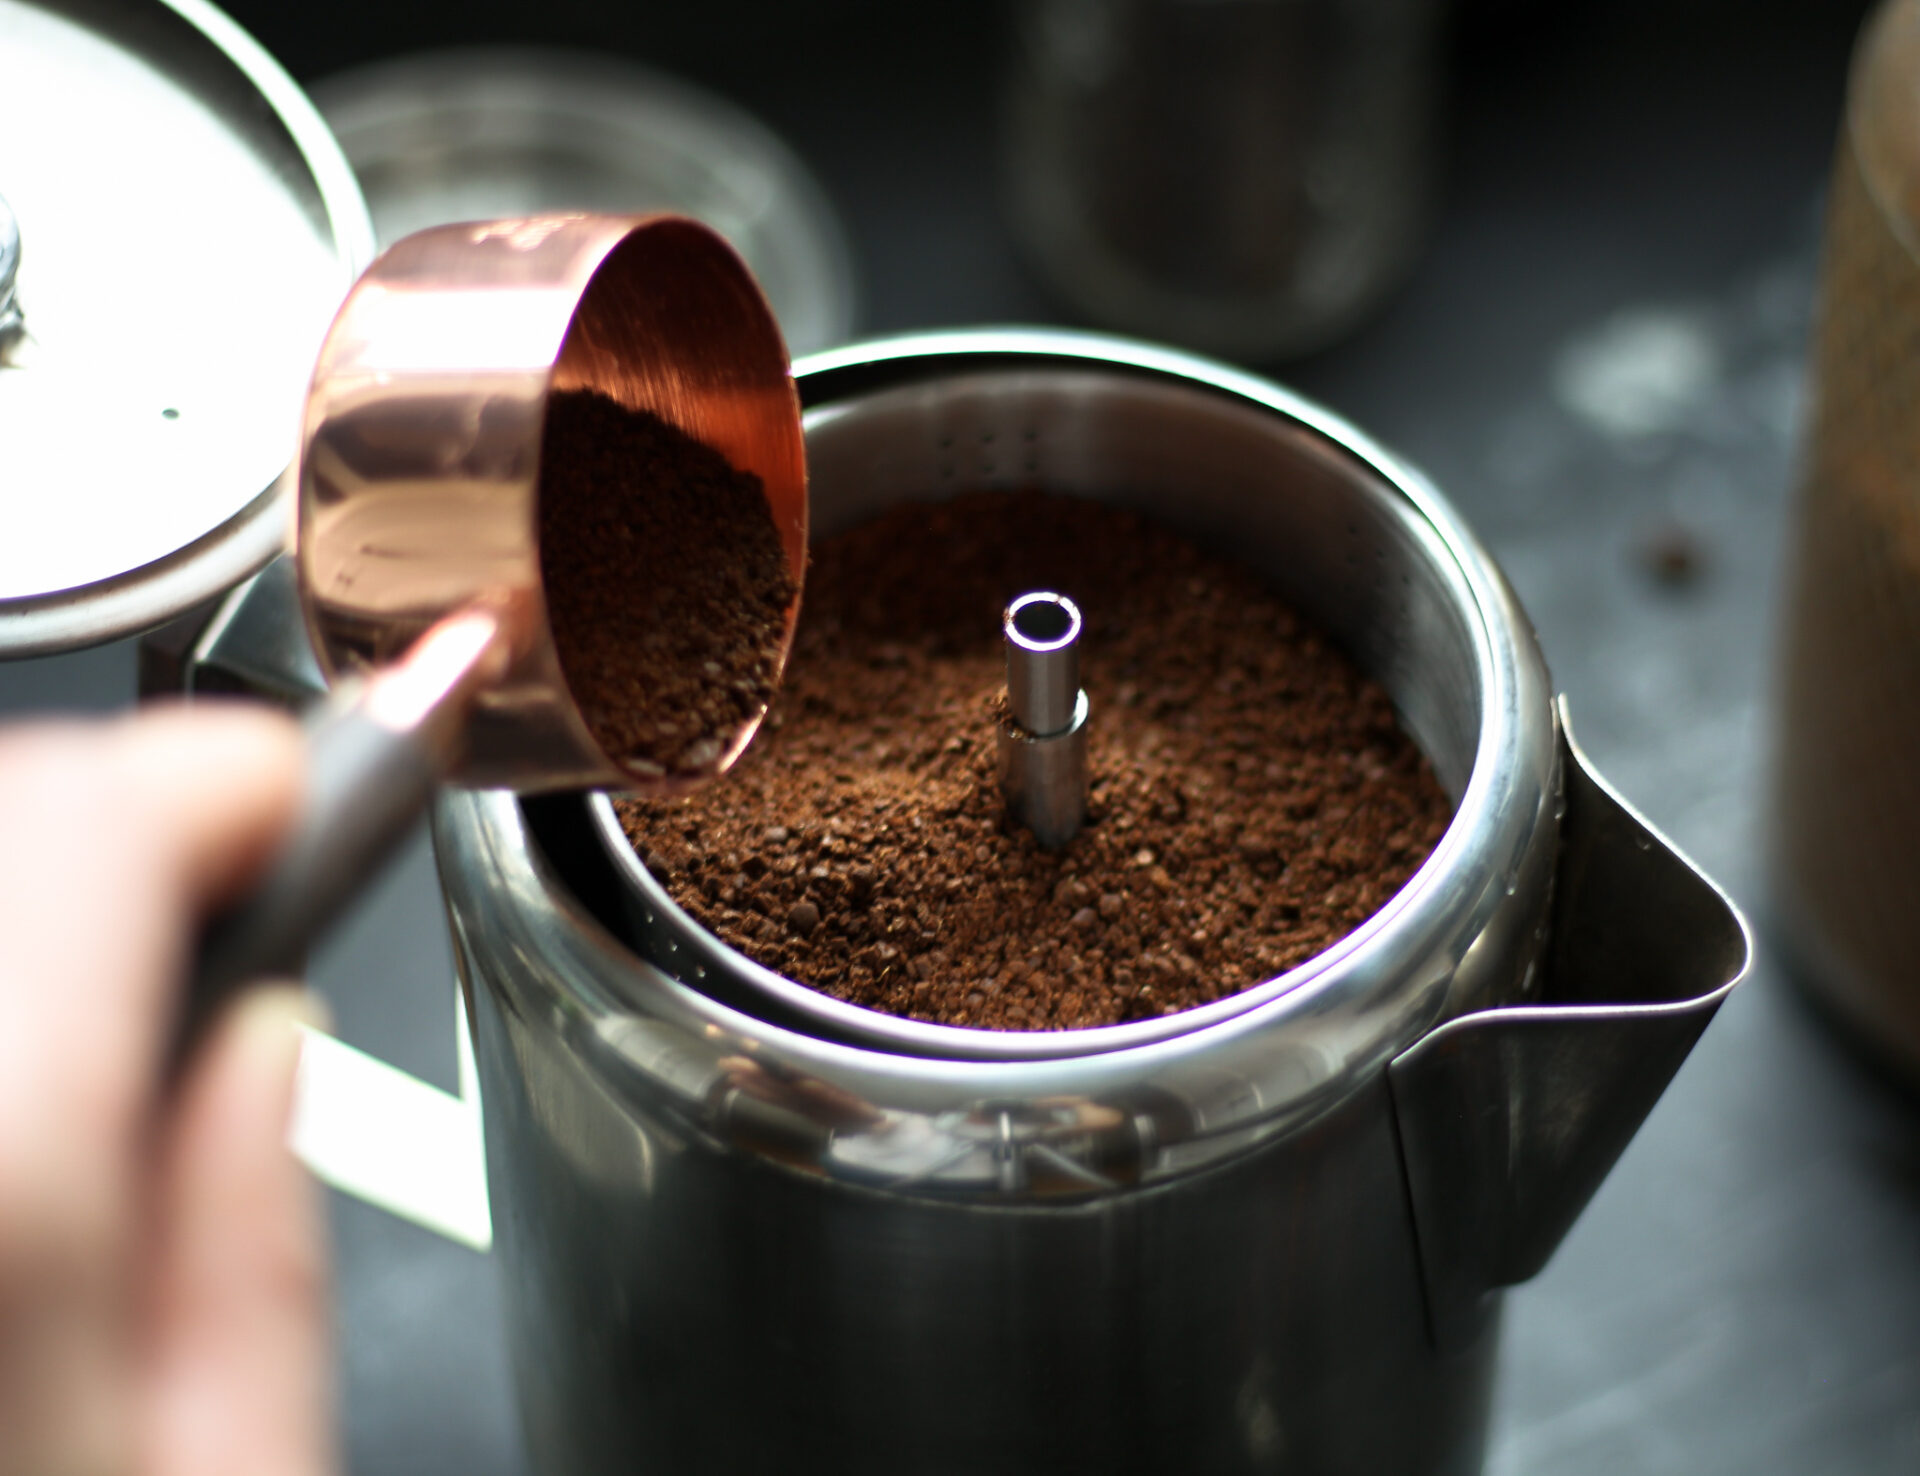
Add coffee grounds to the basket, about 1T grounds per 8oz. water. So when making a full 9-cup pot of coffee, add about 1/3 cup grounds. Add less for mild, and more for stronger brew.
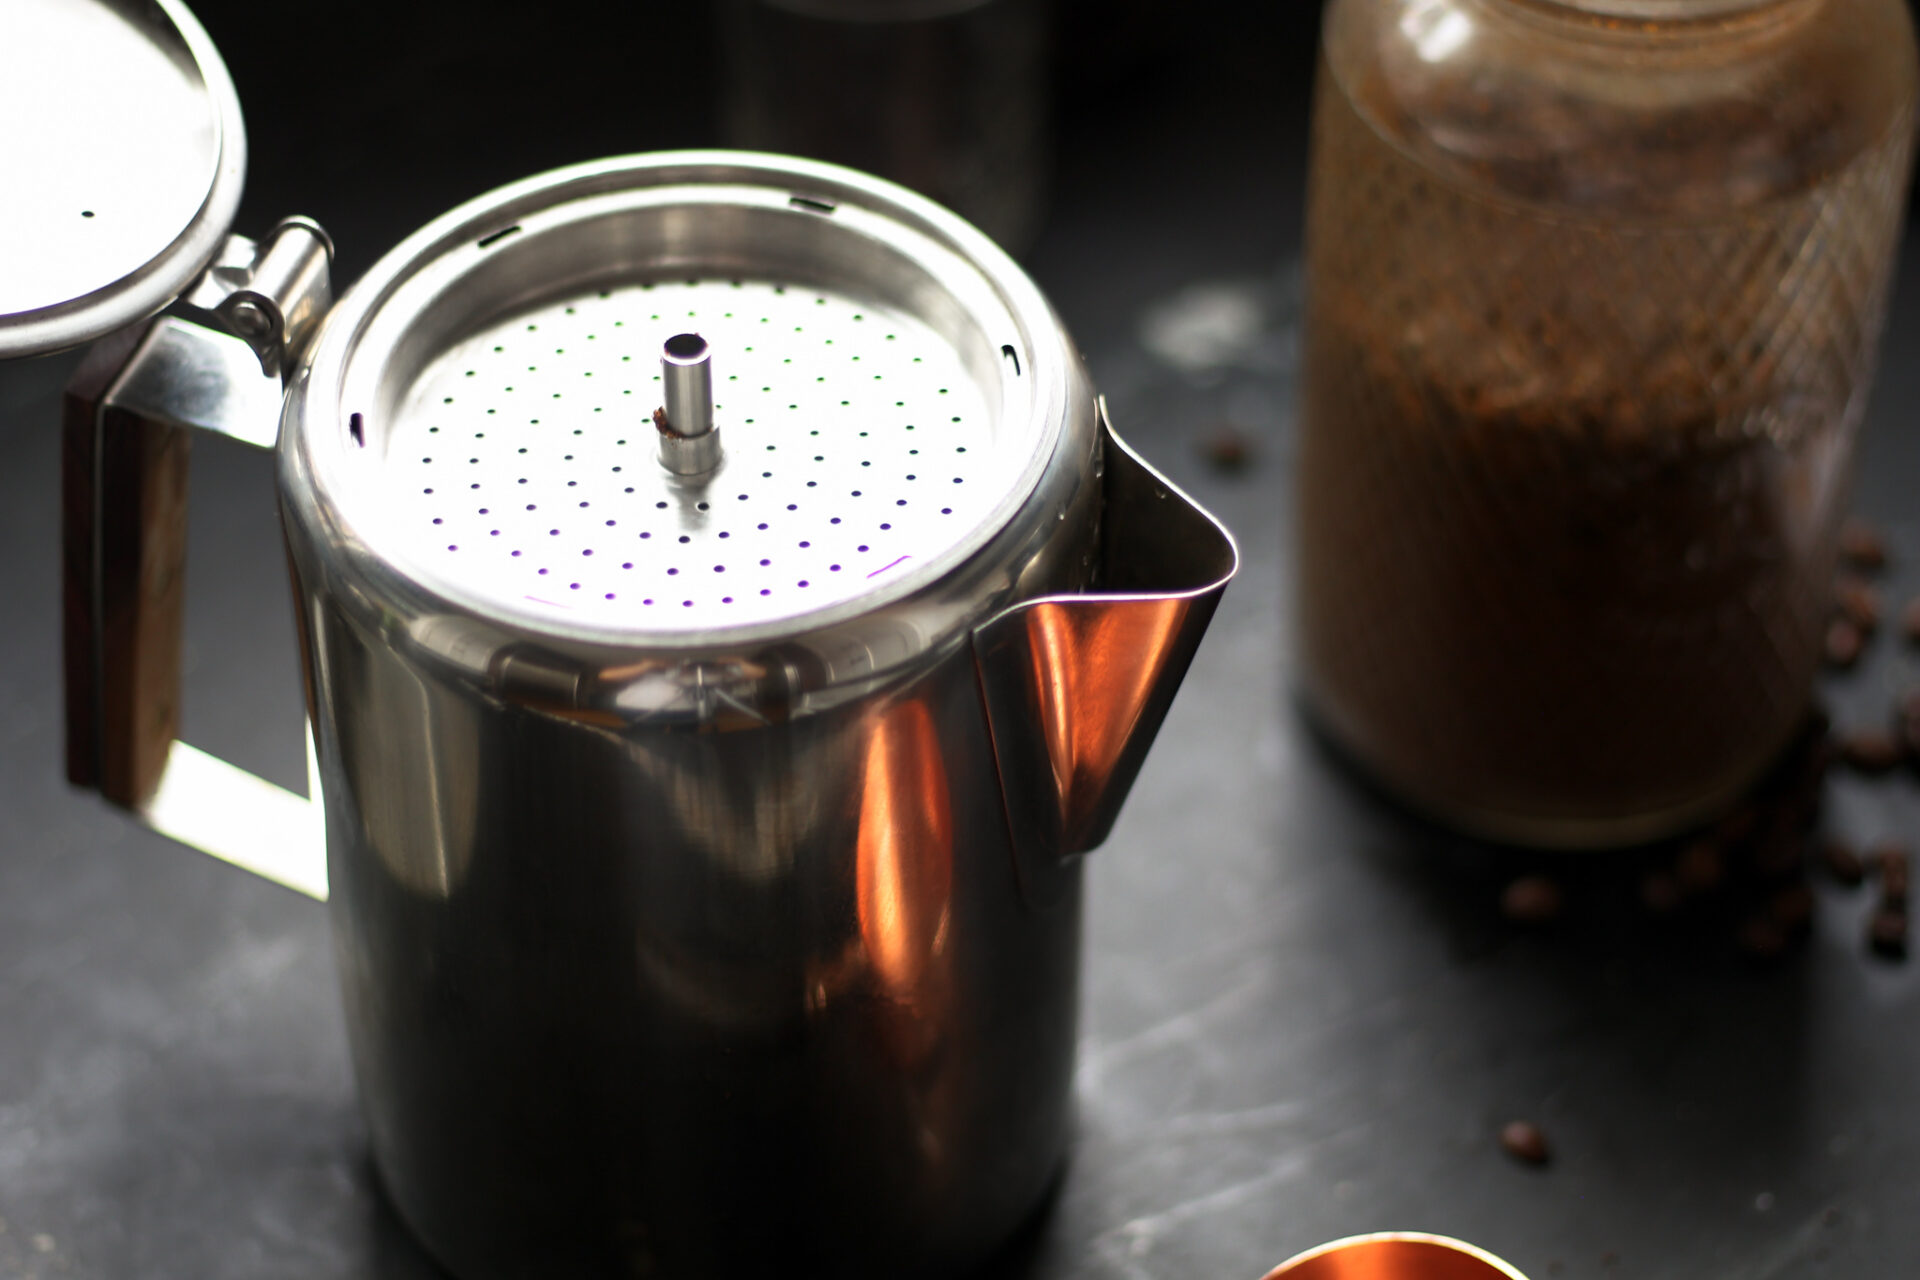
Place the basket lid on top of the basket
Close the lid and you’re ready to brew!
P.S. Black and white photos are my favorite. I usually always pick out my favorite photos from what I shoot and edit B&W versions to keep for me. Sometimes I hide them deep in a blog post, too – just because 😉
How to Brew
As I mentioned, the trick with stovetop percolator coffee is to heat the water slowly, and keep it from boiling.
Heat on low. After a few moments, you’ll start to see bubbles rising through the glass knob on the lid. Set a timer for 8-10 minutes when you first see bubbles through the knob. 8 minutes for milder, 10 for stronger brew.
The bubbles will be clear at first.
The trick is to not let the bubbles come to closely together, which would indicate a boil and that the heat needs to be turned down.
They should just be intermittently popping up, visible through the knob. Which is really hard to catch on camera fyi
After a few moments the bubbles will start to turn brown
When the timer is up. Turn off the heat. Then, remove the basket and stem before pouring, otherwise you may end up with grounds in your coffee.
Serve
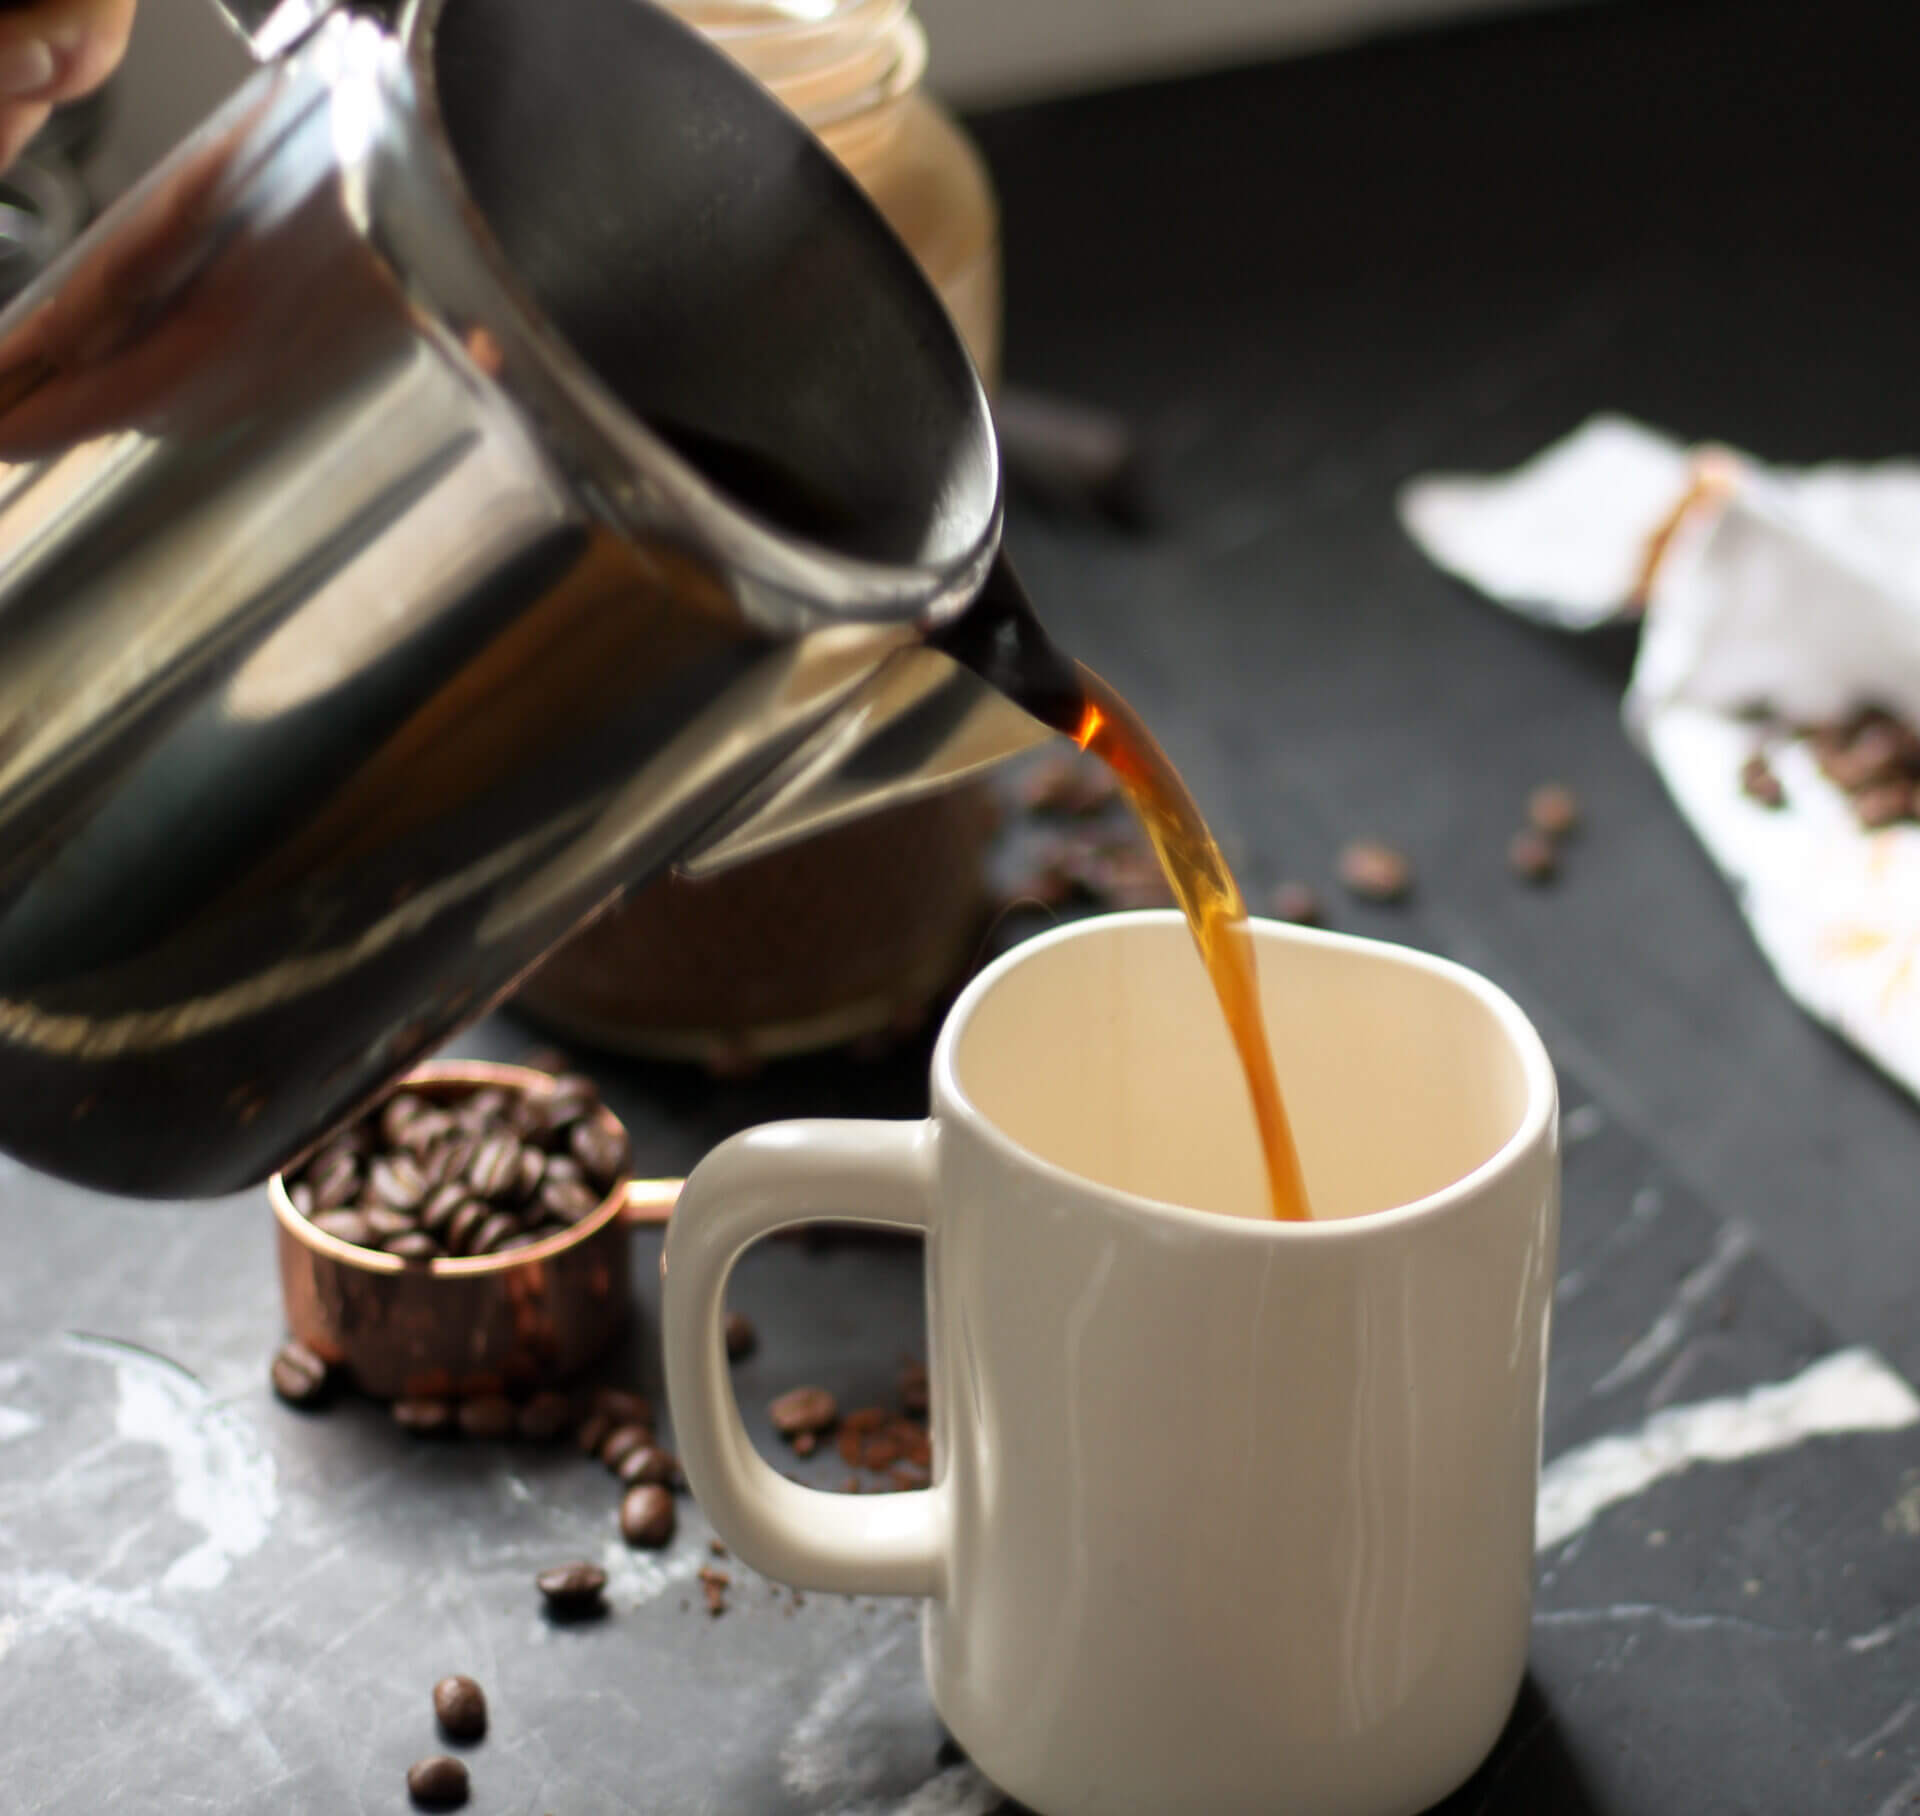
After removing the stem & basket, just close the lid and pour a delicious, old fashioned cup of coffee!
I pour mine over fresh cream
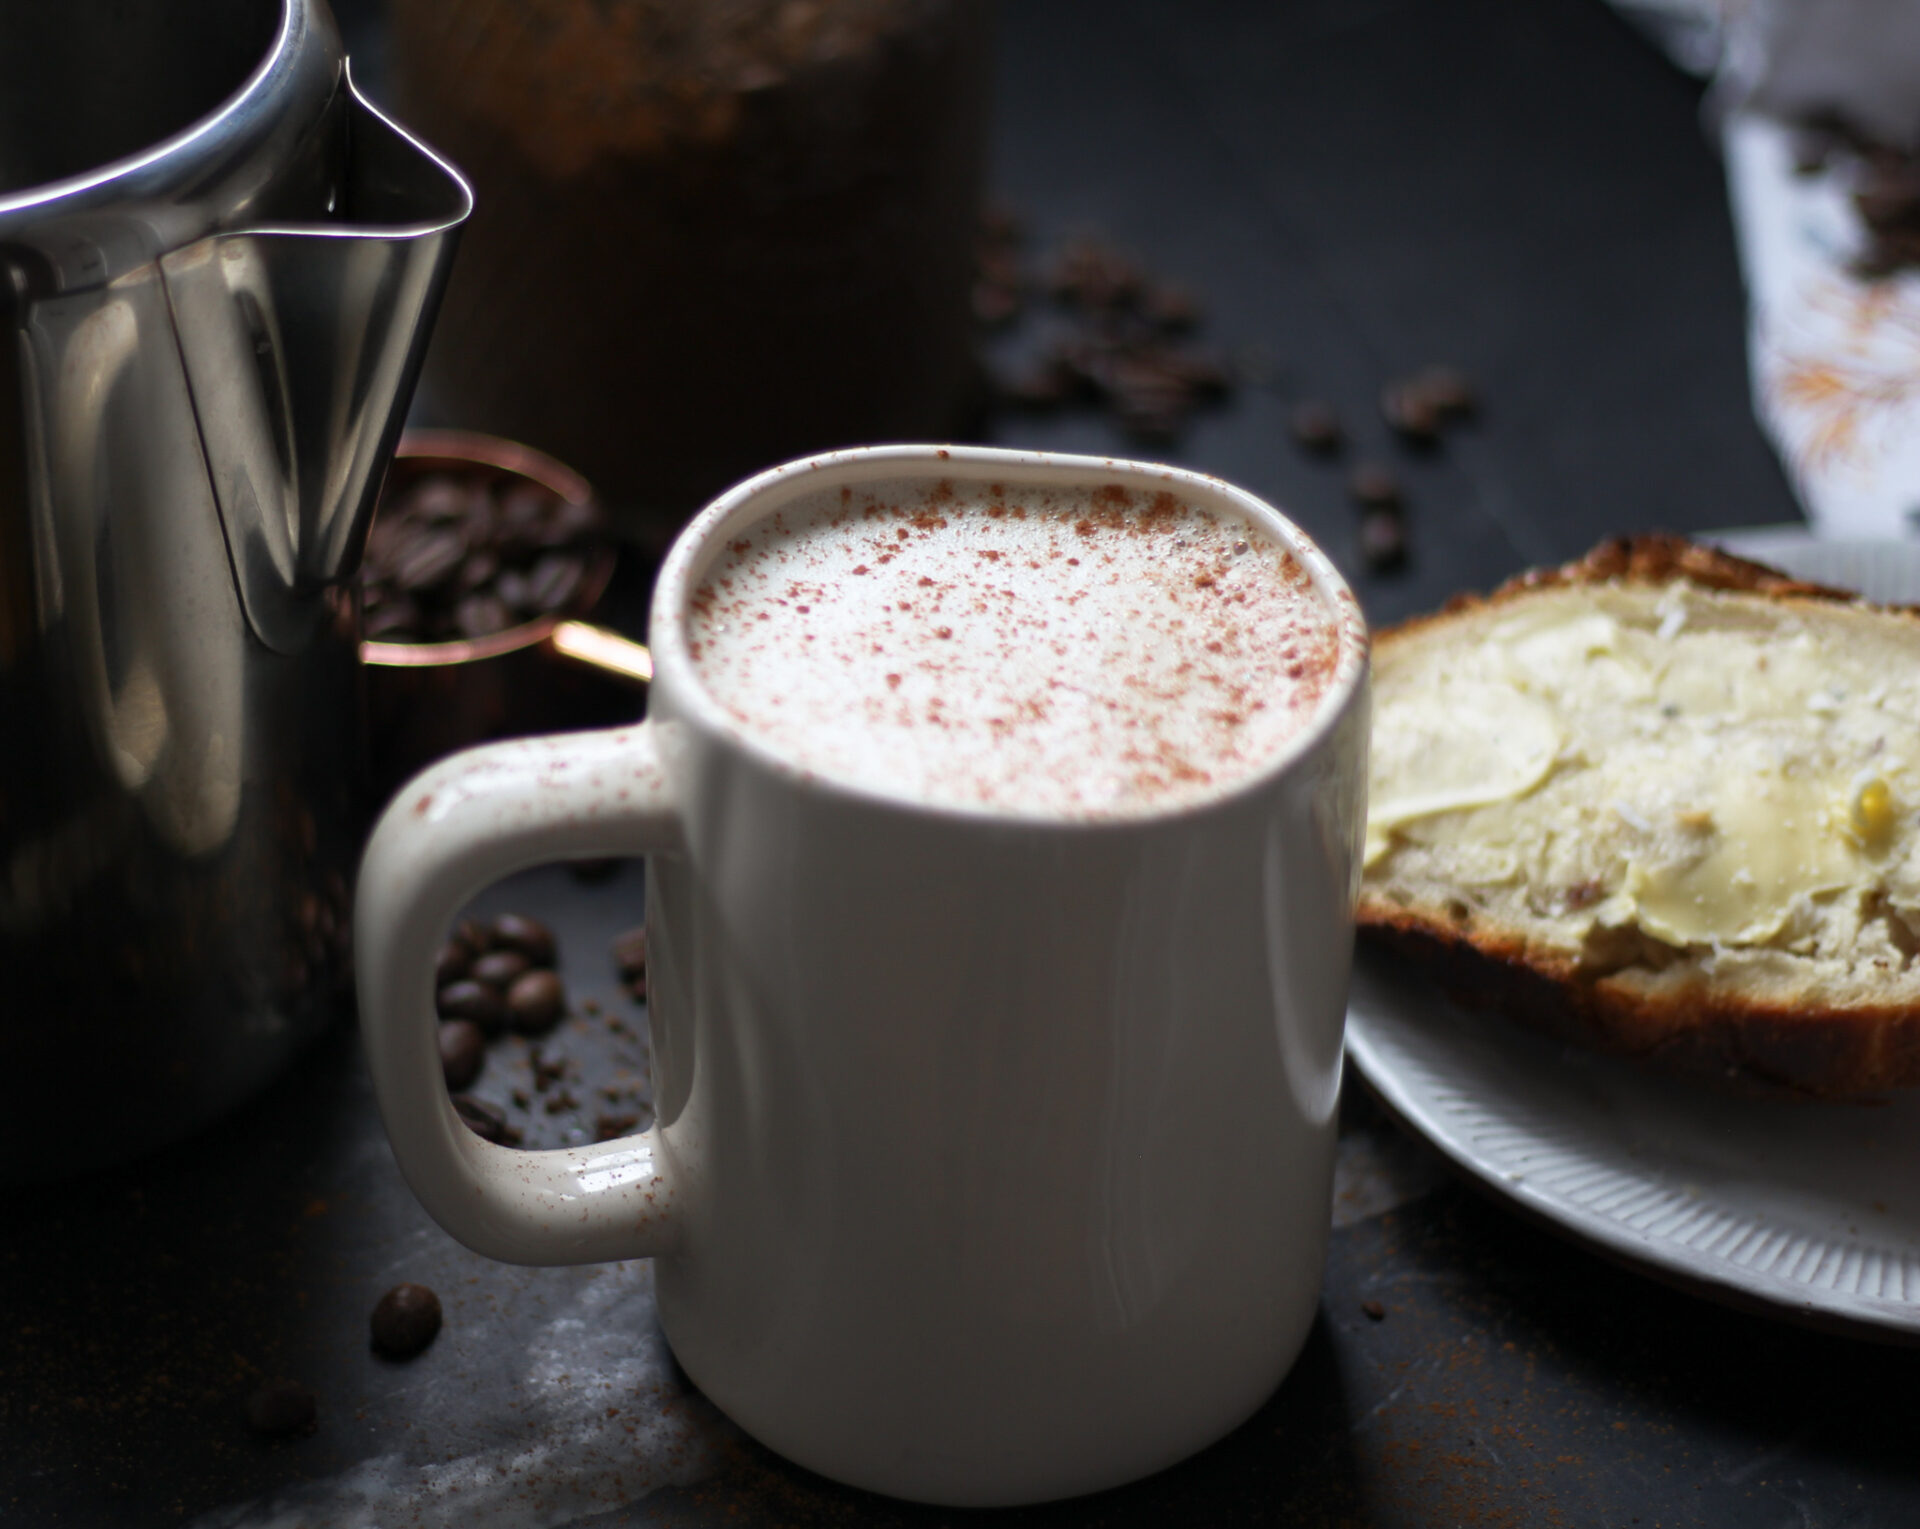
And on a perfect day, I enjoy it in peace – sprinkled with some cinnamon and nutmeg, with a slice buttered, salted sourdough on the side and a good book in front of the fire. And of course, the noise of the most precious all around, my children.
Stovetop Percolator Coffee
Ingredients
Equipment
Method
- Fill the reservoir with cold water, using the hash marks to measure how many cups you'd like to make.
- Place the stem in the reservoir, and fit the basket over the stem.
- Place a filter in the basket.
- Add coarse coffee grounds to the basket. A general rule is 1T grounds per 8oz. water.
- Fit the basket lid over the basket and close the lid on the percolator.
- Slowly heat the perc over low heat until clear bubbles begin to rise and are visible through the knob, do not boil.
- Start the timer for 8-10 minutes at the sight of the first bubbles rising.
- Watch the percolator while it brews to make sure it never boils. If it does just turn down the heat a bit. A boil will be very loud, with bubbles rolling constantly. A steam will simply produce intermittent visible bubbles that turn brown as the coffee brews.
- After the coffee is brewed, remove the percolator from heat and remove the stem and basket before pouring.
Nutrition
Notes
Tried this recipe?
Let us know how it was!Shop this post
Copper Measuring Cups & Spoons






I am extremely impressed with your writing skills revit glide vintage jacket as well as with the layout on your blog.
Nearly 40 years ago I purchased an electric perk pot (my own lingo) at a garage sale for $5 ONLY because it was just like the one my Mom used to use. I ended up using it some years later when my Mr. Coffee died. I my garage sale find for years til it died. Bought another, it didn’t last long. Bought another. My MIL gave me her old aluminum camp pot years ago. Never quite got the hang of it. I’ve always used my Bullet to grind my beans. Well I still use my electric perk pot but now I’m gonna dig out my old camp pot!!! What kind of filters do I use? I have the smaller ones for my electric pot, will they work? TIA
I bought a GE Electric Pot Belly Percolator but need a basket lid like shown above about 3 1/2 inch in diameter. If U have one, or all 3 pieces, I wld be interested to buy please. No lid, no coffee! Help. Thks. ?
Stay safe, warm & kind.
Paulina Blaho
I remember my grandma having a stovetop percolator, but never really thought about using one. You explained it so well and once we have a gas stove, it is on my list to try. Thanks!
I love how many people have memories of their grandparents using them!! Thanks for reading and I hope you enjoy some good slow brew!
I love this post! I also love my stovetop percolator and you have convinced me to finally start grinding my own beans!
Thank you!! I think you will love it, nothing beats the smell of fresh coffee in the morning! ?
Thank you! It was fun to write, hope you enjoy!
WOW – how cool is this! First of all, I didn’t know you could use a Nutribullet to grind coffee. It does look pretty coarse, but wow that’s awesome! And second I have never heard of this coffee maker. I might have to give it a try! Looks SO delicious! – Alexa the Duvall Homestead
Thanks, it’s strong but I like it! So fun brewing the old fashioned and kind of makes me feel like Ma Ingalls! ???
This is a great post! I love that I learned that you can use a Nutribullet to grind your beans ?.
?? bring on all the dirty coffee jokes! ????
I had an old percolator from my Nana, now I want to give it a try!
I love that! Family heirlooms are so priceless, the nostalgia ??
I love all kinds of coffee and now I am completely intrigued! I never knew how percolators worked and now I am going to hunt for one at an antique shop!
I’m intrigued to see what you think! I’ve never really tried many different methods ????? always fun to try something new in the kitchen!
This looks so good! I remember my grandparents using a percolator! Brings back great memories.
Aww I love that!! Those memories are so special and priceless!
I had an idea to try an electric percolator last year and loved it until it stopped working after a couple months. Never thought of looking for a stove top model! Great post. I’m going to try it!
Thank you! There is something oddly satisfying about brewing stovetop, I think you’ll love it!